64
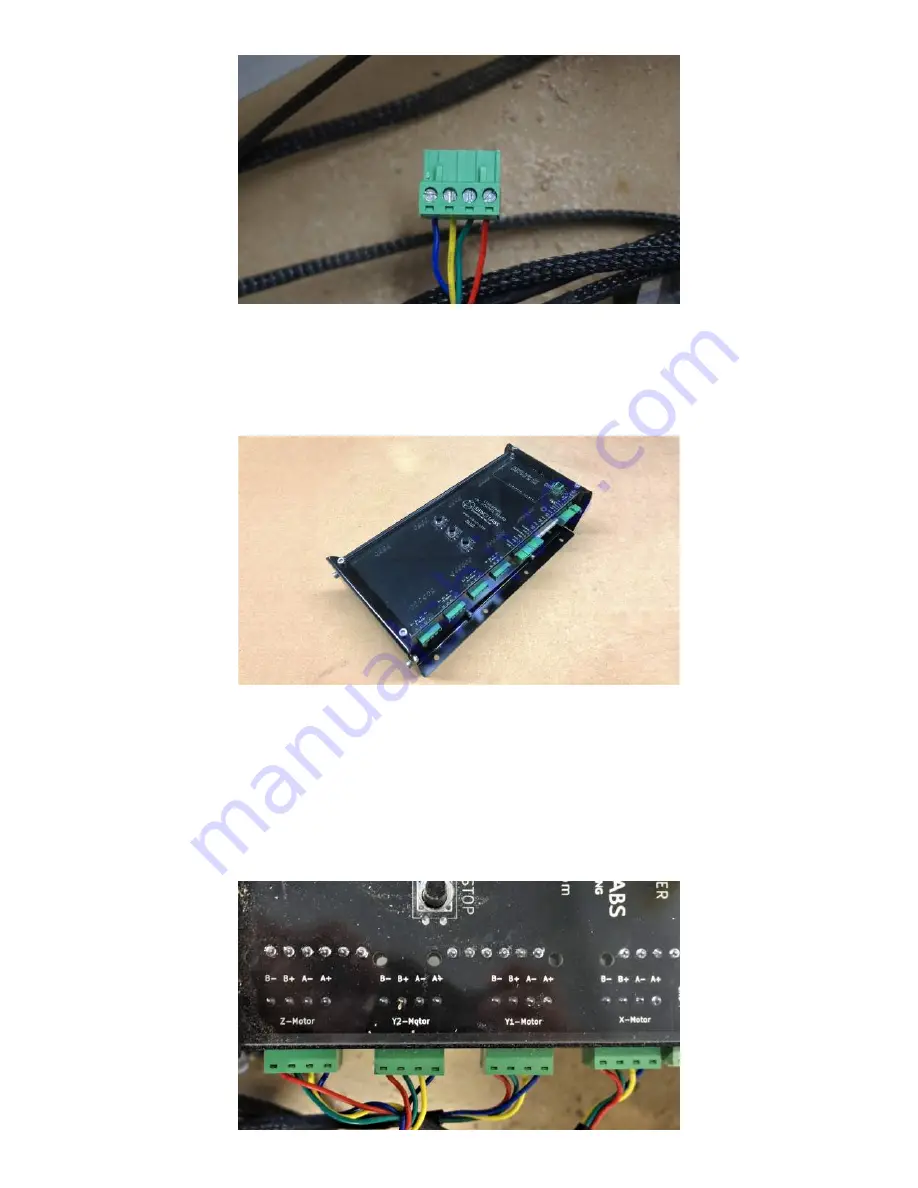
For the motor connector the wires, looking down from the side with the screw heads, should be, from left to right,
BLUE
,
YELLOW
,
GREEN
,
RED
(pictured). Check if the color pattern on all four of your motor wires is correct and
rearrange them if needed.
With these checks done, start connecting the motors. Track each cable from each motor to its corresponding
green connector and connect it to the board. The fit of these connectors is tight but you need to be sure to push
them ALL THE WAY IN so that there is good contact between the plug and the connector. Each plug on the board
is labelled on the top (note that there isn’t a difference between the Y1 and Y2 plugs, the Y-axis motors can be
connected to either of them).
Summary of Contents for LongMill MK2
Page 1: ...1 LongMill MK2 Assembly Manual MK2 ...
Page 7: ...7 Part 1 X Z Axes ...
Page 22: ...22 Part 2 Y Axis Gantries ...
Page 34: ...34 You should now have two Y axis rail assemblies They should be a mirror copy of each other ...
Page 35: ...35 Part 3 Axes Completion ...
Page 44: ...44 Part 4 Motors Wiring ...
Page 62: ...62 Part 5 Checks First Moves ...
Page 77: ...77 Part 6 Table Mounting ...


