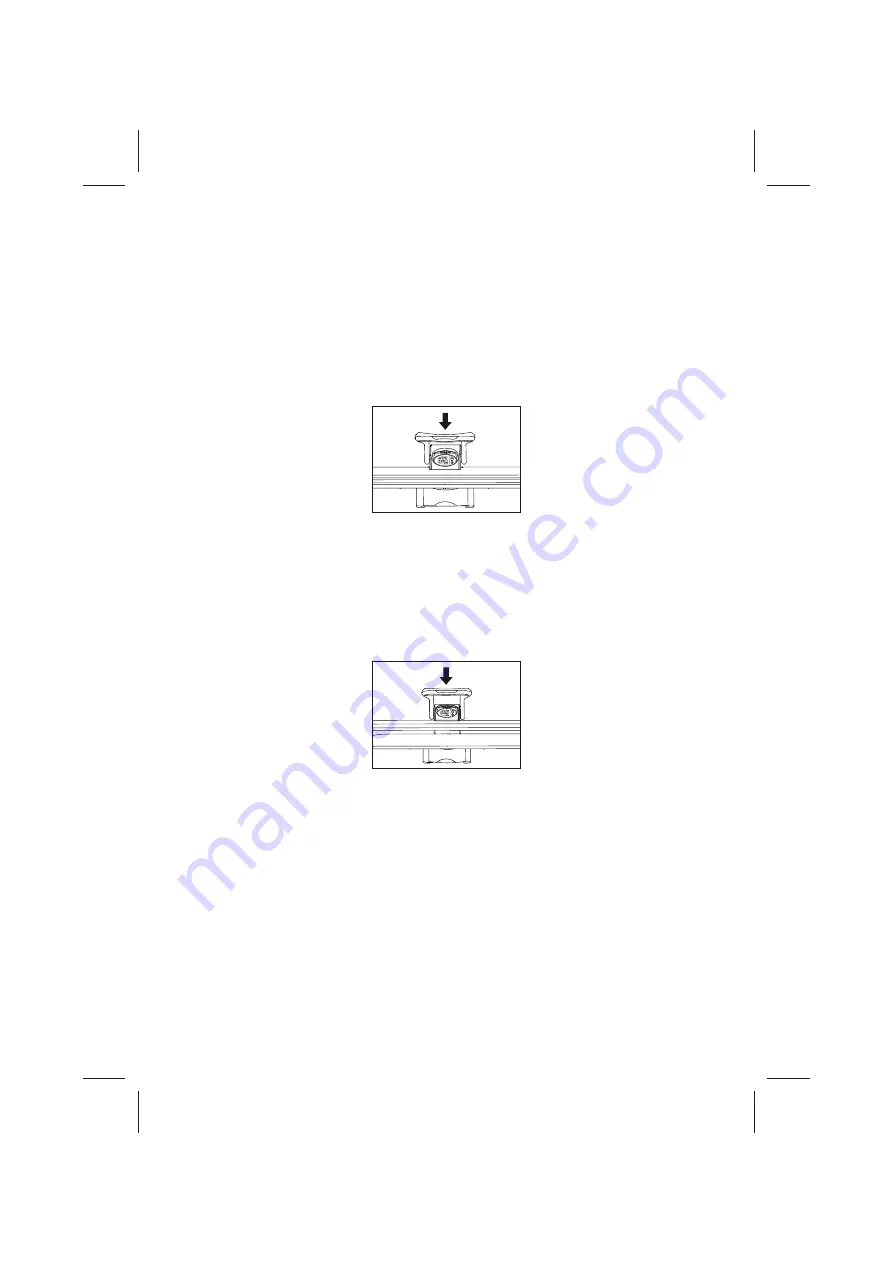
CAUTION: Be sure to examine garment label before selecting a fabric setting.
If you cannot determine a fabric type, select lowest setting and increase as
needed. It is best to start with the most delicate fabrics fi rst to avoid damage
to your fabric.
6) A Ready Light (Green) will appear once press has reached desired temperature
allowing you to start pressing. Be sure to use provided Pressing Cushion to
fl
atten
out gathered areas such as sleeves, darts and yokes. If needed, use Spray Bottle for
dampening fabric before pressing.
7) Pull down Pressing Handle and press the Pressing Plate and the Ironing Board
together. Hold for a few seconds, then lift to separate the Pressing Plate and Ironing
Board.
IMPORTANT: Press On/Off Button to cancel your selected pressing cycle.
8) To use steam, adjust the Fabric Temperature Selection to the Wool, Cotton or Linen
settings. The Steam Ready Light (yellow) will appear and you will be able to press
the Steam Burst Button for steaming your garments.
9) Pull down Pressing Handle directly above garments about 1 to 2 inches above fabric
and press Steam Burst Button. Press garment. DO NOT activate Steam Burst Button
with unit completely closed; you may damage your press.
CAUTION: Do not hold down press for longer than 5 seconds. If using Steam
Burst Button, do not fully close press down onto fabric. If you hold down the
press for too long, you may cause your garments to wrinkle because they have
gotten too hot. If this should happen, spray down garment with water and
start over.
CAUTION: When using steam, do not hold Steam Button for longer than
3 seconds. If steam is used for too long, you will cause the press to drop
dramatically in temperature and will have to wait for it to reach the initial
desired setting. The drop in temperature cannot be avoided as the burst
of steam cools down the Pressing Plate instantly. By using steam in short
bursts, you will help to eliminate the dramatic temperature drop and thus be
able to press quicker and more effi ciently.
8


