background image

2

1

2

3

4

5

6

10

9

11

7

8

12

13

14

16

15

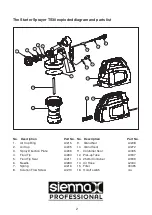
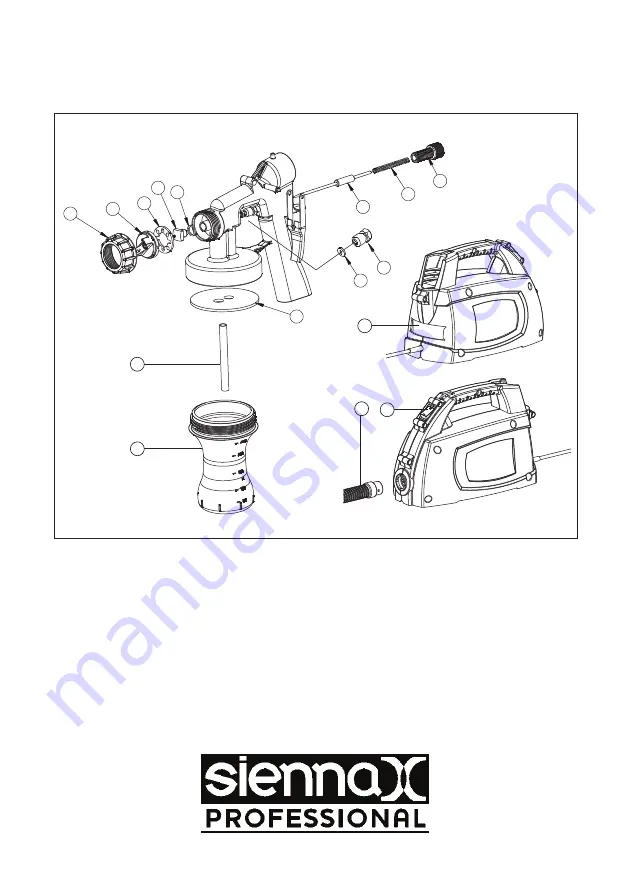
The Starter Sprayer TS30 exploded diagram and parts list

No. Description                                  Part No.

1.     Air Cap Ring 

L0215

2.     Air Cap 

L0205

3.     Spray Direction Plate 

L0206

4.     Fluid Tip 

L0284 

5.     Fluid Tip Seal

L0211

6.     Needle 

L0283

7.     Spring 

L0216

8.     Solution Flow Screw  

L0210

No. Description                                  Part No.

9.     Gland Nut 

L0208

10.   Gland Seal

L0272

11.   Container Seal

L0335

12.   Pick-upTube

L0947

13.   250ml Container

L0909

14.   Air Hose

L2030

15.   Filter

V0395

16.   On/off switch

n/a

Summary of Contents for TS30

Page 1: ...t has been specially designed to provide an efficient application of tanning solution products Take a minute to read and understand how to operate your new Starter Sprayer TS30 and you will be able to provide the perfect flawless tan with every application Your Starter Sprayer TS30 is packaged with the following 1 Starter Sprayer TS30 turbo powered spray unit 2 Starter Sprayer TS30 air hose 3 Star...

Page 2: ... L0215 2 Air Cap L0205 3 Spray Direction Plate L0206 4 Fluid Tip L0284 5 Fluid Tip Seal L0211 6 Needle L0283 7 Spring L0216 8 Solution Flow Screw L0210 No Description Part No 9 Gland Nut L0208 10 Gland Seal L0272 11 Container Seal L0335 12 Pick upTube L0947 13 250ml Container L0909 14 Air Hose L2030 15 Filter V0395 16 On off switch n a ...

Page 3: ...al circuit supplying the bathroom Ask your installer for advice NOTE Mains socket might not be permitted in average sized bathrooms according to local wiring regulations Do not spray into light switches or power sockets This appliance is not intended for use by persons including children with reduced physical sensory or mental capabilities or lack of experience and knowledge unless they have been ...

Page 4: ... is due Advise your clients to always cover their hair while their face is being spray tanned especially if their hair is bleached as this can be stained by the tanning solution Make sure the area where you spray tan is adequately ventilated Do not apply tanning solution to open cuts broken or damaged skin Cosmetics may cause a mild reaction if your client has sensitive skin Advise your clients to...

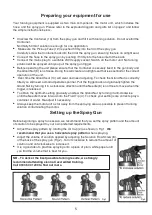
Page 5: ...ted you will need a small adjustable spanner Pull the trigger back and gradually tighten the Gland Nut by turning it in a clockwise direction until the Needle 6 is not free to move when the trigger is released To obtain the optimum setting gradually unscrew the Gland Nut by turning it anti clockwise until the Needle moves forward into the Fluid Tip 4 To check your settings are correct spray a cont...

Page 6: ...anned 3 Ensure that you spray tan lightly and in layers rather than one thick layer Fully Accredited Sienna X training available and Refresher Training available simply call 0800 131 3151 for more information Cleaning Maintenance Always wash out your spray gun at least at the end of each day If the tanning solution dries inside the spray gun cleaning will become more difficult and the spray gun ma...

Page 7: ...f you are using an extension lead it must be rated at a minimum of 6 Amps and fully unwound Do not operate with a lead rated at less than 6 Amps as this will cause premature failure of the motor which is not covered by the guarantee Warranty There is a full 6 months warranty on your Sienna X Tanning System against faulty manufacture and materials from date of purchase This is offered over and abov...

Page 8: ... 2014 NU0035 02 14 Unit B Sherriff Street Worcester WR4 9AB Email info sienna x co uk Tel 0333 600 1200 and 44 0 1905 727 070 Fax 44 0 1905 27080 ...

Reviews: