BALANCE POINTS REFERENCE CHART
* Percentage of Mean Aerodynamic Chord
% of
distance aft of
MAC*
wing leading edge
29%
4.785"
31%
5.115"
33%
5.445"
34%
5.610"
35%
5.775"
36%
5.940"
37%
6.105"
38%
6.270"
For initial test flying and familiarization purposes, we suggest
a starting balance point of 33% MAC, which is approximately
5-7/16" behind the leading edge of the wing.
As your experience with the MAYHEM increases, you can adjust
the balance point to suit yourself. In general, as the balance point
is moved aft, the airplane will become more responsive and less
stable in all axis. Some pilots like their models extremely reactive,
while others like to fly with more smoothness. If you never get into
3D flying, you will probably like the balance point at the intial
setting of 33%. In the end, the final balance point and control
throws you use will depend somewhat on how you like to fly.
The best means of shifting the CG fore or aft is by shifting the
locatoin of the battery pack. If is the heaviest movable component
in the airplane. Wherever you put the battery pack, make sure it
cannot move around in flight. Our MAYHEM prototypes, using
either the OS or Saito 1.20 4-strokes, required no additional nose
or tail weight to achieve different balance points. We shifted the
balance point by shifting the battery pack.
If moving your battery pack does not achieve the balance point you
want, and more weight is needed, consider using a larger (and
therefore heavier) battery pack.
Try to avoid adding useless
weight. If you need more weight in the nose, try a heavier spinner
or replace the light wheels with heavier after-market wheels. If
your model is nose heavy and battery shifting does not work, you
can try adding lead stick-on weights in the rear of the fuselage.
After you’ve determined how much tail weight you need, the
weights can be placed inside the fuselage by simply removing the
elevator servo and placing the weights inside and securing them.
With the elevator servo back in place, the weights are hidden.
Lastly, the aerobatic performance of your MAYHEM will benefit
greatly if you balance the airplane laterally as well as fore and aft
(eliminate the "heavy wingtip" syndrome).
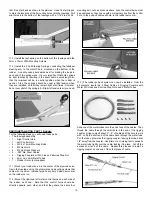
Lateral balancing
requires that the model be suspended upside down, using
substantial chord or fishing line. Hang the model in level flight
attitude from the ceiling or a rafter, with one line looped over the
engine propeller shaft and another line looped over the tailwheel
bracket. The model should hang level in side view. With the model
secured in this way, level the wings and then slowly let go. Ideally
the wings should stay level when you put them there. If one wing
panel drops lower, it means that it is heavier than the other panel.
When flying the model, this imbalance can cause the airplane to
"pull" to the heavy side, especially in loops and up line maneuvers.
To make the airplane track true, the light wing panel needs weight
added so it will balance level with the other panel. Add stick-on
weights or push finishing nails into the light wingtip to achieve
balance. Always make sure the weights cannot come loose.
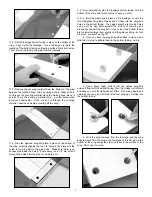
BALANCE THE MODEL
This is probably the single most important step in preparing your
MAYHEM for flight. The final placement of the longitudinal Center
of Gravity, or Balance Point, is extremely important and should be
approached with patience and care.
Completely assemble the model, including propeller, spinner, etc.
Do not leave anything off the airplane that will be on it in flight. DO
NOT fill the fuel tank for balancing purposes. Some people prefer
to balance their airplanes by lifting the model up by one finger at
each wingtip to find the spot where the model will sit perfectly level.
This has been done for years and is an acceptable way to balance
a model. However with an airplane as large as the MAYHEM, it is
virtually impossible to balance it by the wingtips by yourself. We
prefer to use a "balancing fixture" to check the model's balance
point right along each side of the fuselage. This method can be
done alone and is actually more precise than a fingertip balance.
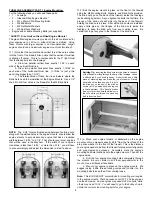
You can make your own simple "balancing fixture" with a couple of
1/4" dia. dowels glued into a fairly substantial wood base, at
perpendicular 90
O
angles. The dowels need to be the same length
and tall enough to accommodate the height of the assembled
airplane, as well as the width of the fuselage, plus about 1/2"
additional width. The tops of the dowels need to be padded to
avoid damage to the wing. We used 1/8" thick rubber sheet, cut to
1/4" diameter, glued in place, for the padding. There are also
commercial units available for balancing for those of you who don’t
want to make your own.
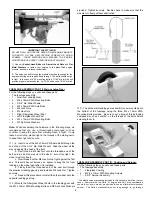
Set the model UPSIDE DOWN on the balancing fixture and shift it
back or forward until you find the exact spot where the model will
sit perfectly level. Carefully measure the distance of that spot from
the leading edge of the wing and compare with the balance chart.
IMPORTANT NOTE: Balanced means the airplane sets perfectly
level when supported at the desired balance point - NOT slightly
nose down or nose up - PERFECTLY FLAT LEVEL!
18
for
normal
flying
for
3D
flying


