INSTALLING THE AILERON SERVOS
For the following steps you will need:
(1) Right Wing Panel
(1) Left Wing Panel
(1) Aluminum Tube Wing Joiner
(2) Servos with Mounting Screws (not furnished)
(2) 6”-12” Servo Extension Chords (not furnished)
(1) Servo Y- Harness (not furnished)
❑
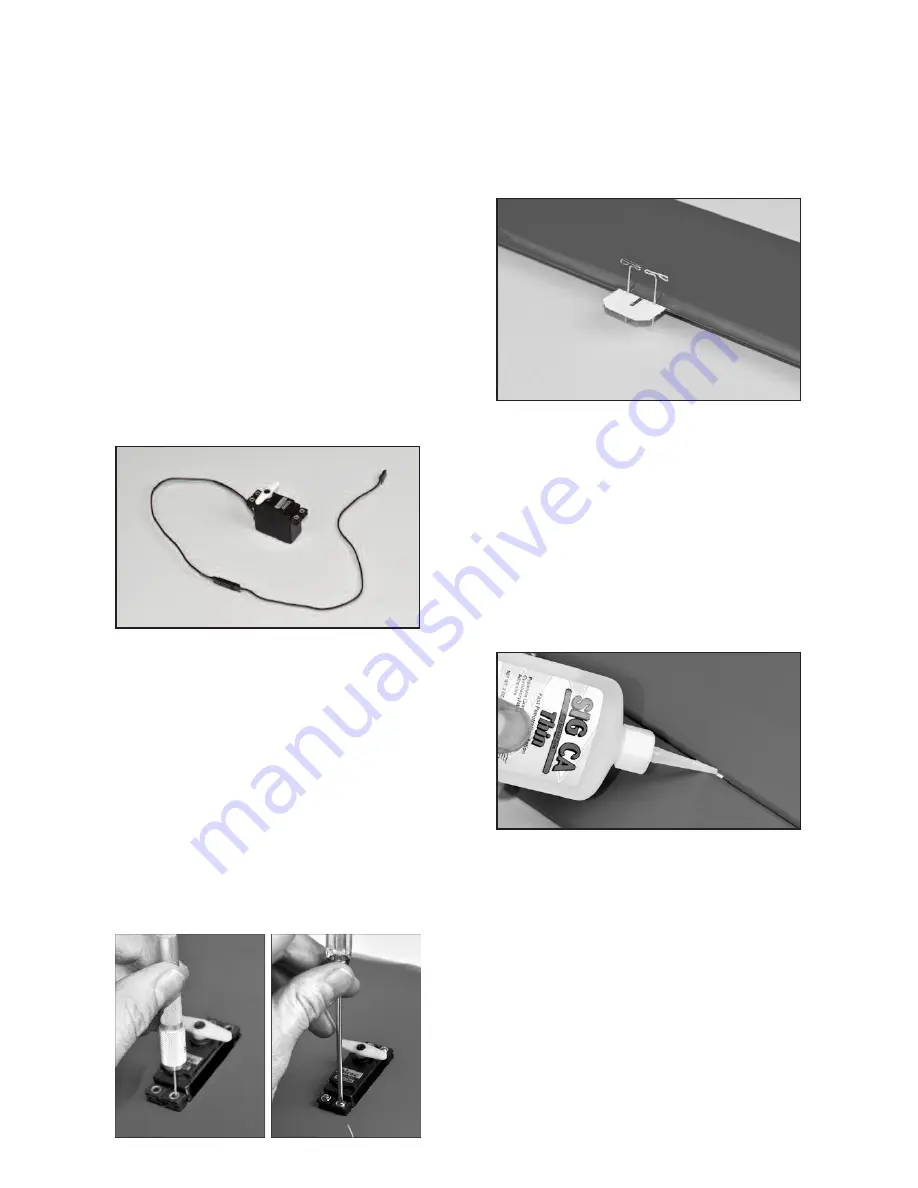
1) Mount the aileron servos in the bottom of each wing panel.
a) The servo bays are precut for you but you’ll want to double
check the covering around the cutout to make sure it is sealed
down tight.
b) Install the rubber grommets and brass eyelets (supplied with
your radio system) into each aileron servo.
c) Install the control arms on the two aileron servos. The arms
should be at 90 degrees to the servo when the aileron control stick
on the transmitter is in neutral and the transmitter trims are in neu-
tral as well.
d) Before installing the aileron servos in the wing panels you
must attach a servo extension chord to the aileron servo wire. The
typical combined length required is approximately 15”. A 6” or 12”
long extension chord will be needed, depending on how long the
chord on the servo is. Plug the servo plug into the extension chord
and tape the plugs together for added security.
e) Holding the wing panel with the wingtip UP, drop the end of
the extension chord into the servo mount cutout and then thru the
openings in the wing ribs, working it towards to the center end of
the wing panel. The plug on the end of the extension chord will
occasionally get hung up on the ribs, however by turning or gently
shaking the wing panel you can get it to fall through the openings
in the ribs, until it emerges at the end rib. Once you’ve got the
plug to the end rib, direct it through the round hole in the bottom
surface of the wing panel. By that time, the servo itself should be
next to the servo mount cutout and ready for mounting.
f) Fit the servo into the servo mount in the wing panel, (note
that the servo is positioned so that the servo arm is at the forward
end toward the wing leading edge). Take up any slack in the servo
chord as you insert the servo in the mount. Use a pin vise and a
small drill bit to drill small pilot holes in the servo mount for the
servo mounting screws. Use the screws supplied with your radio
system to mount the servo in place on the servo mount. Repeat
this procedure to mount the servo in the opposite wing panel.
HINGING THE AILERONS
❑
2) Note that the CA Hinges are installed, but not yet glued, in
the ailerons and wing panels. The installation process for the
hinges is the same for all of the control surfaces on this model.
a) If you removed the ailerons and hinges from the wing panels
when you tightened the covering material, reinstall them now.
First insert the five CA Hinges into the slots in the aileron. Put
two pins in the center of each hinge, up against the leading edge
of the aileron, to keep the hinges centered during the next step.
b) Now carefully insert the exposed portion of the five hinges
into the trailing edge of the wing. You will find it easiest to slide
the hinges into the slots at angle, one hinge at a time, instead of
trying to push it straight onto all the hinges at once.
c) Adjust the aileron so that the tip of the aileron is flush with
the wing tip. The ailerons should be tight against the pins in the
hinges to minimize the gap between the wing and the aileron. The
aileron is now in the proper position for permanently gluing them
in place with thin CA glue.
d) Flex the aileron down and hold it in this position. Remove
the pins from one hinge and then carefully apply 3-4 drops of Thin
CA glue directly onto the hinge in the gap. You will notice that the
glue is quickly wicked into the slot as it penetrates both the wood
and the hinge. We suggest using a fine tipped applicator on the
glue bottle to better control the flow of glue.
e) Turn the part over and glue the other side of the hinge. Con-
tinue this process until you have glued both sides of all the hinges!
Keep a rag handy to wipe off any excess Thin CA glue. (If you
get some glue smears on the plastic covering, don't worry about
them right now. Once all the hinging is done, you can clean the
smears off the covering with CA Debonder).
f) Let the glue dry 10-15 minutes before flexing the hinges. At
first you might notice a little stiffness in the joint. This will go away
after the hinges have been flexed back and forth a couple dozen
times.
INSTALL AILERON CONTROL HORNS & PUSHRODS
From the kit contents locate:
(2) Nylon Control Horns
(6) M2 x 12 mm Screws
(2) 7” long Pushrod Wires with M2 Hex Nut
(2) Metal R/C Clevis
(2) Pushrod Snap Keepers
(2) small pieces of Fuel Tubing
5


