.
Basic Fuselage Construction
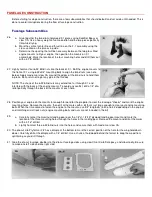
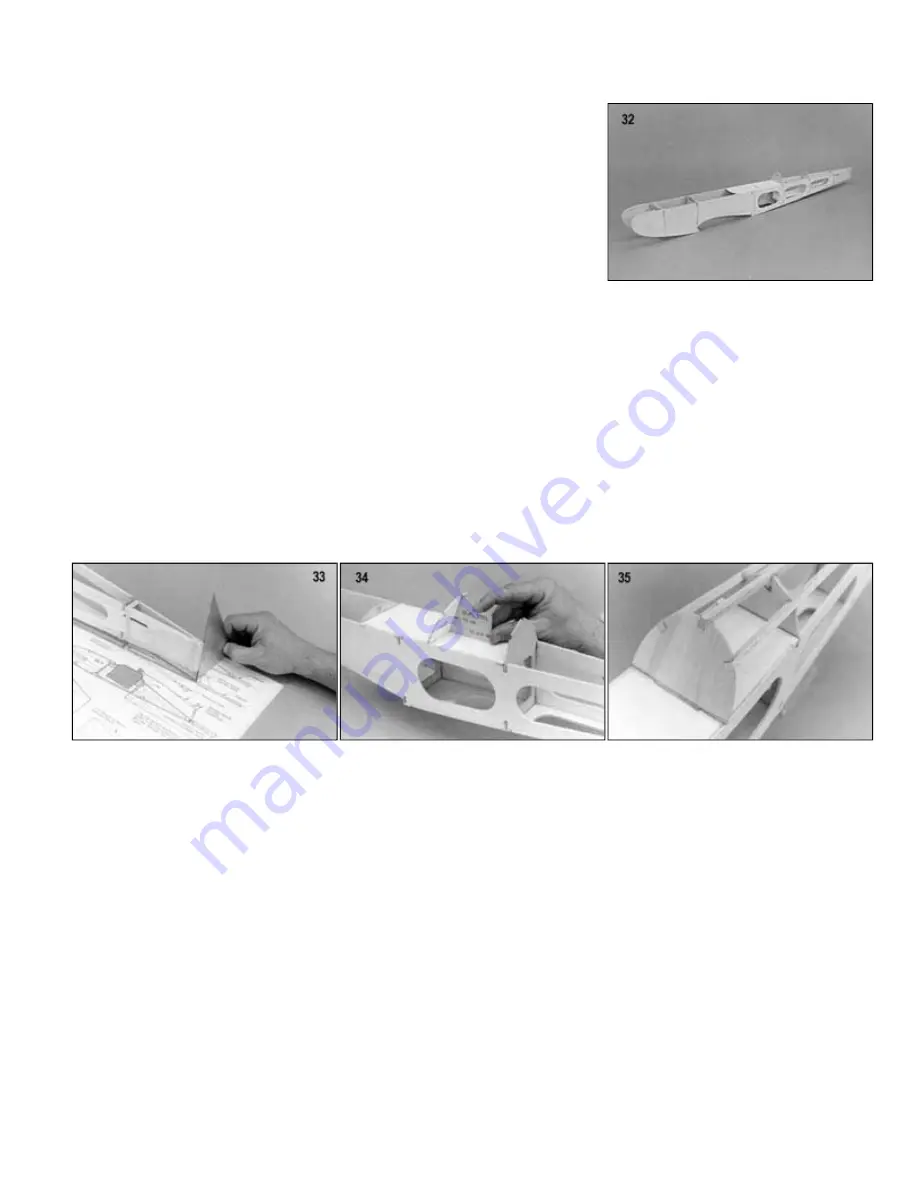
32.
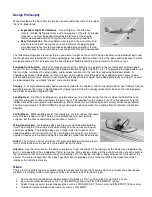
a. Tape or rubber band the fuselage sides together at the rear.
b. Working from the rear forward, slip all the fuselage formers (F-6 thru F-1)
into place. Put a rubber band around the fuselage at each former location
to hold it tightly together.
c. Slide the die-cut Lite-Ply part FBR (fuselage bottom, rear) under the rubber
bands until it snaps into its proper location between the fuselage sides.
d. Slide the cockpit floor into place under the rubber bands.
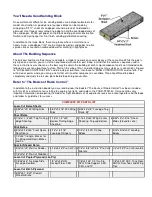
NOTE: The "Tee-Lock" tabs on the formers, FBR, and the cockpit floor are made
oversized to protrude past the fuselage sides. These will be sanded off after the
fuselage has been completely assembled.
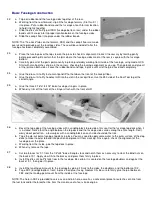
33.
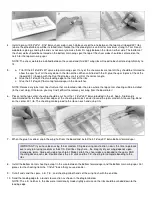
a. Place the fuselage over the top view on the plans to check its alignment. Correct if necessary by twisting gently
before proceeding. Be certain that the joint where the fuselage sides meet at the rear is square with the fuselage
bottom.
b. Carefully glue all of the parts permanently in place, preferably working from inside of the fuselage, using medium CA.
Start with small patches of glue in the corners, checking the fuselage alignment as you go. Then go back and glue all
of the joints on both sides. Leave the rubber bands and tape in place until all of the glue has dried completely.
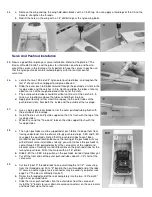
34.
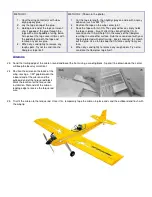
a. Glue the die-cut Lite-Ply instrument panel lP to the tab on the front of the cockpit floor.
b. Glue the die-cut Lite-Ply headrest HR into the slot in the cockpit floor. Use the 250 side of the Dual Tool to get the
correct angle.
35.
a. Glue the three 3/16"x1/4"x18" balsa fuselage stringers in place.
b. When dry, trim off the front of the stringers flush with the front of HR.
36.
a. Bevel the top edge of the fuselage sides with a sanding block to provide a firm seat for the fuselage top deck when it
is installed. Notice that the angle between the top deck and the fuselage sides varies along the entire length. Don't
worry about perfection - a few swipes with a sanding block on each side should do the trick.
b. Tape the die-cut balsa fuselage top deck in place. You may need to apply some water to the outer surface of the dop
deck to make it easier to bend into position and prevent it from cracking. Once again, check the alignment of the
fuselage over the plans.
c. Working from the inside, glue the top deck in place.
d. When dry, remove the tape.
37.
a. Cut two braces for F-1 from the 1/2"x24" balsa triangle stock and notch them as necessary to clear the blind nuts on
the back of F-1. Apply slow CA to the braces and press them firmly in place.
b. Install the die-cut Lite-Ply tank floor in the fuselage. Be certain it is seated on the fuselage doublers and against the
back of F-1, then glue it in place.
38.
a. Install the landing gear mount to the fuselage by gluing it firmly to the sides, the doublers, and the bottom of F-2.
b. Tape FBF (fuselage bottom, front) in place then glue it using medium CA. Be sure to firmly glue the joint between
FBF and the landing gear mount from the inside of tne fuselage.
NOTE: The hole in FBF is provided to serve as an oil drain hole, as well as a convenient place to route-the vent-line from
the fuel tank and/or the breather line from the crankcase of a four-stroke engine.
Summary of Contents for Four-Star 40 SIGRC44
Page 1: ......


