.
65. Be sure and epoxy the blind nuts to the back of the firewall so they will not come out later when it may be necessary to take
off the mounts. Work some under the nuts but don't get epoxy into the threads of the bolts. Pull the blind nut points tight into
the wood with the bolts before the glue sets up. With the mounts and nose gear bracket in place, cut off the mounting bolts
for both flush with the face of the blind nuts on the back of the firewall. This is to prevent any chance of the bolt ends
puncturing the tank.
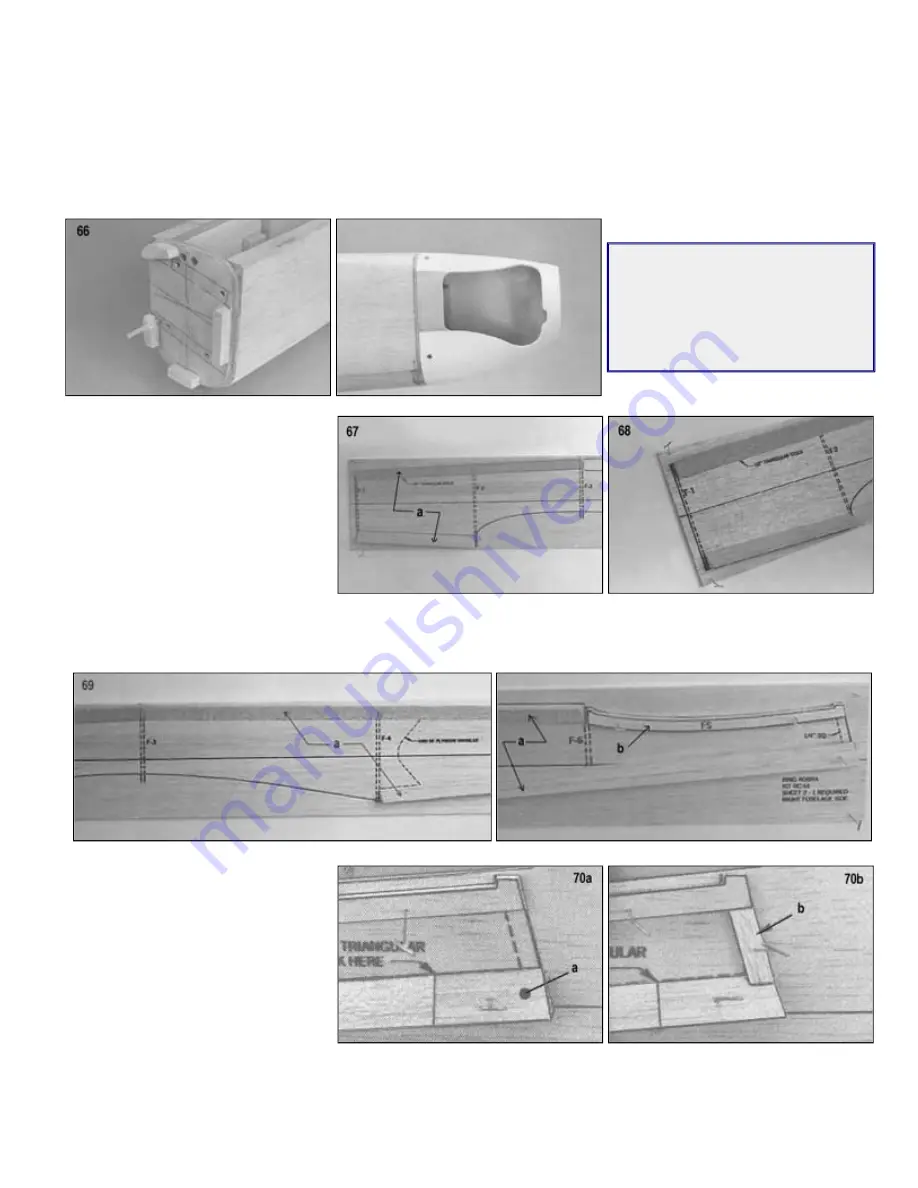
66.
Since the cowl is now finally placed, you can add the 3/8" sq. hardwood mounting blocks to the firewall whenever it is
convenient. Shape the blocks to fit snugly against the cowl.
For a neater opening on the prototype,
we saved the sawn out portion of the
back of the cowl and glued a piece of it
permanently onto the fuselage. This
filled in the opening behind the engine
and gave a more finished look to the
installation.
67.
a. Cut the front pieces of 1/2"
triangular stock to size and glue
on the fuselage sides
68.
Note the placement of the triangular
stock at the front. The bottom stock is
placed flush with the dotted line to allow
space for the firewall.
69.
a. Glue on pieces of 1/2" triangular stock on the back of the fuselage sides.
b. Glue the stabilizer saddle FS in place.
70.
a. Complete the bottom 1/2"
triangular piece.
b. Glue a piece of 1/8"x1/4" scrap at
the back of the sides.
71. Mark the locations of the F-2 and F-3
formers on the 1/2" triangular stock.
72.
Fit the 1/16" plywood die cut doublers FD
to the sides.
73.
a. Glue FD in place.
b. Mark the location of the bottom of F-3 on the doubler.
c. Draw the datum line on the doubler.


