.
REAR DECK AND TAIL ASSEMBLY
Note: The stabilizer and rudder parts are easiest to cover before they are hinged and attached to the fuselage. Refer
to the Finishing section and prepare the tail parts before hinging and attaching to the fuselage. Test assemble them
on the hinges before covering to insure that a good edge and end match has been obtained in the sanding operation.
87.
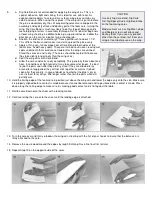
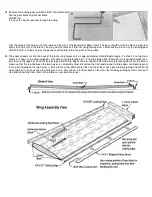
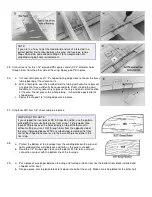
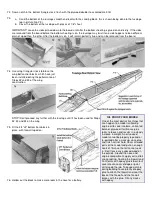
Saw out the tail parts. Fit them together, using the sanding block. Glue and pin down the wax paper.
88.
a.
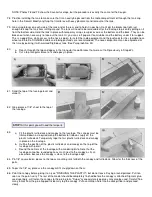
Sand off the lines and round the leading edge of the stabilizer and fin.
b.
Sand and shape the rudder and elevator.
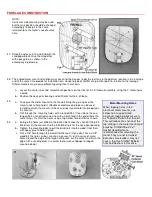
NOTE: Install hinges in the controls first. After they are set up, attach the controls to the tail surfaces. Read "INSTALLING
EASY HINGES" mentioned earlier.
89.
a.
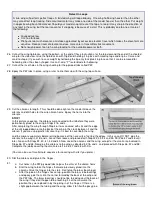
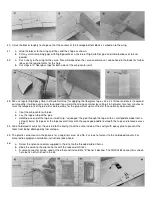
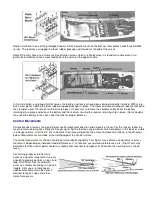
Put the wing on the fuselage and check to see if the stabilizer lines up with it when pinned in place on the fuselage.
If it does not, sand one side or the other of the fuselage so that the stabilizer is level.
b.
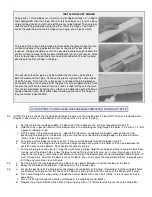
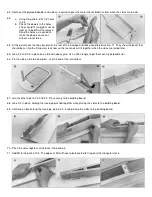
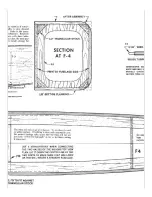
Glue the stabilizer to the fuselage. Use epoxy. To insure that the stabilizer is solidly glued to the fuselage, cut out the
covering material in the area that contacts the fuselage to expose the bare wood. Puncture a series of 1/16" holes
with a pointed wire in the stab and the fuselage top where they make contact. Have the holes at a slight angle to
each other. When epoxy glue is worked into these holes and sets up it will act like small nails holding the parts
together.

