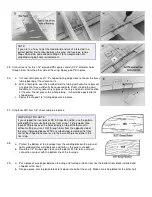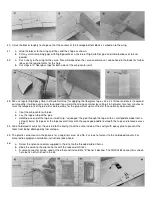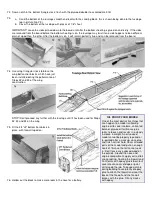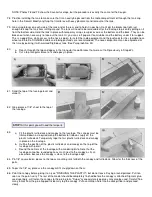
.
About The Building Sequence
The quickest and most efficient way to complete a model is to work on several pieces at the same time. While the glue is drying
on one section you can start on or proceed with another part. We occasionally get suggestions that our instruction books should
be in exact step-by-step building sequence. But this would result in many sentences starting "While the glue is drying on the
fuselage, move to the wing etc." and a lot of jumping back and forth between assemblies with no consistent pictorial
progression.
Also, a preselected building sequence by our choice might not suit your workshop space and time allotments. Therefore, we feel
the present system of covering main assemblies in a unit works out best for the majority of kit builders. So keep in mind that the
numbering sequence used in these instructions were chosen as the best way of explaining the building of each major assembly
and is not in tended to be followed in exact one-two-three fashion. Start on the wing at No.1 and after performing a step or two,
flip over to the next main heading of "FUSELAGE CONSTRUCTION" and do a step or two there, then over to "TAIL
ASSEMBLY" and so forth. You will, of course, arrive at points where you can go no farther until another component is available.
For example, you need a completed wing before the fuselage can be completed. The way to understand these relationships is
to read the instructions completely and study the photos before beginning to work.
Any reference to right or left refers to right or left as if seated in the cockpit.
You Can't Get Along Without a Good Sanding Block
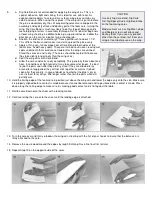
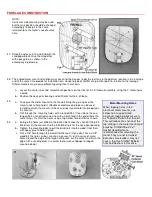
An indispensable tool for proper construction is a large sanding block sized to
take a full sheet of sandpaper. Use several wood screws along one edge to hold
the sheet in place. Use the block to bring all parts and sticks to final, exact fit. We
recommend 80-grit garnet paper for use on the block during general construction.
You can switch to 100-grit, followed by 220 silicone paper for final finish just
before covering.
In addition to the large block, there are places where a smaller one is handy.
Also, a sandpaper "file" can be made by gluing sandpaper to a flat spruce stick
for working tight-places. We have an especially handy extra long sanding block
made from a 40 inch piece of aluminum channel with sandpaper glued to it that is
particularly useful for jobs like truing up the leading edge and trailing edge of the wing core.
Cutting Out Printed Parts
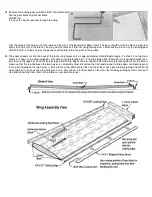
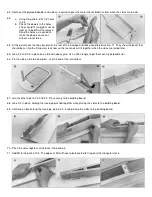
A jig saw is best for this job. Cut just outside the lines, leaving all of the
black line on the part. When fitting the part into place in the model, use the
sanding block to bring the edges to an exact fit. If a modeling knife is used
to cut out the parts, don't cut too close to the lines -- leave some extra
wood outside the line. True up and finish the edge with the sanding block.
Some Rules To Follow
Cut all long pieces of balsa first, followed by medium lengths before
cutting up any full-length strips into short pieces. Remove die-cut pieces
from the sheets carefully. If difficulty is encountered, do not force the part
from the sheet. Use a modeling knife to cut it free. Leave parts in the
sheets until needed in construction.
A piece of Celotex-type wallboard makes a handy building board, into which pins can easily be pushed. Lay the building board
on a table with a flat and untwisted top. Pins can be pushed through all pieces in the kit without any lasting damage. The holes
will fill up during sanding and doping. Be careful where you use a ball point pen for making marks. If not sanded off, these
marks will bleed through many coats of dope and show on the finished model.
WING CONSTRUCTION
1.
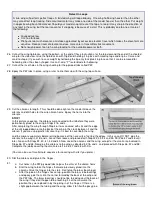
True up the edges of the fourteen 1/16"x3"x24" sheets of wing planking wood by trimming where necessary, using a metal
straightedge as a guide. Use the large sanding block for final touch up of the edges.
2.
Tape seven sheets tightly together with strips of masking tape.
3.
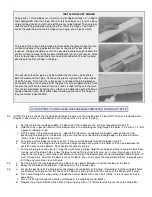
Turn over and open up the joints, with the masking tape serving as a hinge. Put a bead of Sig Bond in each of the seams
and close the joint.


