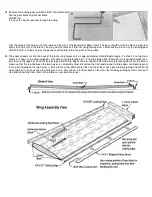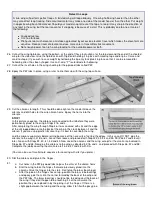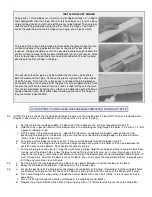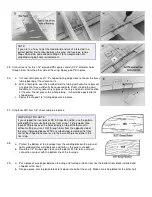
.
COVERING AND FINISHING
IMPORTANT:
Don't skip covering the fuselage and tail just because they are solid wood. Painting them without covering first is not
enough. They will be much more resistant to splitting and breaking on hard impacts if they are covered with something - Sig
Silk, Silkspan, Sig Silray or iron-on covering material.
The manufacturer's directions for applying iron-on coverings are packed with the material. Follow these closely, for different
types of covering have different iron-on temperatures and techniques of application.
Whatever kind of covering you desire to use, it will not conceal a rough framework. Sand carefully with fine sandpaper
before beginning to cover.
Covering With Silk, Silkspan, or Silray
Although we refer to silk in the directions, all of these coverings are applied wet in the same manner as follows:
Brush an unthinned or very lightly thinned coat of clear Sig Supercoat or Sig Lite-Coat Dope over all parts of the framework
that will contact the covering. When dry, resand with fine sandpaper, to remove any fuzz or raised grain. Brush on a second
coat and sand again.
The bottom of the wing is a good place to start covering. Cut a piece of material about 1/2" larger all around than half of the
wing, with the grain running lengthwise. (The grain of woven materials runs parallel to the finished bias edge.) Some
builders next dip the piece in water and apply it to the wing. I find that the silk sticks together and takes a lot of pulling and
smoothing to get it in place so we do it a bit differently as shown in the photo.
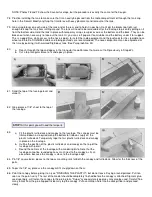
Pin the dry covering in place and "paint" the water on with a brush.
Go around the edges, pulling out wrinkles and stretching the material smooth. You need not pull it up drum tight, in fact
going to this extreme is not advisable. Just pull out all of the wrinkles. Use pins, if necessary, to hold the silk smooth, though
wet silk usually stays in place without too much pinning. We like to fasten one end - in this case the center joint of the wing -
pretty firmly with pins so that you can pull against this anchored end in stretching the silk the long way.
Brush around the outside edge of the stretched silk with clear dope. The dope will soak through the material and adhere to
the dope already dried into the framework. Allow to dry.
Trim off the edges with a sharp blade. We find that a thin double-edged razor blade is ideal for this, but a single-edged
blade does okay and you can't cut your fingers on it. On the bottom, trim off flush with the wing all the way around. Go over
any rough areas or places that have not stuck down properly with more dope and press the loose spots down as the dope is
drying and getting stickier.
The top half is done in identical fashion except that the silk should be brought down over the edges instead of being
trimmed off flush. On the front, lap the silk over the edge of the bottom, over-lapping about 1/8". At the back, bring the
material down over the back edge of the trailing edge but do not lap it over the bottom covering.
Use the same process on the tail section and fuselage.

