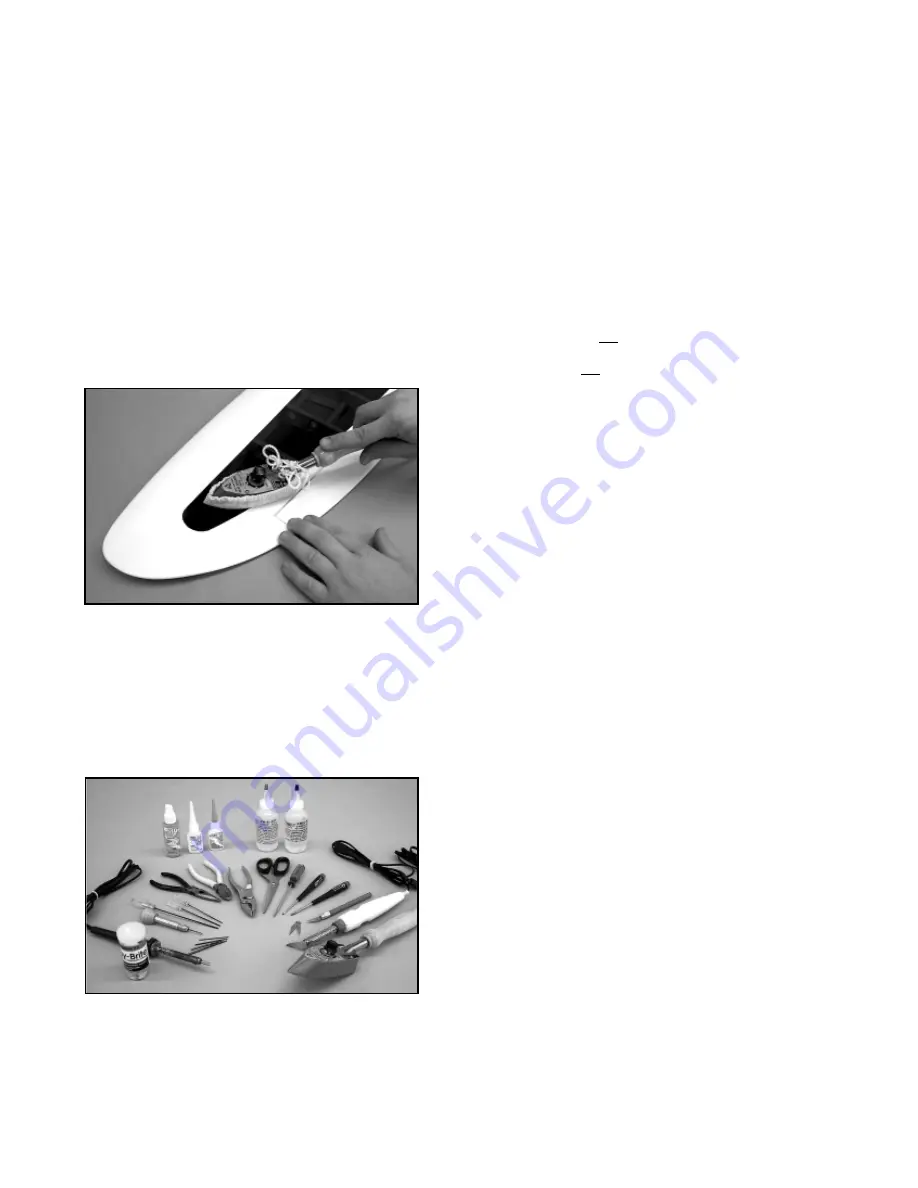
in low humidity climates. Your model was built and covered in a
part of the world with relatively high humidity and therefore the
wood was likely carrying a fair amount of moisture. When exposed
to drier air, the wood typically loses this moisture, dimensionally
“shrinking” in the process. In turn, this may cause some wrinkles.
However, wrinkles are easy to remove by just using a hobby type
heat iron.
We suggest covering the iron’s shoe with a thin cotton cloth, such
as an old T-shirt, to prevent scratching the film. The iron should be
set to about 220
O
- 250
O
F, (104
O
F - 121
O
C). Use the heated iron
to lightly shrink the material - do not press on it. Then lightly iron
the material back down to the wood. You can also use a hobby-
type heat gun to re-shrink the covering but you must be careful
around seams or color joints. Re-heating seams may cause them
to “creep”, making them unsightly. This is especially true with the
RASCAL FORTY inset trim scheme. You must also be careful
when using a heat iron or heat gun when working around the
windshield and side windows - heat will distort this clear plastic
material.
For part number reference, your RASCAL FORTY ARF was
covered in AeroKote
™
film with the following part numbers:
#SIGSTL100 White and #SIGSTL010 Transparent Red or
#SIGSTL050 Transparent Blue.
REQUIRED TOOLS:
For proper assembly, we suggest you have the following tools and
materials available:
A selection of glues - SIG Thin and Thick CA and
SIG Kwik-Set 5-Minute Epoxy
Clear Dope For Fuel-Proofing Engine Cut-Outs
Threadlock Compound, Such as Loctite
®
Non-Permanent Blue
Screwdriver Assortment
Pliers - Needle Nose & Flat Nose
Diagonal Wire Cutters
Small Allen Wrench Assortment
Pin Vise for Small Dia. Drill Bits
Hobby Knife With Sharp #11 Blades
Scissors
Heat Iron and Trim Seal Tool
Masking Tape
Paper Towels
Small Power Drill With Selection of Bits
Dremel
®
Tool With Selection of Sanding and Grinding Bits
A soldering iron and solder may also be required.
COMPLETE KIT PARTS LIST:
The following is a complete list of all parts contained in this kit.
Before beginning assembly, we suggest that you take the time to
inventory the parts in your kit. Note that the hinges for the rudder
and fin are in place in the bag containing these two parts. The
rudder/fin hinges are not glued in place yet. Please note that the
nuts and bolts required to mount your engine to the aluminum
motor mounts are not included in this kit and must be purchased
separately.
BASIC AIRCRAFT PARTS:
❑
1 each
Fuselage
❑
1 each
Wing Panel Set, Ailerons Installed and Pre-Hinged
❑
1 each
Horizontal Stabilizer & Elevator Set, Pre-Hinged
❑
1 each
Vertical Fin & Rudder Set
SUB ASSEMBLIES:
❑
1 set
Fiberglass Wheel Pants, 1 Left, 1 Right, Pre-Painted
❑
1 each
Hardened Aluminum Landing Gear, Pre-Drilled
❑
2 each
2-3/4” Dia. Main Wheels - “Lite”-type With Plastic Hubs
❑
1 each
2-1/2” Dia. SIG Spinner Assembly, White,
With Adapters & Hardware
❑
1 each
Fuel Tank Assembly, 260cc (8.8 oz.) With All Fittings
❑
1 each
Tailwheel Assembly:
❑
1 each
Aluminum Tail Wheel Bracket,
With Wheel Assembly
❑
2 each Centering Springs
❑
2 each
#2 x 10mm (3/8”) Phillips/Washer Head
Screws
❑
3 each
#4 x 10mm (3/8”) Phillips/Washer Head
Screws
❑
1 each
Aluminum Control Horn For Centering
Springs
❑
1 set
Adjustable Aluminum Motor Mount Assembly:
❑
2 each
Aluminum Mounting Plates -
1/8” x 7/16” x 2-3/4”
❑
4 each
M3 x 20mm (3/4”) Phillips Head Bolts
❑
4 each
M3 Washers
❑
4 each
M3 Split Ring Washers
PLASTIC PARTS:
❑
1 set
Molded Clear Plastic Left & Right Side Windows
❑
2 each
White Plastic Aileron Hatch/Servo Mounts - 1 Left,
1 Right
❑
2 each
#10-32 x 1” Slotted Head Nylon Wing Bolts
❑
4 each
Nylon Control Horns - Ailerons - 2, Elevators - 1,
Rudder - 1
❑
2 each
Inner Nylon Rudder & Elevator Pushrod Tubes -
1/8” Dia. x 25-3/4”
❑
1 each
Inner Nylon Throttle Pushrod Tube - 1/8” Dia. x 16”
2
Summary of Contents for RASCAL FORTY
Page 21: ...21 RASCAL FORTY AR F NOTES ...


