96
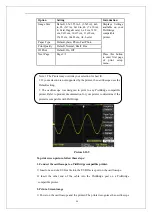
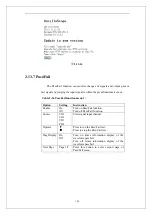
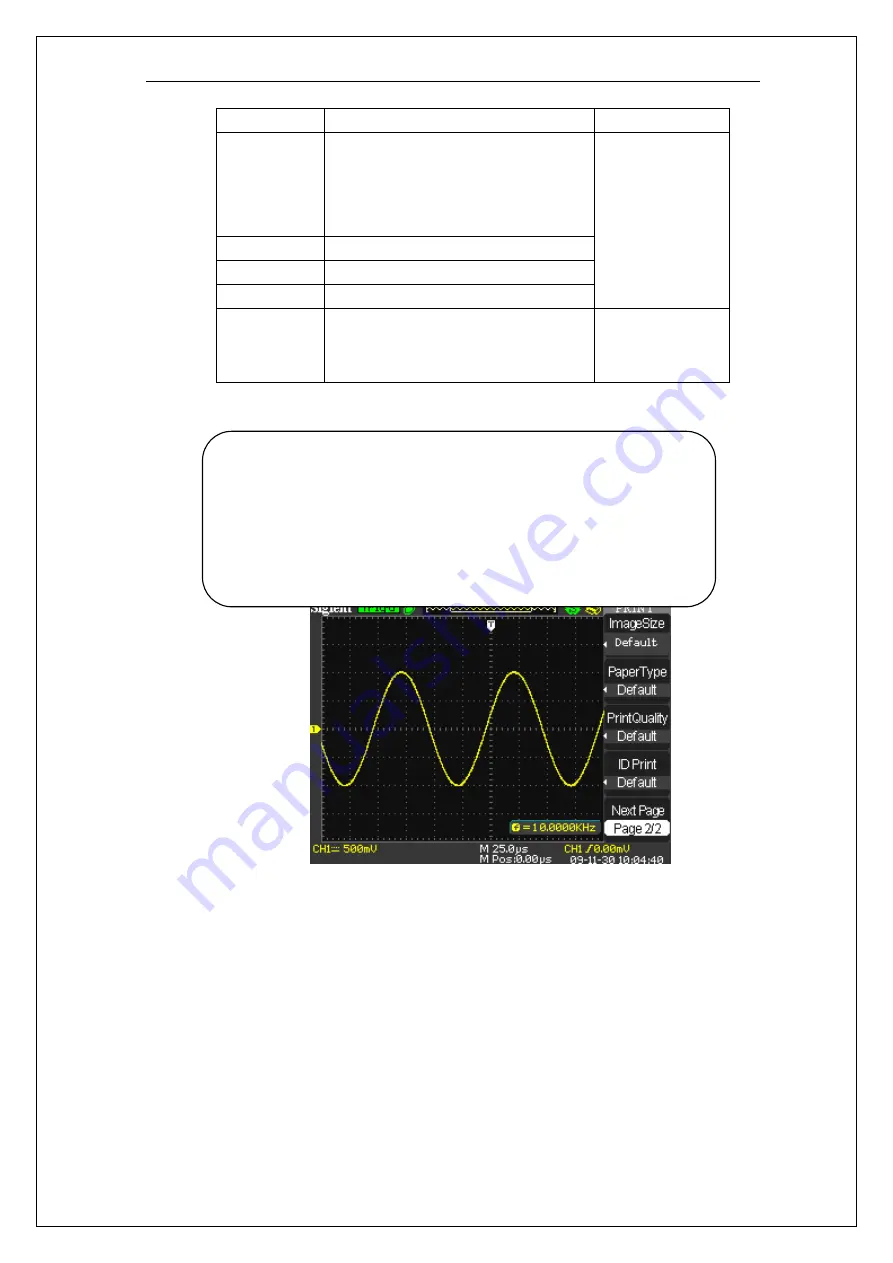
Option Setting
Introduction
Image Size
Default, 2.5x3.25 in, L (3.5x5 in), 4x6
in, 2L (5x7 in), 8x10 in, 4L (7 x 10 in),
E, Card, Hagaki card, 6 x 8 cm, 7x10
cm, 9x13 cm, 10x15 cm, 13x18 cm,
15x21 cm, 18x24 cm, A4, Letter
Paper Type
Default, plain, Photo, Fast Photo
Print Quality
Default, Normal, Draft, Fine
ID Print
Default, On, Off
Displays Settings
available on your
PictBridge
compatible
printer.
Next Page
Page 2/2
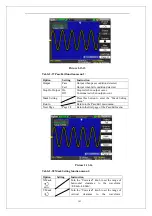
Press this button
to enter first page
of print setup
menu.
Picture2.13-9
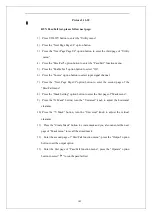
To print screen picture, follow these steps:
1. Connect the oscilloscope to a PictBridge compatible printer.
1) Insert one end of a USB cable into the USB Device port on the oscilloscope.
2) Insert the other end of the cable into the PictBridge port on a PictBridge
compatible printer.
2. Print a Screen image
1) Power on the oscilloscope and the printer (The printer recognizes the oscilloscope
Note: 1.The Printer may override your selection for best fit.
2. If your selection is not supported by the printer, the oscilloscope uses the
Default setting.
3. The oscilloscope was designed to print to any PictBridge compatible
printer. Refer to product documentation for your printer to determine if the
printer is compatible with PictBridge.
Summary of Contents for SDS1000 Series
Page 146: ...138 Coupling DC...

