42
quickly. The oscilloscope can set the Trigger Level to be about halfway between the
minimum and maximum voltage levels automatically. This is useful when you
connect a signal to the EXT TRIG BNC and set the trigger source to Ext or Ext/5.
■
“FORCE” Button:
Use the FORCE button to complete the current waveform
acquisition whether the oscilloscope detects a trigger or not. This is useful for
SINGLE acquisitions and Normal trigger mode.
■
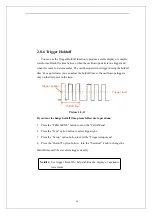
Pre-trigger/Delayed trigger:
The data before and after trigger the trigger position
is typically set at the horizontal center of the screen, in the full-screen display the
6div data of pre-trigger and delayed trigger can be surveyed. More data of pre-trigger
and 1s delayed trigger can be surveyed by adjusting the horizontal position.
The feature is very useful because you can see the events that led up the trigger point
everything to the right of the trigger point is called posttrigger information the
amount of delay range (pre-trigger and posttrigger information) available is
dependent on the sweep speed selected.
2.8.1 Signal Source
You can use the Trigger Source options to select the signal that the oscilloscope
uses as a trigger. The source can be any signal connected to a channel BNC, to the
EXT TRIG BNC or the AC power line (available only with Edge triggers).
2.8.2 Trigger Type
The scopes have five trigger types: Edge, Video, Pulse, Slope, and
Alternative.
■
Edge Trigger
Use Edge triggering to trigger on the edge of the oscilloscope input signal at the
trigger threshold.
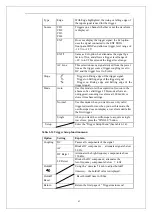
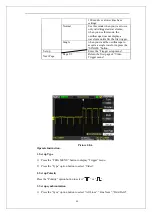
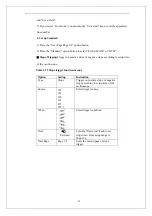
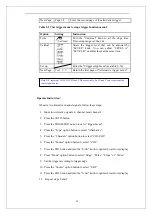
Table 2-13 Edge Trigger function Menu:
Option Setting
Explain
Summary of Contents for SDS1000 Series
Page 146: ...138 Coupling DC...

