123 SNA5000A Vector Network Analyzer User Manual
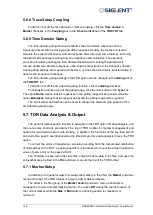
of the fixtures to nothing or the OPEN calibration kit. Then click the
Deskew
button in the
dialog, and click the
Finish
button after a
mark appears at the
Deskew
button to finish
the Deskew calibration.
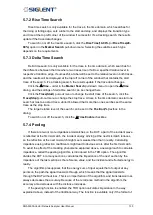
Click the
Option
button to open the
Deskew Option
dialog, in which you can select the
calibration type or operate the calibration one-by-one for each port. The calibration type can
be selected by the
Standard Type
pull-down menu. It's set to
Open
by default. If you choose
the
Short
option, you should connect the SHORT calibration kit to the port to finish the
calibration. You can calibrate only one port at a click on the corresponding
Port
button, but
you should finish the calibration of all ports to finish the task in the dialog.
5.4.2
Deskew & Loss Compensation
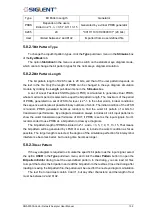
Click the
Deskew&Loss
button in the
Basic
bar of the
Setup
tab in the TDR toolbar to
open the
Deskew & Loss Compensation
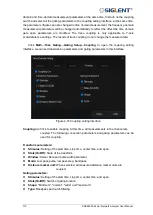
wizard. The wizard can be divided into 3 steps,
which guide you to finish the Deskew and Loss Compensation calibration.
At the first step, a Deskew calibration is required. The method is the same as the
operation introduced in the section "Deskew".
At the second step, the calibration operation depends on the correct DUT topology.
Under the topology Single-Ended 1 Port, you need to connect the cables and fixtures to the
VNA, connect the other ends of the fixtures to nothing or an OPEN calibration element. Click
the
Measure
button in the wizard, wait for the
mark to appear at the
Measure
button to
finish the second step of calibration. Under other DUT topologies, you need to connect two
cables and fixtures, which are connected to the ports as the wizard instructs, to both ends of
a THRU calibration kit. Click the
Measure
button in the wizard, wait for the
mark to
appear at the
Measure
button, then execute the next operation. If under Single-Ended 4-Port
or Differential 2-Port, you will need to execute the operation as stated above once for each
page of the wizard respectively to finish the second step.
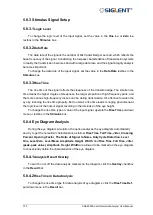
At the third step, you can connect the LOAD calibration element to every port, and click
the corresponding
Port
button to execute the calibration step. The step is optional, so it's not
necessary to finish the calibration wizard.
If you finish all necessary calibration operations, click the
Apply
button to save and apply
new calibration data, and click the
Finish
button to close the wizard.
At any step of the wizard, it's allowed to execute a calibration operation repeatedly, new
measured data will replace original data. You can click the
Close
button to close the wizard,
which will give up all data measured in the wizard unless you have clicked
Apply
button to
save them.
Summary of Contents for SNA5000A Series
Page 2: ......

