64
Component
Settings & Test
Turning 4-Wire Testing on in the Tester
Before learning a 4-wire fixture and tested assembly, you must turn on the 4-wire capability in
the
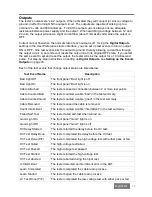
Set Lrn Components
menu.
1. From the main menu, press
Set Up
Test Program.
2. Press
Create New Test.
3. Press
Set Learn Settings.
4. Press
Set Components.
5. Scroll down, and press
4W Kelvin.
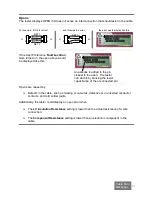
Probing for Test Points Type
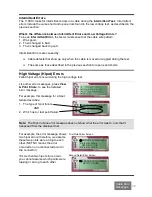
With 4-Wire testing turned on, you can probe
a test point to determine whether it is a type 1
or a type 2 test point. When you probe a point,
the probe type displays as shown.
1. From the main menu, press
Set Up Test Program.
2. Press
Create New Test.
3. Press
LEARN.
4. Scroll down, and press
Probe 4W Point Type.
Learning a 4-Wire Test Setup
Now you can learn a 4-wire test. First learn the fixture, and then learn the tested device.
1. From the main menu, press
Set Up Test Program.
2. Press
Create New Test.
3. Press
Learn.
4. Make sure
only
the 4-wire fixture is
connected; press
Continue
to learn the
fixture.
Note:
Be sure to turn off the 4W Kelvin setting after learning a 4-wire test. This will prevent
problems when learning a 2-wire resistance setup.
Connect the assembly to be tested, and press
Continue
to learn the wiring pattern of the
sample tested assembly.
The tester should make a sound indicating
that the assembly has been learned.
The screen will display CABLE LEARNED.
4W POINT TYPE
J1A007 = Type 2

