


© 2000
–2020 signotec GmbH
signotec Delta Pen Display user manual
Page 10 of 15
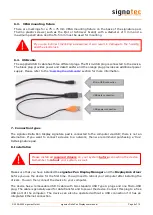
8.3.
Inserting the USB cable
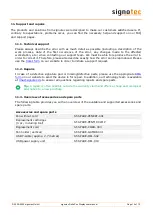
The USB cable is part of the scope of de-
livery and it is easily connected to the
device. First you insert the Micro-USB
plug into the port on the back of the de-
vice and route the cable through the ten-
sion relief. Then, you connect both USB
Type A plugs to a computer.
8.4.
Power supply via USB
The signotec Delta signature pad features a USB Y-cable. The cable has two plugs in order to
provide the device with sufficient power (1,000 mA max.). One USB 2.0 plug provides an output of
500 mA in accordance with USB specifications. One USB 3.0 plug provides an output of 900 mA.
Often it is sufficient to connect the device only using the black plug for systems with USB 3.0 ports.
However, for systems with USB 2.0 ports, you need to use both plugs in order to provide sufficient
power to the device.
If the device is not provided with sufficient power, it can mean that it will not turn on, that it may
turn off sporadically or that it will not react to the pen input.
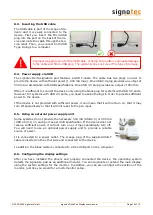
8.5.
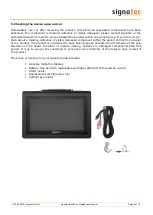
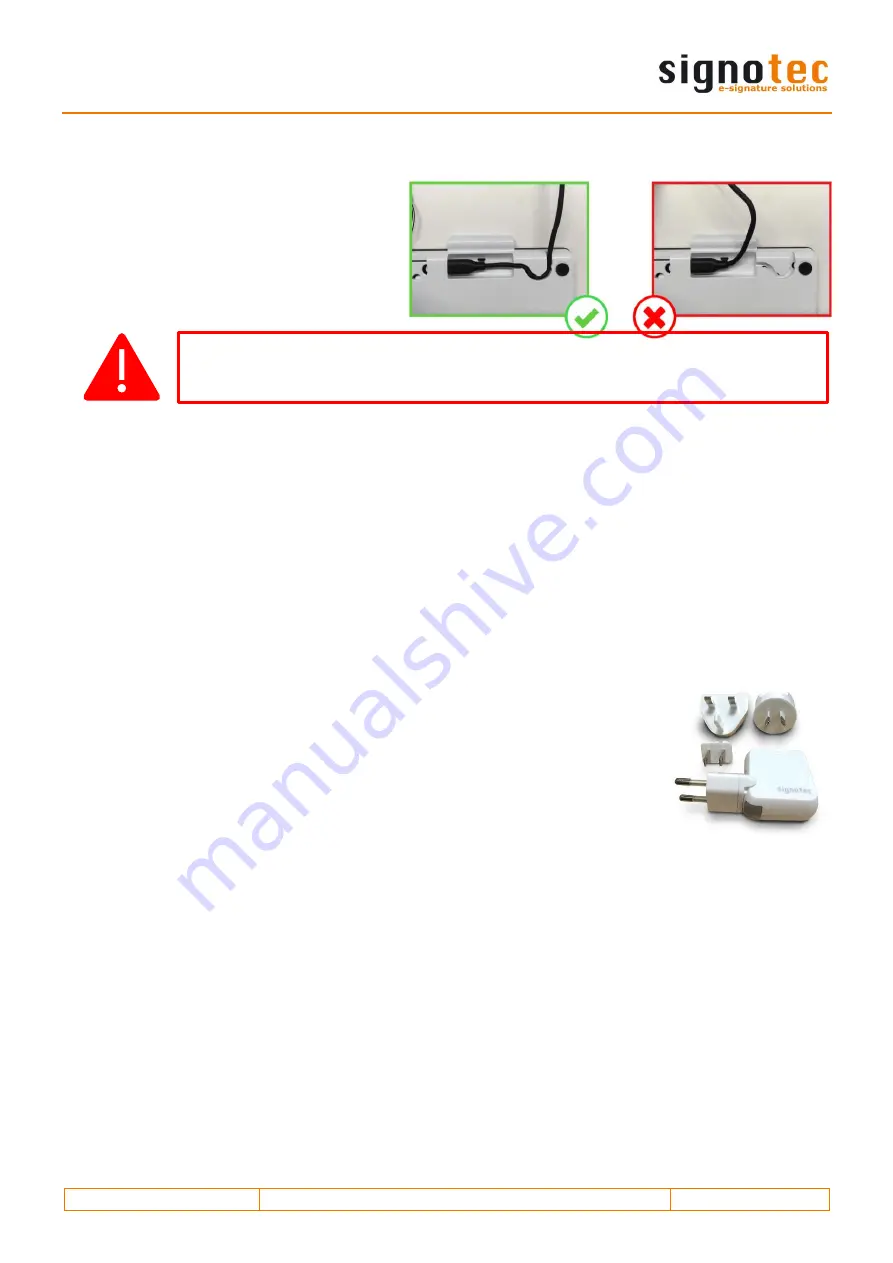
Using an external power supply unit
Some systems do not provide the necessary 500 mA (USB 2.0) or 900 mA
(USB 3.0/3.1) on each port as per USB specification. If the device does not
receive sufficient power, it will not turn on or it may sporadically turn off.
You will need to use an optional power supply unit to provide a reliable
source of power.
It is connected to a power outlet. The orange plug of the supplied USB-Y
cable is inserted on the other side and connected to the device.
In addition, the black cable is connected to a free USB port on the computer.
8.6.
Configuring the display settings
After you have installed the drivers and properly connected the device, the operating system
detects the signature pad as an additional monitor. You can duplicate or extend the main display
using the system settings for the monitor. In addition, you can also configure the position of the
monitor, just like you would for a multi-monitor setup.
Improper plugging in/out of the USB cable, or doing so too often, can cause damage
to the cable and Micro-USB plug. The warranty does not cover this type of damage.


