3.12 Cut Test
Before carrying out an actual cutting, it is necessary to perform a cutting test to determine the
appropriate cutting force for your knife and media.
The cutting test should be repeated until you get an appropriate cutting condition.
Once you finish the cutting test, the new origin is set to the current tool carriage position.
**Procedures:
1. After sizing the media, press the
ON/OFF LINE
button to switch the condition to the off-line mode.
2. Then press the arrow buttons to move the tool carriage to the position where you want to make
the cut test.
3. Press the
CUT TEST
key to make the cutting test. The
CUT TEST LED
lights up.
3.12.1 Adjust The Cutting Force
First, move the
“Cutting Force Control Slider”
to the minimum force, then increase the force
gradually by moving the slider, until an optimum force is obtained to cut through the media. When the
cutting test is completed, a square cut out appears. If the square can be easily peeled off from the
media, the setting of the cutting force is appropriate. If not, adjust the force again.
3.12.2 Adjust Offset Value
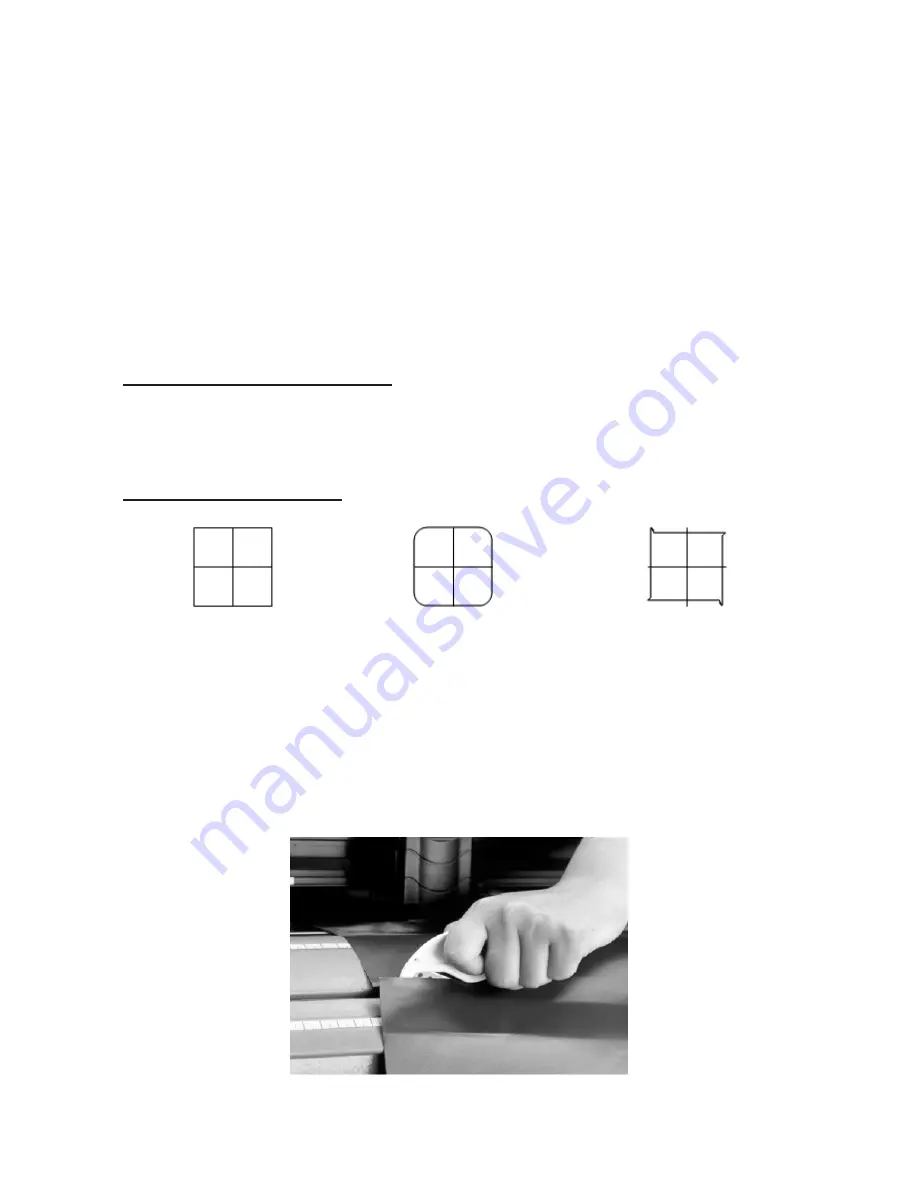
The square plot out should appear as one of the following figures:
AA
BB
CC
Appropriate offset value offset too low
offset too high
Or Over-speed
If the square appears like the BB or CC layout, adjust the OFFSET setting (please refer to paragraph
SW1-3 OFFSET SETTING.
Note: The new origin will be set at the position of the tool carriage after the cutting test.
3-11
3.13 When Completing the Cutting Job
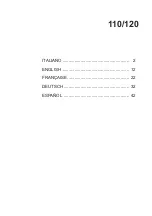
After the cutting is completed, raise the sheet loading lever, then remove the material from the ma-
chine. You can also cut off the extra media with the cutting plotter tool along the knife guide (Figure
3.13.1).
Figure 3.13.1


