182
183
Troubleshooting
Troubleshooting
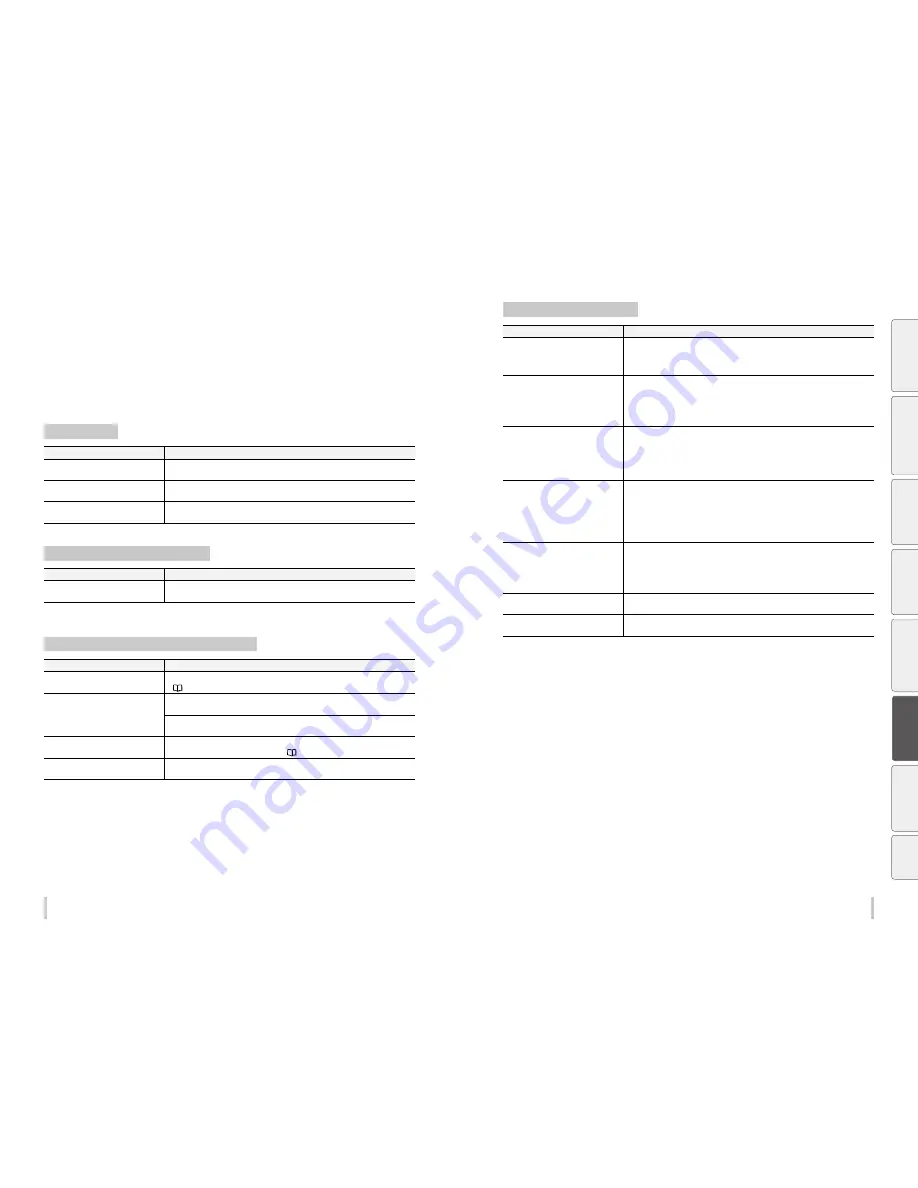
Solve print quality issues
This section contains hints to enhance the print quality with the printer based on several symptoms.
Take appropriate actions according to the symptoms.
When several actions are described, they are arranged in order of effectiveness. Therefore, you are recommended
to take the actions starting from the top and confirm the effect on the improvement. (Note that all the described
actions are not always necessary to solve the problem.)
The print is pale.
Cause
Solution
The density setting is not correct.
Set density to HIGH DENSITY if high density printing is required, such as when using
backlit banner media.
The operating environment is outside
the specification of the Printer.
Raise the ambient temperature to 15ºC or more (20 to 25ºC recommended) to warm the
printer adequately.
Media is not selected properly.
Check the media selection.
The printout is blurred or grains appear.
Cause
Solution
The bidirectional and media advance
adjustment values are not correct.
(1) Perform bidirectional adjustment and media advance adjustment again.
(2) If automatic adjustment has been performed, perform manual adjustment.
Missing dots are found at the beginning of printing.
Cause
Solution
Outside the operating temperature/
humidity range
Use the printer within the operating temperature/humidity range.
(
page 22
)
Obstructions in the nozzle surface
Check the platen, the media edge guards, the capping unit, the wiper blade, the
pressure roller, and the head guards, and remove any foreign matter.
Lint or paper fibers coming from a damaged media may touch the print heads, which
may cause missing dots. Replace the media with a media with no lint or paper fibers.
The media entered into contact with the
nozzle surfaces.
Perform normal cleaning.
If the problem persists, perform the action
page 179
.
Cleaning did not finish normally.
Perform the daily maintenance.
Clean the caps.
The media is curled or wrinkled.
Cause
Solution
Outside the operating temperature/
humidity range
(1) Use the printer within the operating temperature/humidity range.
* Note that some media may wrinkles even within the operating temperature and
humidity range.
(2) Use proven media.
The media storage conditions are not the
same as the printer operating conditions.
The difference between the media storage conditions and the printer operating
conditions may cause the media to curl or wrinkle. To prevent this, after carrying the
media from storage to the operation area, leave the media for while time in the new
environment before printing.
* The time depends on the media type and the storage conditions.
The media was not installed properly.
Check that the media was installed properly in the conditions below.
- The installed media is installed parallel to the printer.
- The operation panel shows the media type correctly.
- The media winding mode is optimal for the installed media.
- Check that the leading of the media output from the printer is installed straight to the
TUR unit paper tube.
The media wrinkled because of the
heater temperatures.
(1) If the media wrinkles while the printer is warmed by the heaters, install the media
only after the printer is warmed up by the heaters.
(2) Change the heater temperature. Increase or decrease all three heaters by 5°C.*
1
(3) Use proven media.
(4) If the media is still wrinkle, feed the media until you reach a portion without wrinkles.
(5) If the media wrinkles between each print job, change the media advance mode.
The media is curled.
(1) Do not use media curled in the vertical direction direction (vertical to the media).
(2) Do not use media curled in the horizontal direction (from the right edge to left
edge). The is so curled that the media edge guards and the suction fan cannot flat
the media.
(3) Use proven media.
Set the suction fan parameter of the
preset to LOW.
Set the suction fan parameter of the preset to a stronger setting.
Wrinkles caused by media advance
(1) Remove the media and install it again.
(2) Use proven media.
*1 When the heaters temperatures are changed, adjust the media advance adjustment value again.
Be
fo
re
p
rin
tin
g
Lo
adi
ng
the
m
edi
a
A
dj
us
tm
ent
M
ai
nt
enan
ce
A
dv
an
ce
d
op
er
ati
on
s
Trou
ble
sh
oo
tin
g
M
enu
tr
ee
Ap
pe
nd
ix
Summary of Contents for IP-6620
Page 112: ...222 ...


