


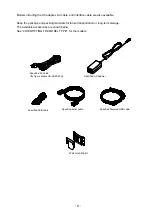


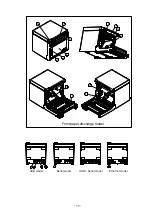

-
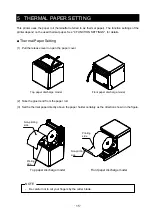
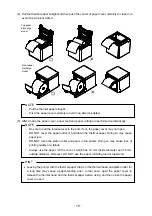
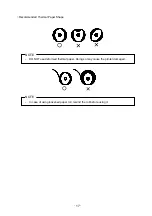
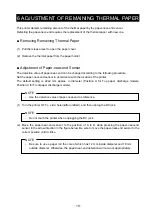
3
-
OPERATING PRECAUTIONS
Warning
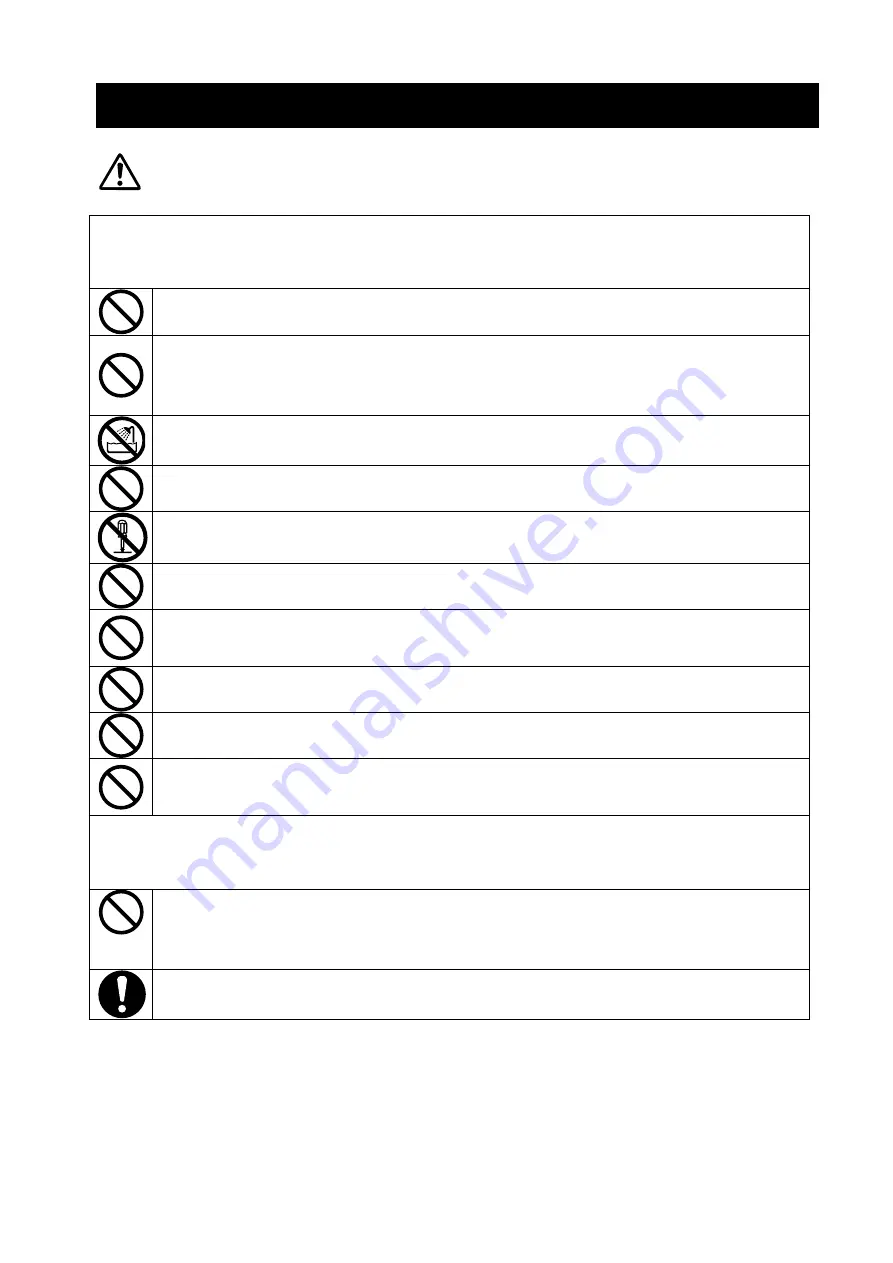
Never attempt!
Strictly observe the following instructions. Failure to follow the instructions leads to fire, electric
shock, or accident.
Do not insert any foreign objects such as a piece of metal or any liquid into the products.
Do not touch the metal parts of the terminal, AC plug, and DC plug.
To avoid short circuits, prevent terminals of the products, AC plug, and DC plug from
touching any conductor such as metal.
Take care not to spill liquid on the products.
Do not touch the products with wet hand.
Do not disassemble or reconstruct the products.
Use the printer only with specified AC adapter and AC cable.
Do not use an AC adapter with a voltage other than specified.
Keep the AC plug and the DC plug away from dust and metal objects.
Make sure the AC plug and DC plug are securely plugged in when using the products.
Do not destroy the AC cable, AC plug and DC plug.
Do not bend, pull or twist the AC cable forcibly or place heavy staff on them.
Be sure to follow!
Observe the following instructions. Failure to follow the instructions may lead to fire,
electric shock, or accident.
Be sure to use only in countries where the products meet the law and the regulations.
Using non-compliant products may endanger the safety of products or be considered
against law and regulations.
Be sure to hold the plug when unplugging AC cable from electric outlet.


