5
4.
Select an available PCI Express slot, remove the
mounting screw and slot bracket cover.
5.
Line-up the card to the PCI Express slot and firmly
but gently push it down into the slot. Secure the
PCIe to ExpressCard
to the chassis using the
mounting screw from step 4.
6.
Connect the other end of the USB cable
to the
system's internal
USB Pin-out Header
, see
Motherboard USB Pin-out Header
on page 4 for
more information. Match up
+5VDC (Pin 1)
on the
USB cable connector to
Pin 1
or
Pin 2
on the
motherboard's USB pin-out header.
Caution:
connecting the cable improperly may damage your system.
Refer to your system's manual for proper connection.
7.
Boot-up Windows and the
PCIe to ExpressCard
is
ready for use. No driver installation is needed.
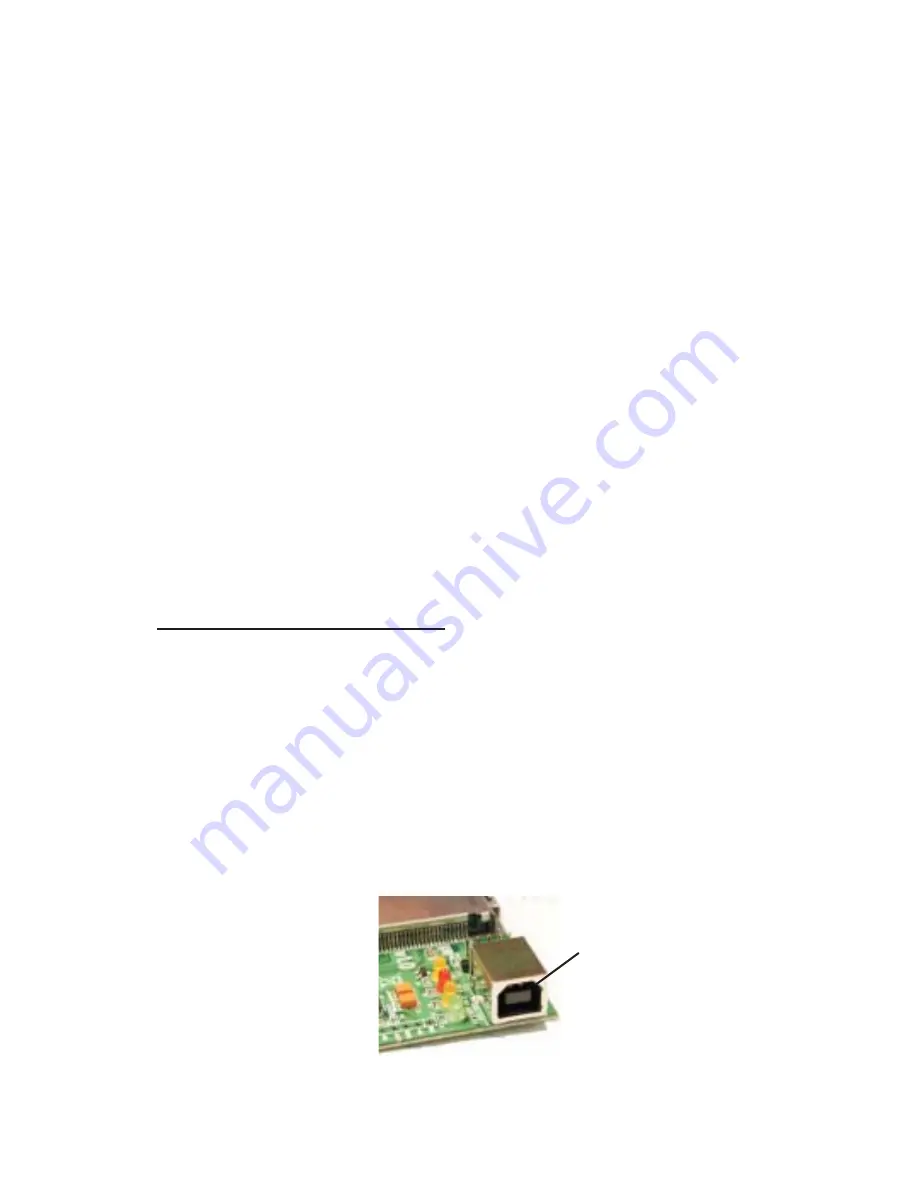
Type-B USB Connector
This connector provides an alternate method to connect
to the USB host adapter. The
PCIe to ExpressCard Adapter
can be connected to an internal USB port (Type-A)
through the
Type-B USB Connector
. This connection
requires a USB cable which must be purchased
separately. Do not connect to the
Type-B USB Connector
and
USB Pin-out Header
at the same time. Connecting
both may damage the ExpressCard adapter and system.
Figure 6. Type-B USB Connector
Type-B USB
Connector


