Operating manual - English
BRAVO MAXIMA II
Copyright Silca 2011
23
7.5
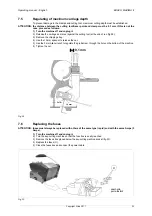
Regulating of maximum carriage depth
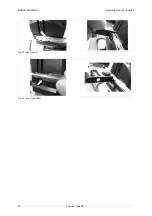
To prevent damage to the clamps and cutting tool, maximum cutting depth must be established.
ATTENTION: the distance between the cutting tool/tracer point and clamp must be 0.1 mm. If this is not the
case, proceed as follows:
1) Turn the machine off and unplug it.
2) Release the carriage and raise (against the cutting tool) at the end of run (fig.29).
3) Remove the chippings tray.
4) Use the 10 mm spanner to release the nut.
5) Use the 3 mm Allen wrench to regulate the grub screw, through the hole on the bottom of the machine.
6) Tighten the nut.
Fig. 29
7.6
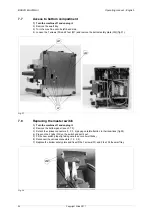
Replacing the fuses
ATTENTION: fuses must always be replaced with others of the same type (rapid) and with the same Amps (5
Amps).
1) Turn the machine off and unplug it.
2) Turn the key-cutting machine so that the fuse box is easily reached.
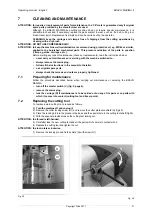
3) Remove the fuses box placed below the key-cutting machine socket (fig.30).
4) Replace the fuses (U).
5) Close the fuses box and connect the power cable.
Fig. 30
0,1 mm
3 mm
10 mm
vaschetta
porta fusibili
U
Summary of Contents for Bravo Maxima II
Page 1: ...Operating manual D432446XA vers 5 0 EN...
Page 4: ......

