


Operating manual
Twister II NA
Copyright Silca S.p.A. 2015
5
2
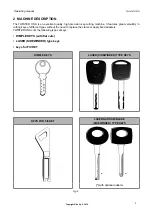
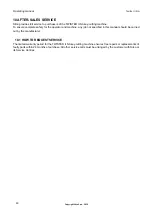
MACHINE DESCRIPTION
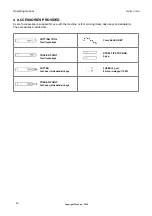
The TWISTER II NA is an excellent quality, high precision key-cutting machine. It features great versatility in
cutting keys of different types without the need to replace the clamp or apply
fi
xed adapters.
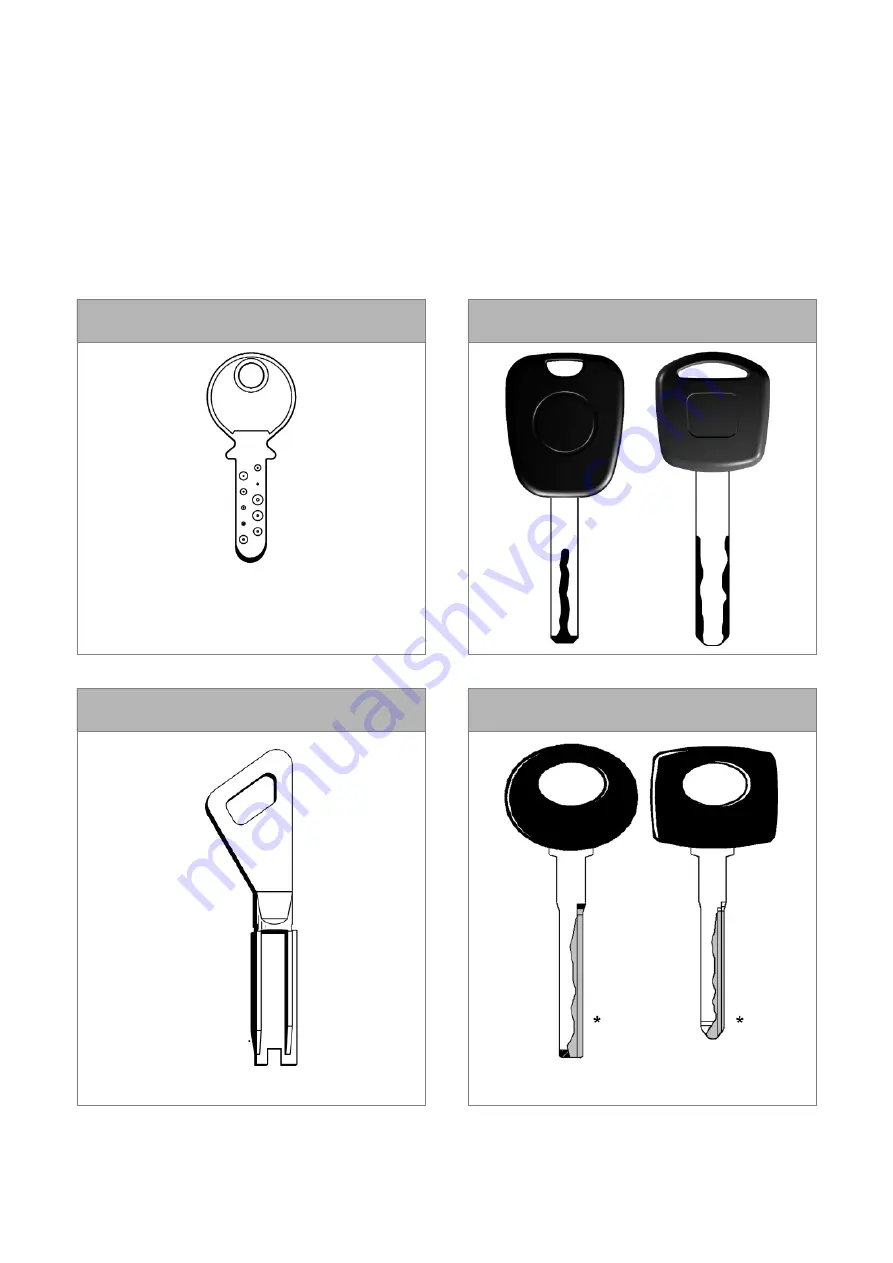
TWISTER II NA cuts the following types of keys:
• DIMPLE KEYS (with
fl
at cuts)
• LASER (SIDEWINDER) type keys
• keys for FICHET
DIMPLE KEYS
LASER (SIDEWINDER) TYPE KEYS
KEYS FOR FICHET
LASER NARROW-BLADE
(SIDEWINDER) TYPE KEYS
(*)
with optional adapter
Fig. 4


