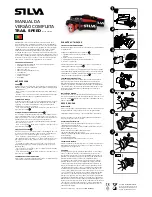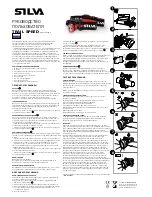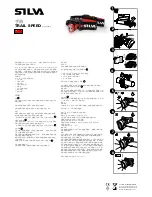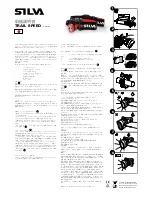
visit:
www.silva/enviroment
for more information about the
Waste electrical and electronic
equipment (Weee) Directive.
3
5
6
2
4
7
8
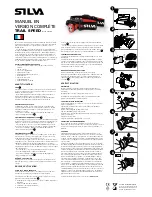
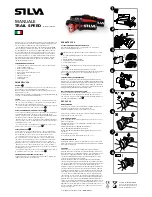
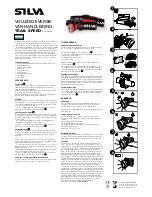
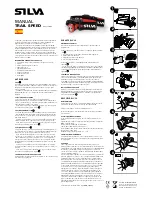
Thank you for choosing Silva Trail Speed headlamp. This ultra-
compact high power headlamp is designed for advanced sports
users who put performance and weight first.
The Trail Speed headlamp is equipped with Silva Intelligent Light®
which is a light distribution technology that combines a wide angle
flood light with a long reach spot light. This unique light image gives
the user peripheral and long distance vision at the same time. For a
runner, cross country skier, mountain biker or night orienteer this
translates into less head movement, increased control, better bal-
ance and more speed.
PRODUCT OVERVIEW
The Trail Speed headlamp consists of the following parts:
•
Headlamp unit
•
Ergonomic headset
•
Helmet bracket
•
Bike handlebar bracket
•
Battery case
•
4xAA Alkaline batteries
•
Extension cable
•
Quick guide
BEFORE USE
BaTTERIES
When inserting the batteries, be careful and note the battery pola-
rity. How to insert the batteries is marked on the battery case.
Never mix brands of batteries. Never mix new and used batteries.
When you are planning not to use the product for a longer period,
disconnect the battery case from the lamp.
HEaDSET
The elastic headset is designed to give a comfortable fit at speed ac-
tivities such as running, XC skiing etc. Adjust the headset by moving
the sliding buckle to fit it onto your head.
To remove, press the push button on the bracket and move the
bike light up and out.
2
BIkE HanDlEBaR aTTaCHmEnT
4
The bike handlebar attachment is designed for use on bike hand-
lebars with a dimension between 25 and 32 mm. Simply mount the
attachment by wrapping the rubber strap around the handlebar and
fasten it on the plastic hook.
Attach the bike light in the bike handlebar attachment by sliding
the bike light bracket into the snap-in socket.
To remove, press the push button on the bracket and move the
bike light up and out.
2
HElmET aTTaCHmEnT
3
The helmet attachment comes with a pre-mounted adhesive for
easy mounting on any helmet. It is designed to not affect the protec-
tive characteristics of the helmet.
To mount the helmet attachment, make sure the surface of the
helmet is clean and dry. Remove the protective film covering the
adhesive and press the bracket onto its correct position.
If you do not want to use the adhesive on your helmet the attach-
ment is prepared for mounting with 2 cable ties on the sides. (Not
included)
Attach the bike light in the helmet attachment by simply sliding the
bike light bracket into the snap-in socket.
To remove, press the push button on the socket and move the bike
light up and out.
2
FlExIBlE BaTTERy CaRRyIng
The battery can be carried in multiple ways; for example on a waist
belt or in a backpack or hip-bag.
DURIng USE
SWITCH On yOUR HEaDlamP
On the side of the headlamp body there is a push button which
controls all light modes.
Each press on the button gives you the following light:
5
1. Turns the headlamp ON with all LEDs in maximum power.
2. Both LEDs in min mode
3. Flood light LED in min mode
4. Starts over from 1
To turn OFF the headlamp; press and hold the button for 1 second.
6
The flash function, which is used to attract attention, is started from
OFF mode by pressing and holding the button for 1 second. To turn
OFF; press and hold the button for 1 second.
7
TEmP COnTROl
Note that the headlamp body temperature will increase during use.
The headlamp temperature is depending on light mode, ambient air
temperature and the airflow (speed). The Trail Speed headlamp is
equipped with a temperature control that prevents the headlamp
body from overheating by reducing the power to the LEDs.
BaTTERy InDICaTIOn
During operation of the headlamp there will be a low battery war-
ning when 20% of the battery time remains. This is done by flashing
both LEDs for 1 second and repeated again after 5 seconds.
8
aFTER USE
maInTEnanCE
To make sure you get maximum performance from your Trail Speed
headlamp, clean it regularly with a damp cloth.
Headset cleaning – wash in washing machine at 40C°.
Note! Always make sure to disconnect the battery when the head-
lamp is not used.
TECHnICal SPECIFICaTIOnS
Weight: headlamp (incl. head bracket excl. battery pack): 62 grams
Battery type: 4xAA Alkaline included (works with NiMh and Litium
also)
Light distance (Max/Min): 85m/45m
Lumen (Max/Min/Wide): 400 Lumen
Burn time: Max/Min/Wide/Flash: 2hours/7hours/7hours/15hours
Water resistance: IPX6
Operative temperature range: -20 - +60º
PROTECT THE EnVIROnmEnT.
Headlamp and batteries should be recycled and must not be thrown
in the regular trash. Dispose these items in accordance with appli-
cable local regulations.
WaRRanTy
Silva warrants that, for a period of two (2) years, your Silva Product
will be substantially free of defects in materials and workmanship
under normal use. Silva’s liability under this warranty is limited to
repairing or replacing the product. This limited warranty extends
only to the original purchaser.
If the Product proves defective during the Warranty Period please
contact the original place of purchase. Make sure to have your proof
of purchase on hand when returning the product. Returns cannot
be processed without the original proof of purchase. This warranty
does not apply if the Product has been altered, not been installed,
operated, repaired, or maintained in accordance with instructions
supplied by Silva, or has been subjected to abnormal physical or
electrical stress, misuse, negligence or accident. Neither does the
warranty cover normal wear and tear. Silva is not responsible for any
consequences, direct or indirect, or damage resultant from use of
this product. In no event will Silva’s liability exceed the amount paid
by you for the product. Some jurisdictions do not allow the exclusion
or limitation of incidental or consequential damages, so the above
limitation or exclusion may not apply to you. This Warranty is valid
and may be processed only in the country of purchase.
For more information please visit www.silva.se
full version manual
trail
speed
art.no 37310-3


