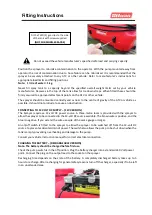
Position the sprayer to minimize contamination to the operator. With the pump mounted away from
operator the risk of contamination due to hose failure can be minimized. It is recommended that the
sprayer be securely attached to any ATV or other vehicle. Refer to manufacturer’s instructio
ns for
appropriate load limits and fitting positions.
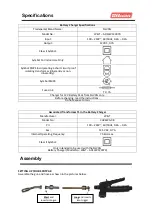
Note: 1 litre of water = 1 kg.
Never fill spray tank to a capacity beyond the specified overall weight limits set by your vehicle
manufacturer. Recesses in the top of the tank allow for tie down straps. When fitted these should be
firmly secured to approved attachment points on the ATV or other vehicle.
The sprayer should be mounted centrally and as near to the centre of gravity of the ATV or vehicle as
possible. It should not protrude to cause an obstruction.
CONNECTING TO 12 VOLT DC SUPPLY
–
(12V VERSION)
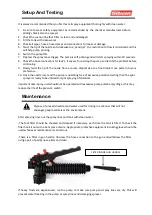
The Sprayer requires a 12-volt DC power source. A three-metre loom is provided with the sprayer to
allow the sprayer to be connected to the 12-volt DC source available. The brown wire is positive, and the
blue is negative. If you extend the wire use wire of the same gauge or larger.
An on/off switch is fitted to the sprayer to allow the sprayer to be switched off from the 12-volt DC
source to prevent accidental drain of power. The switch also allows the pump to be shut down when the
tank is empty preventing overheating and damage to the pump.
Consult your vehicle instruction manual for correct electrical connection.
CHARGING THE BATTERY
–
(RECHARGEABLE VERSION)
Note: The battery should be charged before first use.
Check the pump switch is in the off position. Plug the battery charger into a standard 240 Volt power
point. Connect the plug on the output lead to the socket on the sprayer.
Recharging time depends on the state of the battery. A completely discharged battery takes up to 5
hours to recharge. After recharging for general safety reasons turn off the charger, especially if to be left
in an unattended area.
Fitting Instructions
Do not exceed the vehicle
manufacturer’s specified safe load and carrying capacity.
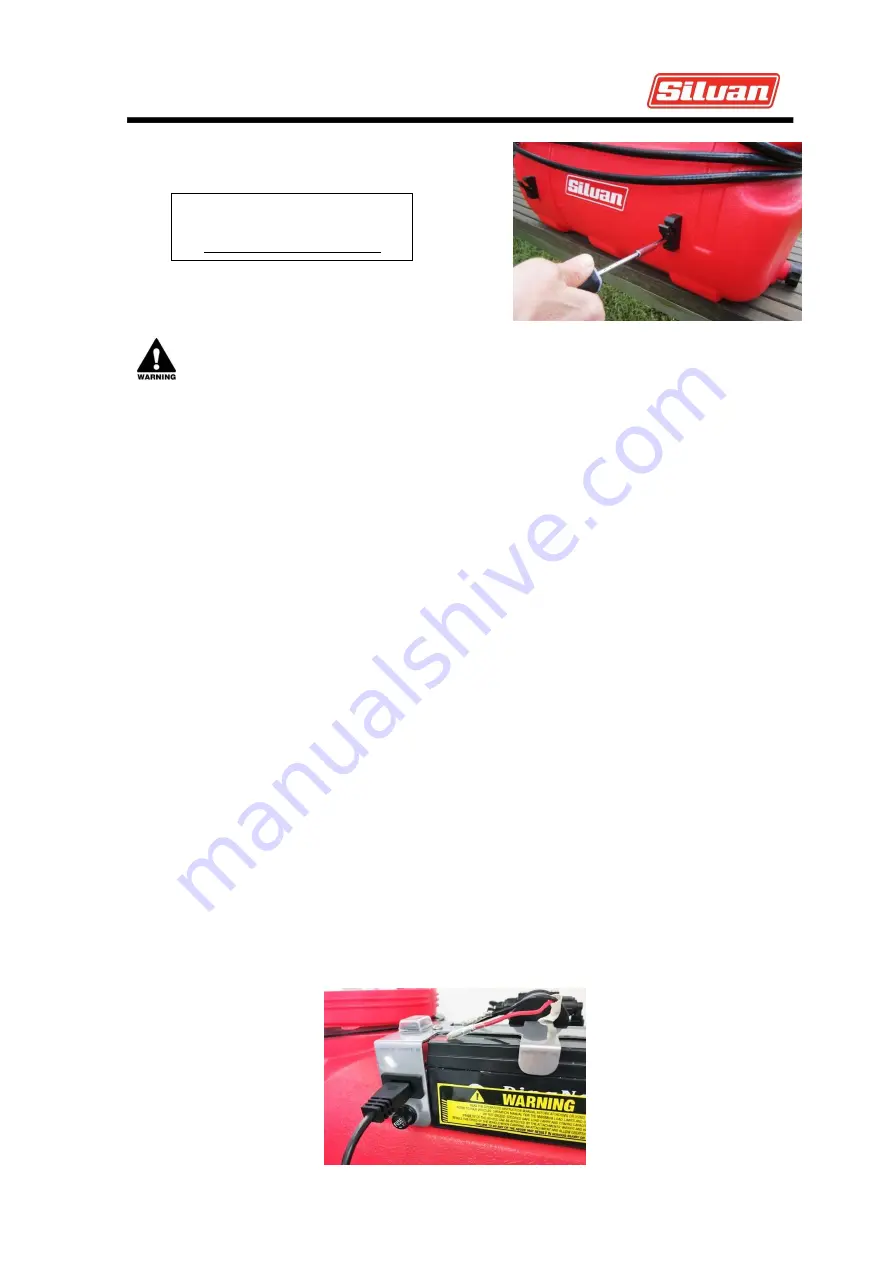
Fit the TWO (2) gun clips to the side
of the tank with screws supplied.
(NOT FOR MODEL SP25-TR2)