- 12 -
Programming the remote control
3 Programming methods are available for the remote control:
Programming by brand code search, by automatic code
search and by direct code input (manual).
First you should use the brand code search since this method
is the fastest way of programming if your device is itemized
in the code list. As second is recommended the direct code
input followed by the automatic code search.
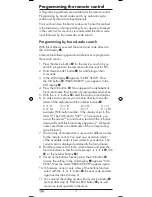
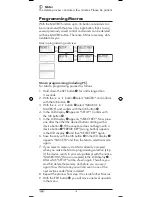
Programming by brand code search
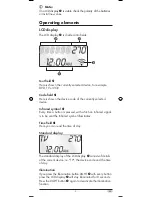
With this method you select the brand and code direct via
the LCD display
q
.
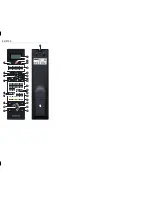
Observe the following operational references to programme
the remote control
1.
Press the device button
r
for the device, on which you
want to programme the remote control (except for PC).
2.
Hold down the SET button
e
for a little longer than
3 seconds.
3.
In the LCD display
q
appears "CODE SETUP". Press
the OK button
l
. "BRAND SRCH" now appears in the
LCD display
q
.
4.
Press the OK button
l
. Now appears the alphabetical
first brand name from the list of preprogrammed devices.
5. With the
buttons
h
select the various brand names.
6.
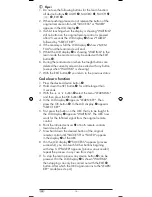
To make access easier you can skip directly to specific
letters of the alphabet with the number buttons
o
:
2 => A
3 => D
4 => G
5 => J
6 => M
7 => P
8 => T
9 => W
example: With button number 5 the display skips to the
letter "J". The first brand is "JVC"*. If, for example, you
own a "Kenwood"* brand device, leaf with the
button
downwards until this brand name appears. (* All brand
names used here are trademarks of the corresponding
manufacturer.)
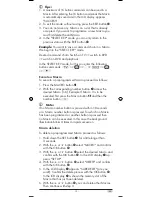
7. The majority of manufacturers use several different codes
for the remote control. You must now ascertain which
of the available codes is best suited to your device. The
current code is displayed underneath the brand name.
8. Point the remote control to the current device and press the
function buttons to test the code (except
h
, OK
l
, or the number buttons
o
).
9.
If most of the buttons function press the OK button
l
to save the setting. In the LCD display
q
appears "SUC-
CESS". Now the mode "BRAND SRCH" appears again.
10. If, however, none or only a few of the buttons function
select with the
or
button
h
the next code and test
again as described in step 8.
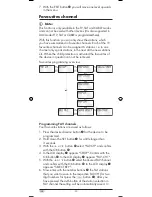
11.
You can end the setting mode with any device button
r
(except after step 5). With the EXIT button
j
you will
move one level upwards in the menu.
Summary of Contents for KH 2155
Page 2: ...KH 2155 e w q u y i o a r t s d f g j k 1 l h 2 2 2 2 2 2 2 2 䍖彋䠠 㔵彩湮敮 卡浳瑡本 ㄮ 敢牵慲 㤠ㄴ㨲 ...
Page 13: ... 11 SYSTEM SETUP overview ...
Page 32: ... 30 Description of fault ...
Page 33: ... 31 ...
Page 34: ... 32 ...


