11
GB
Switching on for the first time
1.
Connect the mains plug
16
to a suitable wall socket.
The wall socket must still be easily accessible after
connection.
2.
Pull only as much cable as necessary out of the cable
compartment
17
.
3.
Set the on/off switch
7
at the rear on the right to
I
:
- The touchscreen
8
lights up.
4.
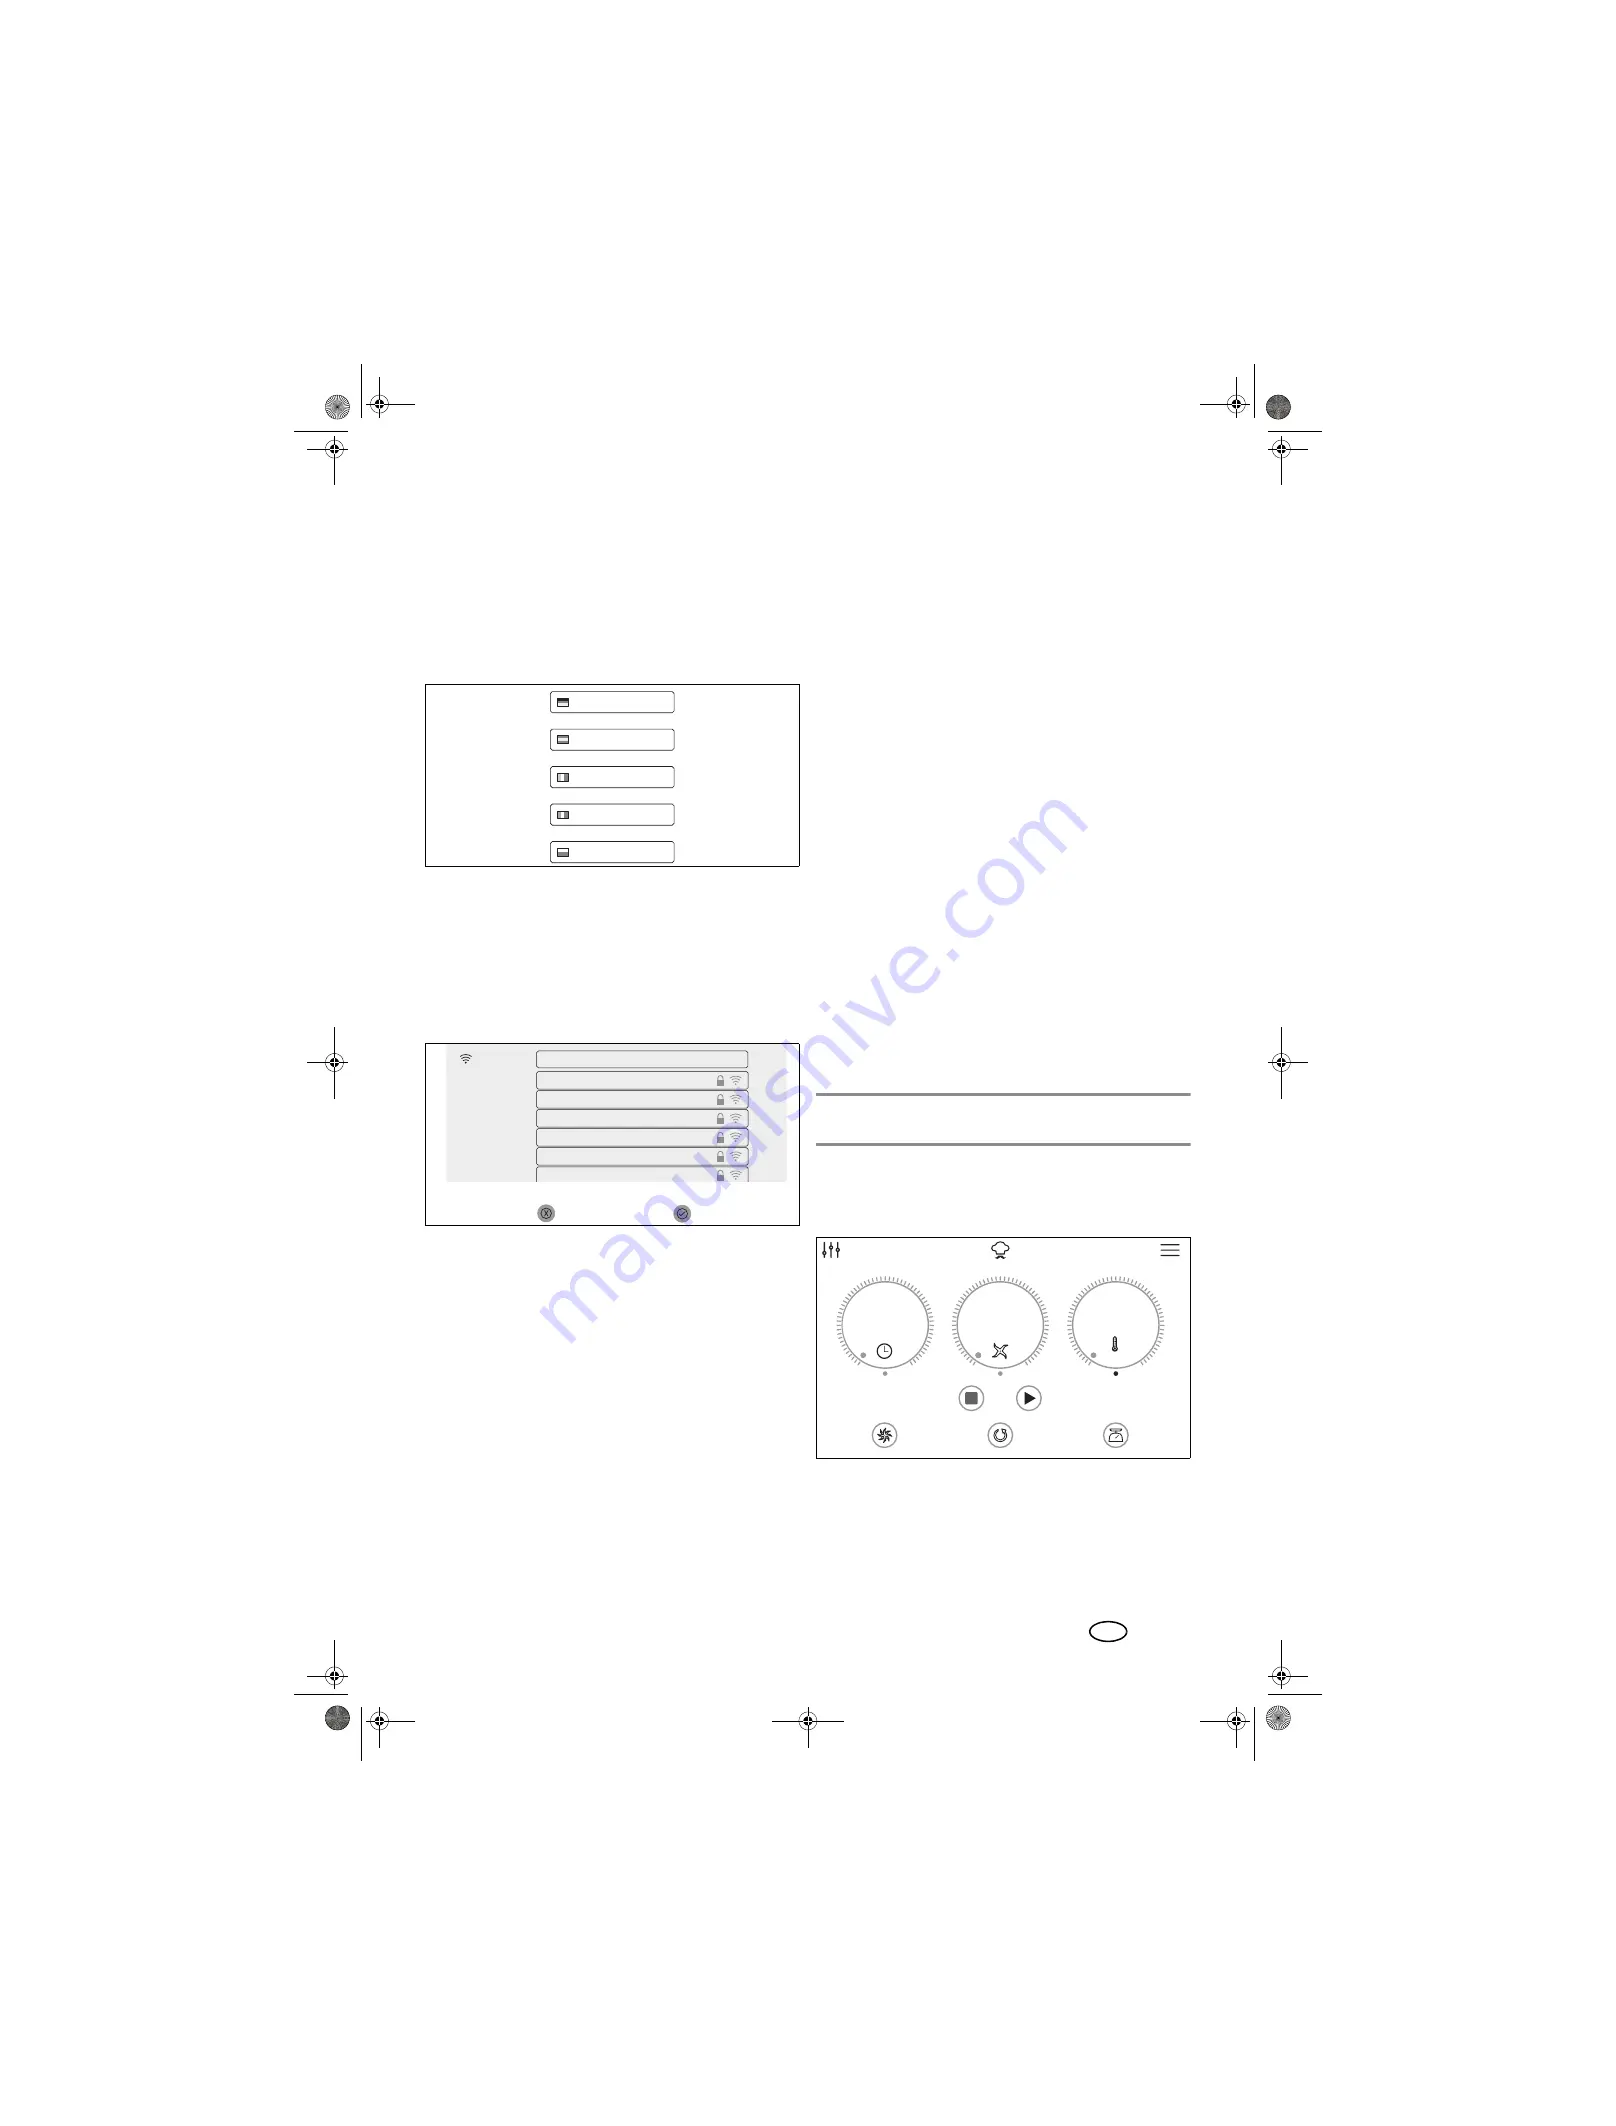
The screen that allows you to select the language ap-
pears. Press the field with the desired language.
5.
Our privacy statement will appear in the next win-
dow. Slide it up with your finger to read the rest of
the text. After reading, press the button
Take note of.
6.
After a few seconds, a window will appear prompt-
ing you to connect to the Internet.
- Tap
Cancel
on the screen if you do not want to con-
nect to the Internet. A tutorial will appear explaining
the basic functions. You can start or cancel this.
- Press
Continue
to connect to the Internet.
7.
A list with all visible WLAN networks appears.
- When first selected, WLAN networks will be
searched for automatically.
- Detected WLAN networks are displayed in a list.
- All visible WLAN networks are displayed.
8.
Swipe your finger on the screen to scroll up and
down the list.
9.
Tap on your WLAN network with one finger.
10. If the network is unprotected, the connection will now
be established. However, a small window will proba-
bly pop up, in which you will need to enter the
WLAN password (WLAN key).
There will also be a keyboard on which you can en-
ter the password.
11. After entering, press
CONNECT
in the upper win-
dow. The connection will be established.
12. After connecting, the active WLAN network is dis-
played in colour.
Connected
appears under the name
of the network in small writing.
Tap on
Continue.
13. Now follow two windows in which we ask for your
permission to receive, evaluate and forward the user
data of the MCC to a partner. More detailed informa-
tion can be found under the link
Data protection.
In each window press:
-
Refuse:
the data is not read out
-
Permit:
the consent to the data collection to the ex-
tent described is granted.
14. The following window is about your member ac-
count. You can choose between:
-
Use existing account:
when you press the button
with the check mark, you can log in to your existing
account. Enter your email address and password.
-
Register, new account
: when you enable this op-
tion, you can set up a new account. The program
will guide you through the registration process. At
the end of the process you will receive an email.
-
Skip:
atutorial will appear, introducing you to the
basic functions.
15. Click on the link in the email to activate your new ac-
count.
16. Enter the email address and the password in the de-
vice and press
Login
. You will receive a confirmation
of registration.
- Once the connection is established and you are
logged into the member account, new recipes from
our website will automatically be loaded and saved
in the “Monsieur Cuisine connect”.
17. Press
Continue
. In the next window you can subscribe
to the newsletter. To do this, slide one or both slide
switches to the right.
NOTE:
if you do not want to subscribe to a newsletter,
leave the menu without changing anything.
18. Press
Continue
. A tutorial will appear, introducing
you to the basic functions. Start it by pressing
Start
or
tap
X
to cancel it.
19. The start menu shown below will appear.
Deutsch
Español
Français
Italiano
Polski
WLAN
L
ars
H
WLAN-45692
Zw
icke
W
lan
N
et
z
WLAN-LZB7UB
WLAN-370155
F
R
I
TZ
I
B
o
x 7312
S
elect
a
net
w
ork
...
[W
P
A-
P
SK-CCM
P
+TK
IP
][W
P
A2-
P
SK-CCM
P
+TK
IP
-
preouth
][
E
SS]
[W
P
A2-
P
SK-CCM
P
][W
P
S][
E
SS]
[W
P
A-
P
SK-CCM
P
+TK
IP
][W
P
A2-
P
SK-CCM
P
+TK
IP
][W
P
S][
E
SS]
[W
P
A2-
P
SK-CCM
P
][W
P
S][
E
SS]
[W
P
A2-
P
SK-CCM
P
][W
P
S][
E
SS]
[W
P
A-
P
SK-TK
IP
][W
P
A2-
P
SK-CCM
P
][W
P
S][
E
SS]
B
ack
C
ontinue
A
uto
R
ecipes
S
ettings
00:00
0
°C
T
ur
b
o
A
nti
-
clock
w
ise
W
eighing
0
0
__338924_1907_MC-Connect_GB_online.book Seite 11 Donnerstag, 12. Dezember 2019 10:09 10


