Entering
basic settings
40
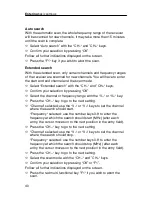
Auto search
With the automatic scan, the whole frequency range of the receiver
will be scanned for new channels. It may take more than 15 minutes
until the scan is complete.
Select “Auto search” with the “CH–“ and ”CH+“ keys.
Confirm your selection by pressing “OK”.
Follow all further indications displayed on the screen.
Press the "F1“ key if you wish to abort the scan.
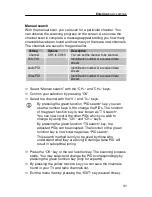
Extended search
With the extended scan, only certain channels and frequency ranges
of the receiver are scanned for new channels. You will have to enter
the start and end channel and the scan mode.
Select “Extended search” with the “CH–“ and ”CH+“ keys.
Confirm your selection by pressing “OK”.
Select the channel or frequency range with the “V–“ or “V+“ key.
Press the “CH–“ key to go to the next setting.
“Channel“ selected: use the “V–“ or “V+“ keys to set the channel
where the search should start.
“Frequency“ selected: use the number keys 0-9 to enter the
frequency at which the search should start (MHz) (after each
entry, the cursor moves on to the next position in the entry field).
Press the “CH–“ key to go to the next setting
“Channel“ selected: use the “V–“ or “V+“ keys to set the channel
where the search should stop.
“Frequency“ selected: use the number keys 0-9 to enter the
frequency at which the search should stop (MHz) (after each
entry, the cursor moves on to the next position in the entry field).
Press the “CH–“ key to go to the next setting.
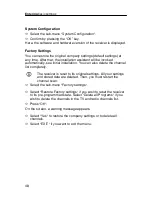
Select the scan mode with the “CH–“ and ”CH+“ keys.
Confirm your selection by pressing “OK” or “F1”.
Follow all further indications displayed on the screen.
Press the red multi-functional key "F1“ if you wish to abort the
scan.
Summary of Contents for SL 65 T
Page 1: ......
Page 2: ......
Page 17: ...Connecting the receiver 17 Connection diagram ...
Page 19: ...Connecting the receiver 19 Connection diagram ...
Page 21: ...Connecting the receiver 21 Connection diagram ...
Page 23: ...Connecting the receiver 23 Connection diagram ...


