

1
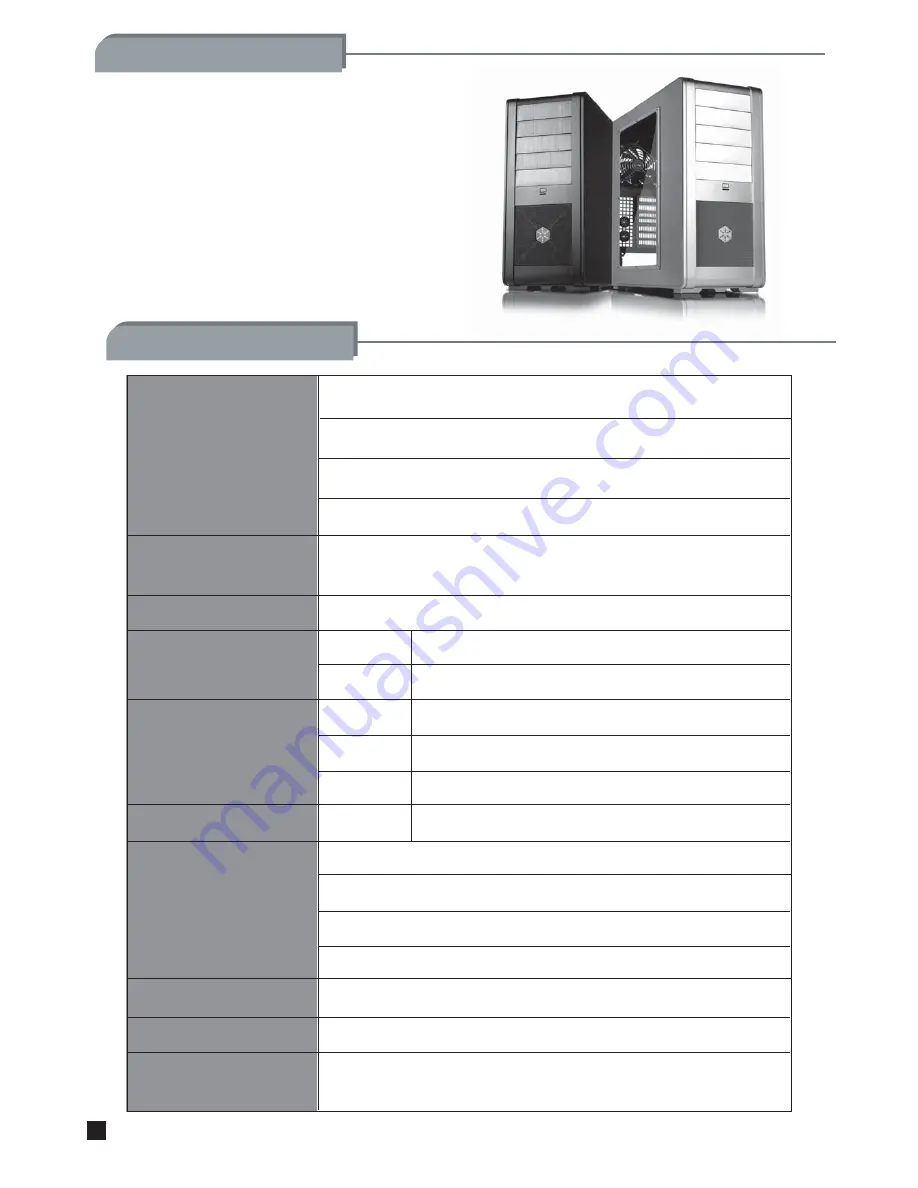
Product Overview
Specifications
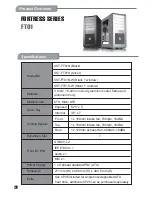
FORTRESS SERIES
FT01
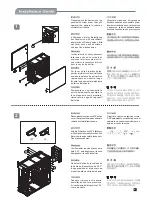
Internal
3.5” x 7
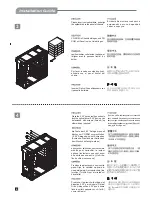
Cooling System
Front 1 x 180mm intake fan, 700rpm, 18dBA
Top 1 x 180mm intake fan, 700rpm, 18dBA
Rear 1 x 120mm exhaust fan, 900rpm, 18dBA
Expansion Slot 7
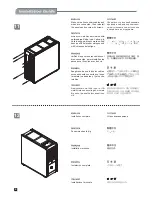
Front I/O Port
USB2.0 x 2
IEEE1394 x 1
audio x 1
MIC x 1
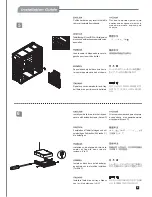
Power Supply
1 x Optional standard PS2 (ATX)
Dimension 211 mm (W) x 486 mm (H) x 494.5 mm (D)
One CP05 included for single hot-swappable SATA
hard drive, additional CP05 can be purchased separately
SST-FT01B (Black)
SST-FT01S (Silver)
SST-FT01B-W (Black + window)
SST-FT01S-W ( window)
Model No.
Material
3.0mm ~ 6.0mm uni-body aluminum outer frame and
aluminum body
Extra
Exposed
Motherboard
ATX, Micro ATX
Driver Bay
5.25” x 5
Summary of Contents for SST-FT01B
Page 1: ...MANUAL FORTRESS SERIES FT01...
Page 11: ......
Page 12: ...July 2008 Issue date G11207500...