ENG
99
9. MACHINE AND OPERATOR POSITION
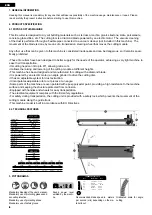
The machine must be installed on a flat and stable surface, free of obstacles and well lit.
Before starting the machine, we must carry out the necessary checks (electrical connection, stability, other protections, etc ...)
that have been mentioned in previous chapters.
• On set up, make sure that it is placed to work on a horizontal surface and that the ground is not soft.
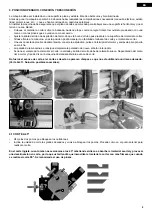
• Place the material to be cut on the bench, one of its sides leaning against the front screed. Immobilise it by pressing with one
hand or with the clamps that are sold as an accessory.
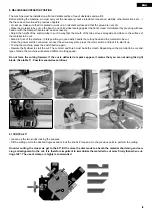
• Adjust the height of the suction tube in such a way that the mouth of the tube moves alongside and close to the surface of
the material to be cut.
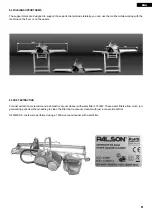
• Stand in front of the machine: in this position you can easily handle the cutting head and the material to be cut.
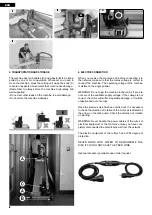
• Once the power cord is connected, connect the vacuum system, press the motor switch and lock it to start it up.
• To stop the machine, press the switch button again.
• Operate the flywheel to start the cut. The cut start and finish must be both smooth. Depending on the material to be cut and
type of blade, the machine will demand different cutting speed.
Do not force the cutting forward, if the cut is deflected or sparks appear, it means that you are not using the right
blade. (See table 11. Possible anomalies solution).
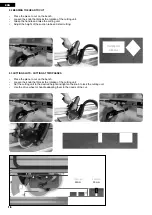
9.1 CORTE A 45º
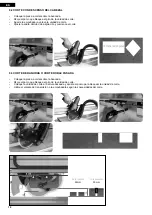
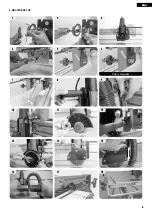
• Loosen up the two knobs locking the squares.
• Tilt the cutting unit to the desired degrees and relock the knobs. Proceed as in the previous point to perform the cutting.
On miter cutting, the closer we get to the 45º tilt the more the disc tends to absorb the material shortening and cau
-
sing a misalignment in the cut. It is therefore important to immobilize the material to cut more firmly than when cut
-
ting at 90º. The use of clamps is highly recommended
on


