“
∆
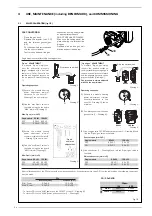
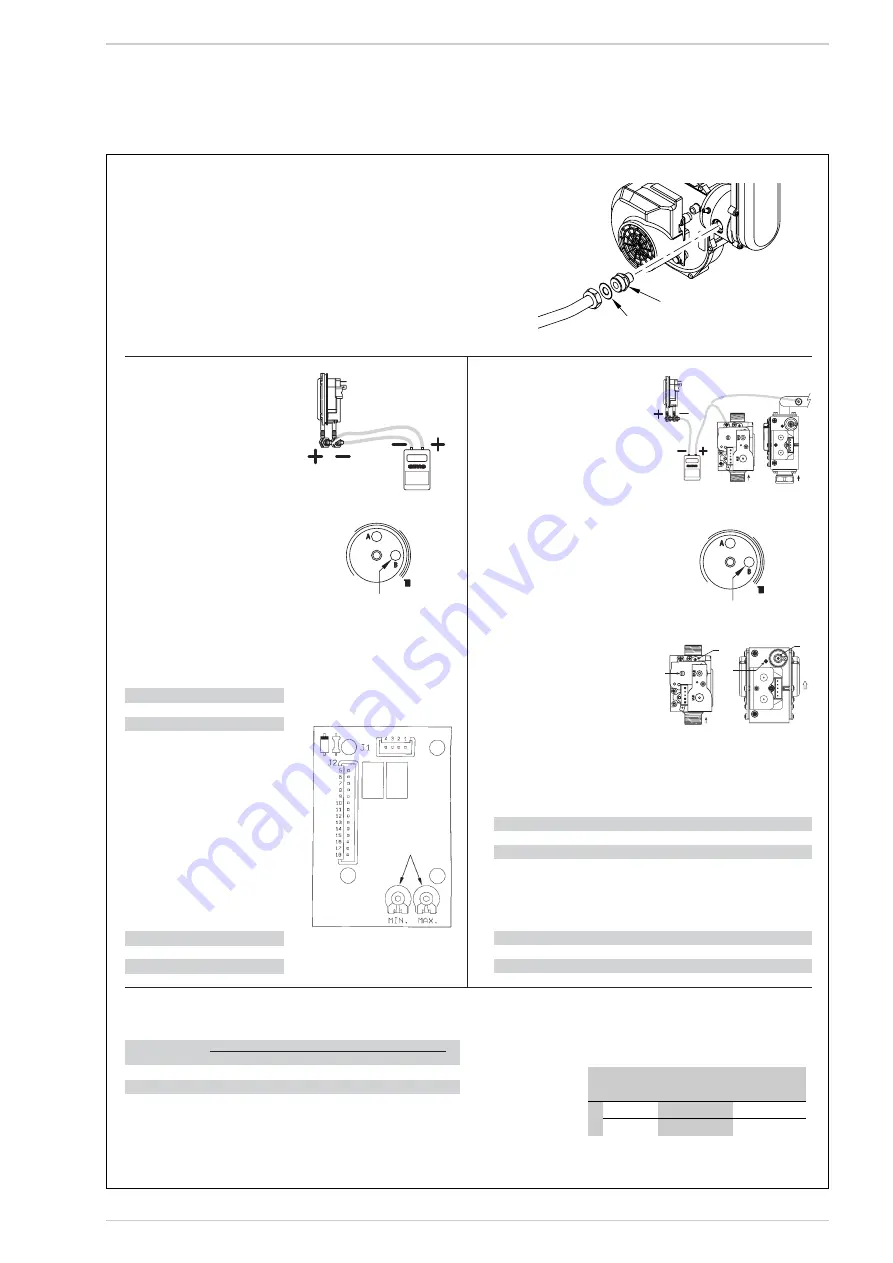
p air” ADJUSTMENT
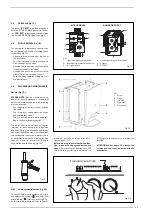
To measure “
∆
p air” simply con-
nect the differential pressure
gauge, equipped with a decimal
scale in mm H
2
O or Pascal, to the
positive and negative sockets on
the air pressure switch
(Drawing
1).
Operating sequence:
1)
Rotate the module heating
power adjustment trimmer
clockwise to the limit
(B –
Drawing 2); fan on maximum.
2)
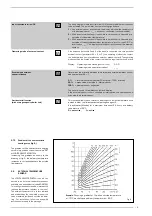
Find the “max
∆
p air” values in
the table, using the fan board
“MAX” trimmer
(Drawing 3):
Max.
∆
p air (mm H
2
O)
3)
Rotate the module heating
power adjustment trimmer
counter-clockwise to the limit
(B
– Drawing 2); fan on minimum.
4)
Find the “min
∆
p air” values in
the table, using the fan board
“MIN” trimmer
(Drawing 3):
Min.
∆
p air (mm H
2
O)
“
∆
p air-gas” ADJUSTMENT
To measure “
∆
p air-gas” simply
connect the positive socket on
the differential pressure gauge to
the downstream pressure fixture
and the negative socket to the air
pressure switch
(Drawing 4).
Gas pressure is always adjusted
with the fan on minimum.
Operating sequence:
1)
Rotate the module heating
power adjustment trimmer
counter-clockwise to the
limit
(B – Drawing 5); fan on
minimum.
2)
Completely unscrew the valve
gas shutter
(1 – Drawing 6).
Single modules are calibrated in heating position.
Pressostato aria
60 kW
100 kW
1
2
60 kW
100 kW
2
1
After calibrations, check the CO
2
values with a combustion analyser. If they deviate more than 0.2 from the table values, the following corrections
must be made:
– To correct CO
2
to the “MIN” power, use the OFF-SET screw
(2 – Drawing 6).
– To correct CO
2
to the “MAX” power, use the shutter
(1 – Drawing 6).
Drawing 6
Single module
60 kW 100 kW
G20
60.0 ±2 65.0 ±2
G31
63.0 ±2 70.0 ±2
Single module 60 kW
100 kW
G20
5.8 ±0,2
6.5 ±0,2
G31
10.9 ±0,2 7.0 ±0,2
B
Drawing 5
3)
Use the gas valve OFF-SET adjustment screw
(2 – Drawing 6) and
find the “
∆
p air-gas” value in the table.
Shutter open (mm H
2
O)
4)
Use the shutter
(1 – Drawing 6) and find the “
∆
p air-gas” value in
the table:
Adjusted shutter (mm H
2
O)
Single module
60 kW
100 kW
G20
4.2 ±0,1
5.2 ±0,1
G31
9.2 ±0,1
6.5 ±0,1
Single module
60 kW
100 kW
G20
3.8 ±0,1
4.3 ±0,1
G31
8.7 ±0,1
4.6 ±0,1
CO
2
Methane (G20)
Propane (G31)
“MIN” Power
9.0 ±0,2
10.0 ±0,2
“MAX” Power
9.0 ±0,2
10.0 ±0,2
Pressostato aria
B
Drawing 2
Drawing 1
Air pressure switch
Drawing 3
Air pressure switch
Drawing 4
“
∆
p air”
min/max
adjustment
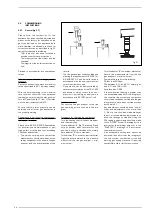
GAS CONVERSION
– Close the gas cock.
– Replace the injector (pos. 30)
and the relevant gasket (pos.
45).
– Cut the specified resistance on
the fan control board.
– Test for soundness all the gas
connections using soapy water
or appropriate products.
DO NOT USE NAKED FLAMES.
– Stick onto the casing panel the
plate showing the relevant fee-
ding gas.
– Proceed with air and gas cali-
bration as described below.
30
45
GB - 04/08
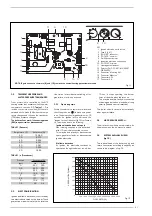
4.1
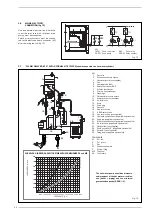
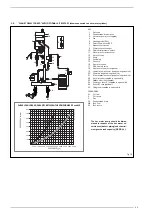
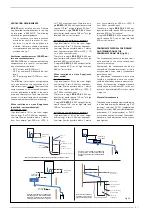
BOILER CALIBRATION (fig. 16)
Fig. 16
24
4
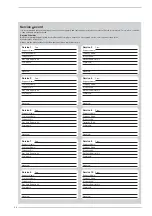
USE, MAINTENANCE (including BENCHMARK), and COMMISSIONING
CO ppm
100
400
CO
2
%
NG 9%
0,0011
0,0044
LPG 10%
0,0010
0,0040
CO / CO
2
RATIO
Summary of Contents for Planet Dewy 100 BFR
Page 3: ......
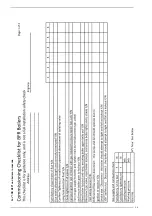
Page 29: ...29 For 100 BFR and boilers in cascade ...
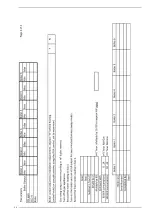
Page 30: ...30 ...
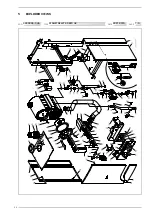
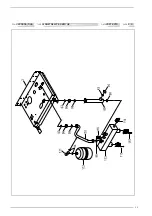
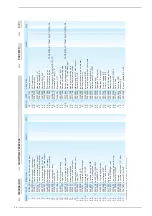
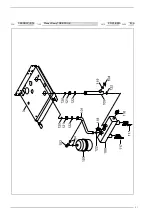
Page 32: ...32 5 EXPLODED VIEWS COD TYPE DATE PAGE 3830005 345 PLANET DEWY 60 BFR UK 20 01 2010 1 4 ...
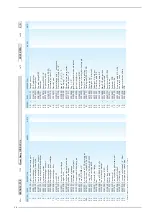
Page 33: ...33 COD TYPE DATE PAGE 3830005 345 PLANET DEWY 60 BFR UK 20 01 2010 2 4 ...
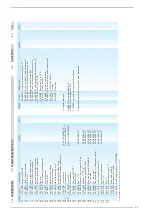
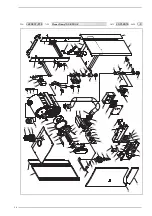
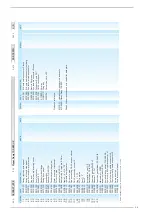
Page 36: ...36 COD TYPE DATE PAGE 3830037 212 Planet Dewy 100 BFR UK 20 01 2010 1 4 ...
Page 37: ...37 COD TYPE DATE PAGE 3830037 212 Planet Dewy 100 BFR UK 20 01 2010 2 4 ...


