background image

2

SAFETY INSTRUCTIONS

1.  Read these instructions.
2.  Keep these instructions.
3.  Heed all warnings.
4.  Follow all instructions.
5.  Do not use this apparatus near water.
6.  Clean only with dry cloth.
7.   Do not block any ventilation openings. Install in 

accordance with the manufacturer’s instructions.

8.  Do not install near the heat sources such as radiators, 

heat registers, stoves, or other apparatus (including 

amplifiers) that produce heat.

9.   Do not defeat the safety purpose of the polarized or 

grounding-type plug. A polarized plug has two blades 

with one wider than the other. A grounding type plug 

has two blades and a third grounding prong. The wide 

blade or the third prong are provided for your safety, if 

the provided plug does not fit into your outlet, consult 

an electrician for replacement of the obsolete outlet.

10.  Protect the power cord from being walked on or 

pinched particularly at plugs convenience receptacles, 

and the point where they exit from the apparatus.

11.  Only use attachments/accessories specified by  

the manufacturer.


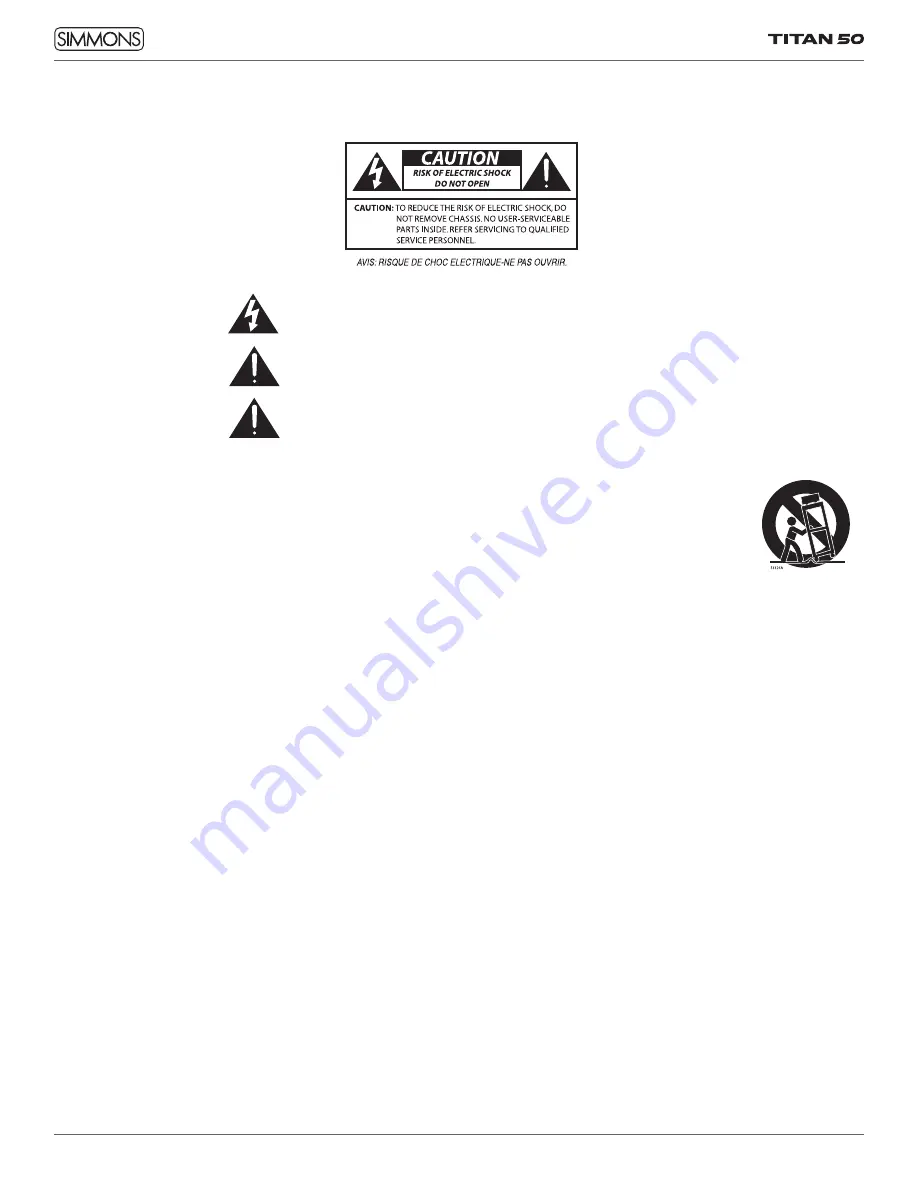
THE LIGHTNING FLASH WITH ARROWHEAD SYMBOL WITHIN AN EQUILATERAL TRIANGLE IS INTENDED TO 

ALERT THE USER TO THE PRESENCE OF UNINSULATED DANGEROUS VOLTAGE    WITHIN THE PRODUCT’S 

ENCLOSURE THAT MAY BE OF SUFFICIENT MAGNITUDE TO CONSTITUTE A RISK OF ELECTRIC SHOCK TO 

PERSONS.


APPARATUS SHALL NOT BE EXPOSED TO DRIPPING OR SPLASHING AND THAT NO OBJECTS FILLED WITH 

LIQUIDS, SUCH AS VASES, SHALL BE PLACED ON THE APPARATUS.


THE EXCLAMATION POINT WITHIN AN EQUILATERAL TRIANGLE IS INTENDED TO ALERT 

THE USER TO THE PRESENCE OF IMPORTANT OPERATING AND MAINTENANCE(SERVICING) INSTRUCTIONS IN 

THE LITERATURE ACCOMPANYING THE PRODUCT.

12.  Use only with the cart, stand, tripod,  

bracket, or table specified  by the  

manufacturer, or sold with the  

apparatus. When a cart is used,  

use caution when moving the cart/ 

apparatus combination to avoid injury  

from tip-over (Figure1).

13.  Unplug this apparatus during lightning storms or when 

unused for a long periods of time.

14.  Refer all servicing to qualified service personnel. 

Servicing is required when the apparatus has been 

damaged in any way, such as power-supply cord or 

plug is damaged, liquid has been spilled or objects 

have fallen into the apparatus, the apparatus has 

been exposed to rain or moisture, does not operate 

normally, or has been dropped.

WARNING: To reduce the risk of fire or electric shock, do 

not expose this apparatus to rain or moisture.
CAUTION: Apparatus shall not be exposed to dripping or 

splashing and no objects filled with liquids, such as vases, 

shall be placed on the apparatus.
CAUTION: Apparatus shall not be exposed to dripping or 

splashing and no objects filled with liquids, such as vases, 

shall be placed on the apparatus.

Figure 1

Summary of Contents for TITAN 50

Page 1: ...SimmonsDrums net OWNER S MANUAL ELECTRONIC DRUM KIT WITH MESH HEADS...

Page 2: ...ONSTITUTE A RISK OF ELECTRIC SHOCK TO PERSONS APPARATUS SHALL NOT BE EXPOSED TO DRIPPING OR SPLASHING AND THAT NO OBJECTS FILLED WITH LIQUIDS SUCH AS VASES SHALL BE PLACED ON THE APPARATUS THE EXCLAMA...

Page 3: ...damage To avoid damaging the unit turn the Titan 50 and all related devices OFF prior to connecting or disconnecting cables HANDLING AND TRANSPORT Never apply excessive force to controls connectors an...

Page 4: ...nd Navigation 17 Adjusting Values 17 KIT MODE Selecting a Kit 18 Using the Metronome Click 18 Using a Double Kick Pedal 18 KIT MODE ADVANCED Editing a Drum Sound 19 Editing the Kit Mix 20 Saving and N...

Page 5: ...5 OWNER S MANUAL FINAL ASSEMBLED KIT...

Page 6: ...2 Input EXTERNAL CONNECTIONS 1 8 Headphone Output 1 4 Master Outputs x2 1 4 Pad Inputs x2 1 8 TRS Aux Input USB Connection for MIDI via computer Bluetooth Wireless Audio and MIDI SEQUENCER Preset Son...

Page 7: ...0M TS Hi Hat Pedal Foot Controller T50HHC Hi Hat Arm Short 2 Cymbal Arms Long Multi pin Cable Harness 1 Pair Drumsticks AC Adaptor 4 L Rods for Pads 8 Cable Rack Clips 4 Hook and Loop Cable Strips Dru...

Page 8: ...ons 4 Tighten nuts on side arm clamps 5 Loosen L rod wing nuts on tom clamps the clamps that angle up above the rack Insert plastic of L rod into tom clamps and tighten wing nuts Add another L rod to...

Page 9: ...he drum clamps as shown in the image above The shorter thicker end of the L rod goes into the clamp and the longer metal end faces the drummer 3 Slide the drum pads onto the L rods The 10 snare pad go...

Page 10: ...ule From Sound Module to 7 Pads To Tom 3 To Hi Hat To Tom 1 To Tom 2 Using the provided cables connect the 1 4 jacks to the corresponding drum pads cymbal pads and kick pad The 25 pin connector will a...

Page 11: ...d loop ties to attach cables to the vertical sections of the rack AC ADAPTER The Titan 50 module uses an external power supply called an AC Adapter This plugs into the back of the module Make sure the...

Page 12: ...h the line outputs and the headphone output volume 3 You can connect a standard pair of headphones to the Titan 50 module to listen to your electronic drum set without disturbing others Connect the he...

Page 13: ...Simmons App for iOS See page 29 for connection instructions USB AUDIO AND MIDI CONNECTION The USB connector allows you to connect the module directly to your computer It can be connected without drive...

Page 14: ...14 TITAN 50 DRUM MODULE OPERATION TOP PANEL 1 3 10 13 11 12 7 8 9 4 15 16 5 6 2 14...

Page 15: ...on or off 10 Mix Mute In Kit mode press this button to change the level pan and effects for the drum kit In Song or Practice mode press this button to change the balance between the drum sounds and t...

Page 16: ...ine outputs and headphone outputs 5 Left Mono and Right Line outputs to connect to a sound system or drum monitor If you only plug into the Left Mono output it will include both left and right signals...

Page 17: ...f time The default setting is off If this gets changed you can reset this in the Utility mode BASIC OPERATION AND NAVIGATION There are 4 main modes for the module KIT SONG PRACTICE and SETUP To enter...

Page 18: ...u set USING A DOUBLE KICK PEDAL The kick pad on the Titan 50 was designed to work with a double kick pedal When playing with a double kick pedal you might want to play a closed high hat sound similar...

Page 19: ...SEL again to select a different parameter to change 6 Press the SAVE buttons MIX MUTE PLAY to save the assignment to a User Kit See Saving a kit Parameter Definition Notes D Drum Sound Press to selec...

Page 20: ...ng or balance of the current drum sound The default for most kits is to have all the drum panning at center because most of the acoustic drum samples are in stereo even the hi hats Drum Level and Pan...

Page 21: ...o move the cursor to the next letter to change 6 Press the SAVE one last time to write the kit The display will read Saved then return to Kit mode FACTORY RESET If you ever want to return all settings...

Page 22: ...rums press MIX MUTE and then use the and buttons to change the balance CHANGING THE DRUM MIX After muting the drum part in the step above you change the balance between your drum sounds and the backin...

Page 23: ...rd button You will hear the Click metronome sound count in Begin playing after the count off NOTE To hear the metronome click during recording open Setup and change ClickRec to On See page 27 for more...

Page 24: ...shows up in the display in Practice Mode 2 Press or to select one of the Practice songs Press Edit to change other settings 3 Press Play There will be a 1 bar intro that plays the drum beat along with...

Page 25: ...lick and band will be silent for one bar 5 NoClik1 3B The backing track and click will play for one bar then the click and band will be silent for one bar On bar three only the bass part will come bac...

Page 26: ...each pad input This changes the way dynamics work on the pad Normal is the default setting For a bigger change from soft to loud try Dyn dynamic To make the kit easier to play use Easy or Fixed X Tal...

Page 27: ...hat come with the kit are single zone This means you can expand your kit one of two ways Either replace the tom with a dual zone pad head and rim or use a cable to split the TRS cable into a pair of T...

Page 28: ...th are Class Compliant for macOS and Windows computers no driver is required Just plug it into your computer and your DAW software should recognize the device You might need to set up the Titan 50 as...

Page 29: ...your device BLUETOOTH WIRELESS MIDI The Titan 50 includes Bluetooth wireless MIDI for connection to apps like the Simmons App for iOS To connect the drum module to your tablet or smartphone open the B...

Page 30: ...are 29 LdCOBDm Sn Snare 30 LdCOBDm RS Snare 31 KepLyer Sn Snare 32 KepLyer RS Snare 33 PnkRing Sn Snare 34 PnkRing RS Category Sound Sound Name Toms 35 TamImp 13 Toms 36 TamImp 16 Toms 37 TamImp 18 To...

Page 31: ...cas Perc 97 TimbaleHi Perc 98 TimbaleLow Perc 99 Tumba Perc 100 TumbaLow Category Sound Sound Name Perc 101 Tambourn Perc 102 SurdoHi Perc 103 SurdoLow Perc 104 Pandero Perc 105 TablaDGEE Perc 106 Tab...

Page 32: ...ETom 157 RattleTom4 EHi Hat 158 TechHat Cl EHi Hat 159 TechHat Op EHi Hat 160 RnB Hat Cl EHi Hat 161 HipHopHHCl EHi Hat 162 HipHopHHOp EHi Hat 163 SDS7 HH Cl EHi Hat 164 SDS7 HH Op EHi Hat 165 SDS7 HH...

Page 33: ...4 Song 08 User Song 5 Song 09 User Song 6 Song 10 User Song 7 KIT LIST Kit Name 1 Heavy Rock 2 Modern Pop 3 Metallic 4 Americana 5 Funk Booty 6 Yacht Rock 7 Fusion Club 8 Sunset Strip 9 Empire 10 Pun...

Page 34: ...121 X X X X X X X X X X X X X X O O O O O O O O O O O O O 1 O Bank Select Modulation Data Entry Volume Pan Expression Sustain Sostenuto Soft pedal DSP TYPE Portamento DSP DEPTH RPN LSB MSB Reset all...

Page 35: ...Simmons P O Box 5111 Thousand Oaks CA 91359 5111 All trademarks and registered trademarks mentioned herein are recognized as the property of their respective holders FCC STATEMENT 1 Caution Changes o...

Page 36: ......

Reviews: