Installation Instructions Document No. 466-1574
27
Programming Sensors
These instructions show you how to program sensors,
touchpads and other system devices into the Control
Panel.
Program sensors and devices before you install them.
The Control Panel recognizes a sensor when you
press the sensor’s program button or tamper switch.
Note
: The hardwire inputs must have sirens, hardwire sen-
sors, or 47k Ohm resistors connected between the positive
and negative terminals before learning in a sensor. If one of
these connections is not made, the panel will learn in a
hardwire zone. See the section “Wiring the Control Panel”
on page 21.
Note
: If you are installing a sensor used with a gun case,
jewelry box, or similar usage, and the sensor is active in lev-
el one, you must go into program mode to avoid putting the
Control Panel into alarm when the sensor and the magnet
are separated.
Table 19 describes the programming button location
for each device.
Note
: When installing crystal sensors, use the installation
instructions included in their packing boxes. The appendix
at the back of this document has instructions for the SAW
sensors.
The Control Panel uses an ascending numbering se-
quence (beginning with 1) when adding (learning)
sensors. You may override the system suggested sen-
sor number by using the red numbered keys.
Use Table 1 on page 5, which was filled out during the
system planning, to help program sensors.
To add a hardwire or RF sensor, SWS, or remote
control:
Note
: Do not program the SWS into the control panel until
the house code has been programmed. See “Programming
the House Code and Unit Numbers*” on page 26.
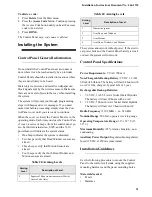
1. Press Add from the Start menu.
2. Press the Sensor/Remote button from the Main
menu until you hear the room name or item you
want to add. The order of names the Control
Panel uses are: keychain remote, touchpad
remote, front door, back door, garage door, bed-
room, guest room, child’s room, utility room, liv-
ing room, dining room, bathroom, laundry room,
kitchen, office, den, garage, special chime, base-
ment, upstairs, downstairs, hallway, medicine
cabinet, closet, attic. Each name may be used
more than once.
Note
: When adding sensors, if you wish to use a more de-
scriptive location you may press the option button to use the
compass directions (north, north east, east, south east,
south, south west, west, north west). This is especially use-
fule when installing a system with a Touchtalk 2-Way RF
Touchpad. The touchpad will not announce the sensor
numbers when the system status is pressed. Instead of
Sensor 1 Bedroom Open
you will hear
Bedroom Sensor
Open
. For example, if you have two bedrooms, name the
sensors West Bedroom and East Bedroom. When status is
pressed on the touchpad you will hear
West Bedroom Sen-
sor Open
.
3. Press DONE when you hear the name you wish
to add.
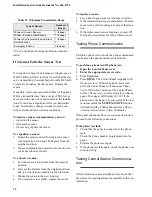
4. Enter the 2 digit sensor type using Table 1 on
page 5, with the red numbered keys.
Note
: If you wish to use a sensor number other than the
next available, enter a 2 digit sensor number with the red
numbered keys immediately after entering the sensor type.
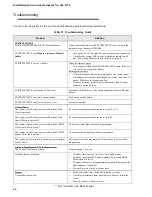
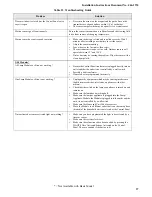
5. Press the sensor’s program button or tamper
button. Open the switch of hardwired sensors.
See Table 19, “Device Programming” for more
information. The Control Panel verbally con-
firms your programming.
Table 19 Device Programming
Device
To Program
Door/Window Sensor
Press button on top of sensor
(cover removed)
Motion Sensor
Press button on back of sensor
(mounting plate removed)
KeyChain Touchpad
Press lock & Unlock buttons
Remote Handheld Touch-
pad and Touchtalk 2-Way
RF Touchpad*
Press the EMERGENCY but-
tons (to be used for non-medi-
cal emergencies)
Hardwire Sensors
Separate sensor from magnet
SWS*
Plug in the module
CO Alarm
Plug in the modules and within
30 seconds press the button for
6 beeps
Freeze & Water
Press the button on top of the
sensor (cover removed) until
the control panel confirms the
programming. If the button is
not held down long enough,
SYSTEM STATUS will report
the sensor is open.
* = Not Available with Basic Model


