


9
8
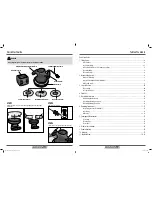
Intended Application
Safety Advice
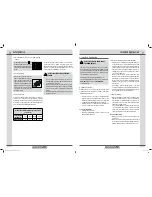
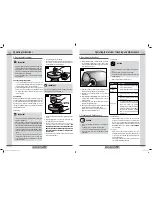
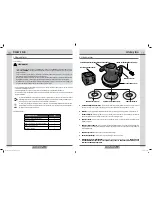
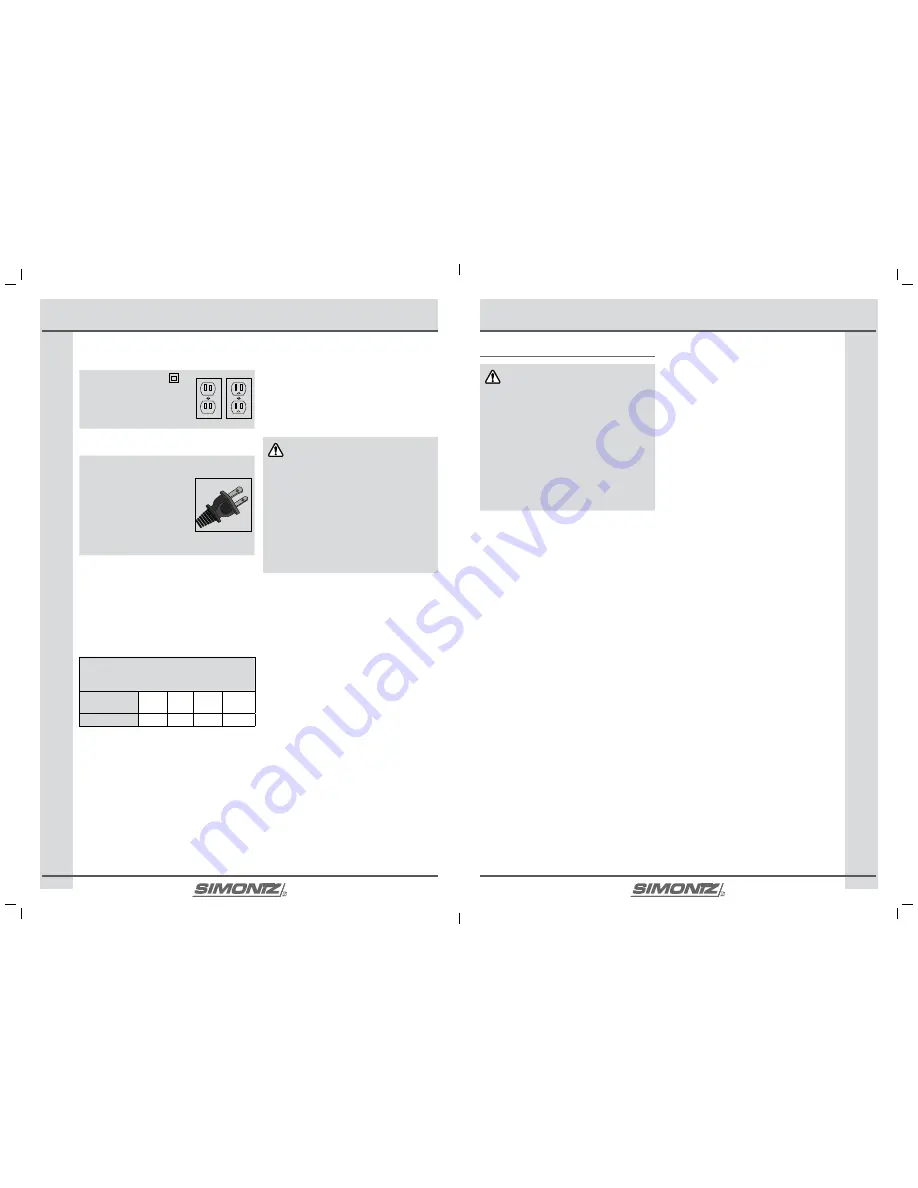
1.3 Double Insulated Tools: Tools with 2-prong
Plugs
Tools marked with class II logo are
"double insulated" and do not require
grounding. Double insulated tools may
be used in either of the 120V outlets as
shown.
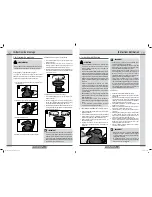
1.4 Polarized Plug
This tool has a polarized plug (one
blade is wider than the other). To
reduce the risk of electric shock, this
plug is intended to fit into a polarized
outlet only one way. If plug does not fit
fully into the outlet, reverse the plug. If
it still does not fit, contact a qualified
electrician. Do not attempt to modify
the plug in any way.
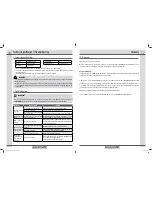
1.5 Extension Cords
As the distance from the supply outlet increases, you must use
a heavier gauge extension cord. Using extension cords with
inadequately sized wire causes a serious drop in voltage, resulting
in loss of power and possible product damage. Refer to the table
here to determine the required minimum wire size.
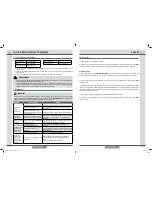
Recommended minimum Wire Gauge for Extension
Cords (120 v)
TOTal lEnGTh
Of CORD (fT.)
0-25
26-50 51-100 101-150
WIRE SIzE (aWG)
16
16
14
12
The smaller the gauge number of the wire, the greater the
capacity of the cord. For example, a 14-gauge cord can carry a
higher current than a 16-gauge cord. When using more than one
extension cord to make up the total length, be sure each cord
contains at least the minimum wire size required.
GUIDElInES fOR USInG ExTEnSIOn
CORDS
•
If you are using an extension cord outdoors, be sure it is
marked with the suffix "W-A" ("W" in Canada) to indicate
it is acceptable for outdoor use.
•
Ensure your extension cord is properly wired and in good
electrical condition. Always replace a damaged extension
cord or have it repaired by a qualified technician before
using it.
•
Protect your extension cords from sharp objects, excess heat
and damp or wet areas.
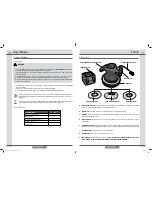
2. Intended application
BaSICS yOU ShOUlD KnOW aBOUT
yOUR POWER TOOl
This power tool is only intended to function as a polisher/
waxer. Operations such as grinding, wire brushing, or cutting
are not recommended to be performed with this power tool.
Operations for which the power tool is not designed may lead
to personal injury or property damage.
This equipment is not designed for industrial use. For
questions regarding other uses, please refer to our website at
www. simoniz.ca
or call us at
1-866-4SImOnIz
(1-866-474-6664).
2.1 What is Polishing?
Polishing is the process of creating a smooth and shiny surface
by rubbing it or using a chemical action, leaving a surface with a
significant specular reflection.
•
Polishing is usually a 2 –3 step process, starting first with an
aggressive polish to remove imperfections, swirls, etc. then
followed by a milder (finishing) polish to remove any hazing
or slight marring and bring back the gloss to the finish.
•
Polishing can be used to enhance the looks of certain parts
on cars, motorbikes, boats, handrails, and the like.
you can use this tool for:
•
Polishing of lacquered wood.
•
Removing or minimizing imperfections, scratches, etc. from
fibreglass and metal surfaces.
2.2 how is Polishing Different from Waxing?
•
Polishing is often a misunderstood and intimidating step
in the detailing process. It is unlike waxing because with
polishing you must work the polish in and break down the
abrasives in order for it to work effectively. This is done by
using friction and/or heat. Whereas with waxing, you are
applying a layer of protection on top of the paint, so there is
no need to work the wax in.
•
When a polish is worked in properly, it will either round
the edges of the scratches/swirls, stopping the light from
reflecting off of it, or remove a minute layer of paint where
the imperfection was. The amount of paint that is removed
depends on the aggressiveness of the polish, pad and
machine used.
•
Not working a polish in completely is one of the most
common mistakes when using a polish. This will lead to less
desirable results and in some cases will make the finish look
worse by giving the paint a cloudy appearance.
2.3 What is Waxing?
•
Waxing is generally done with products containing a large
amount of carnauba wax (a wax that is derived from the
carnauba palm) or synthetic wax. Wax is applied to the
exterior paint or clear-coat of the work surface and is then
buffed using a soft rag or cloth.
•
A good quality liquid wax is recommended because of its
ease of application, but a paste wax will also work with
a little more effort. Hard paste wax, however, should be
applied by hand, then removed using this power tool.
you can use this tool for:
•
Waxing wood or lacquered wood surfaces, fibreglass and
metal surfaces.
•
Waxing to create a protective barrier between the exterior of
the work surface and the environment. Waxing also helps to
maximize the glossy "wet" look that consumers love to see.
039-9055-6-Polisher kit-EN-FR-02.indb 8-9
11/9/12 4:10 PM


