


11
10
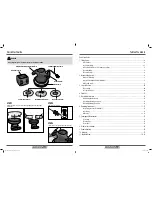
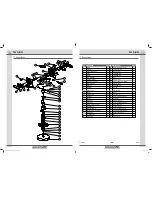
Parts list
Scope of Delivery
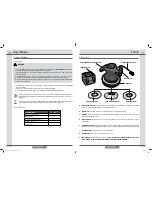
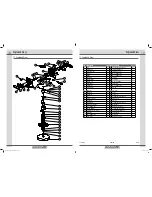
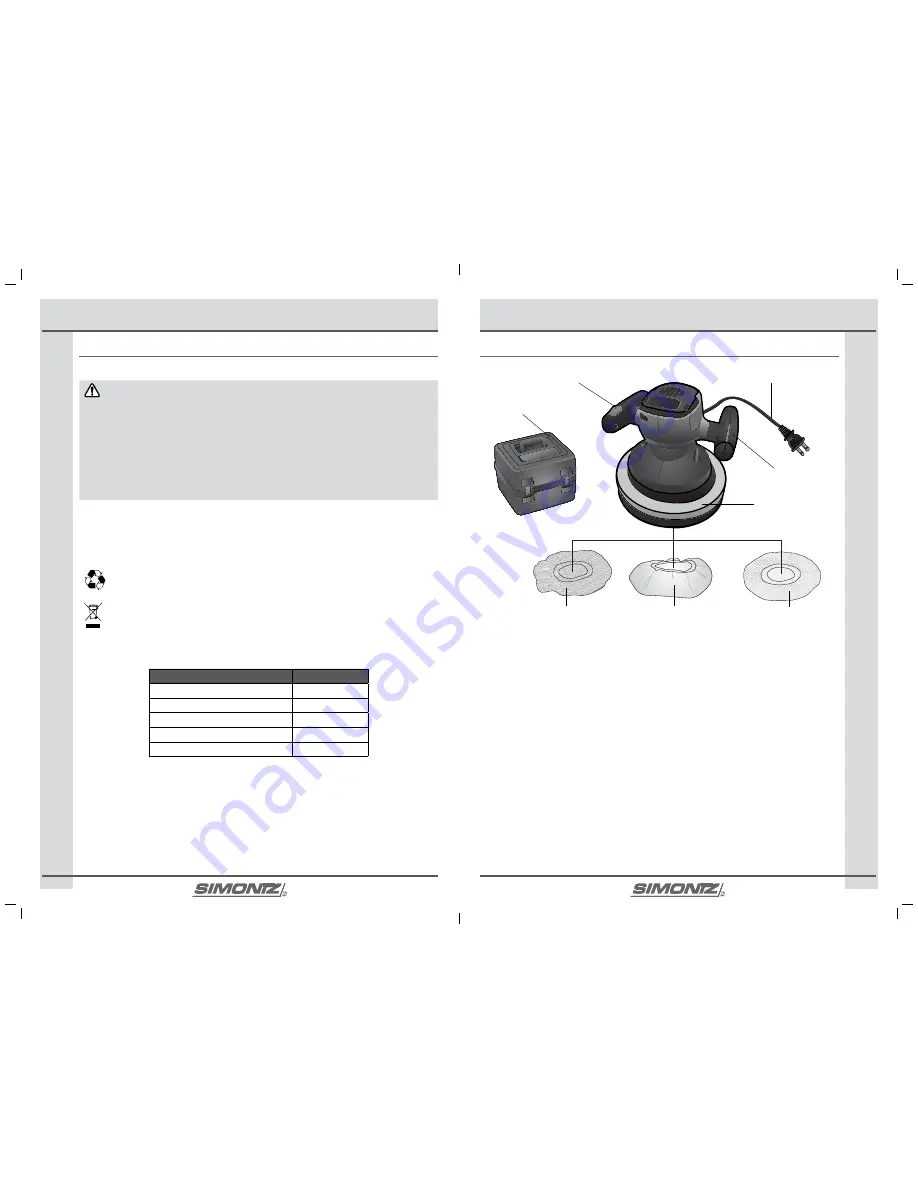
4. Parts list
lEfT hanDlE (B)
RIGhT hanDlE WITh On/Off SWITCh (h)
POWER CORD WITh PlUG (a)
Wax aPPlICaTOR (D)
fOam PaD (C)
fOam Wax aPPlICaTOR (E)
POlIShInG BOnnET (f)
CaRRyInG CaSE (G)
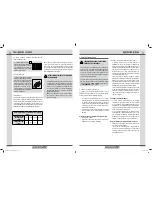
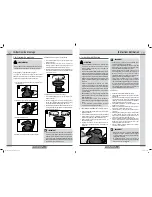
a. POWER CORD WITh PlUG:
This tool should be used on a nominal 120 V circuit. Verify that the tool is plugged into an outlet that
has the same configuration as the plug. Do not use an adapter with this tool.
B. hanDlES:
Both handles (B, H) stabilise your tool and should be used at all times during operation.
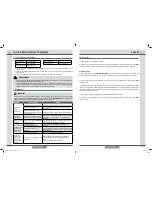
C. fOam PaD:
This 10" cushioned foam pad is friction-resistant and ideal for trim work and curved panels. This pad is used for
attaching polishing/waxing accessories.
D. Wax aPPlICaTOR:
This applicator is an accessory used for applying wax. It is a little more abrasive and tends to help remove
oxidation better.
E. fOam Wax aPPlICaTOR:
This applicator is another accessory used for applying wax. It is less abrasive and tends to provide a
smoother and more consistent application. This foam applicator (E) can get into more tight areas than the regular wax applicator(D).
f. POlIShInG BOnnET:
This bonnet is an accessory used for polishing.
G. CaRRyInG CaSE:
This case is used to store the tool and all accessories.
h. On/Off SWITCh:
This switch turns the tool on and off.
TaKE CaUTIOn nOT TO aCCIDEnTally SWITCh ThE TOOl On
WhIlE TURnInG IT OvER, TO avOID POSSIBlE PERSOnal InjURy anD PROPERTy DamaGE.
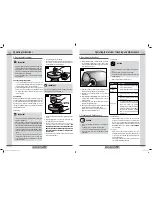
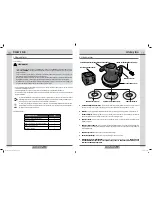
3. Scope of Delivery
3.1 Unpacking
WaRnInG
•
If any parts are damaged or missing, please call the SIMONIZ Toll-free service number at
1-866-4SImOnIz
(1-866-474-6664).
Please do NOT bring the unit back to the store until you have called this number.
•
If any parts are missing do not operate this tool until the missing parts are replaced. Failure to do so could result in possible
serious personal injury.
•
Do not attempt to modify this tool or create accessories not recommended for use with this tool. Any such alteration or
modification is deemed misuse and could result in a hazardous condition leading to possible serious personal injury.
•
Do not connect this tool to the power supply until assembly is complete. Failure to comply could result in accidental starting and
possible serious personal injury.
•
Carefully remove the power tool and any accessories from the carrying case (G). Make sure that all items listed in the packaging
contents are included.
•
Inspect the tool carefully to make sure no breakage or damage occurred during shipping.
•
Do not discard the packaging material until you have carefully inspected and satisfactorily operated the tool.
Packaging materials are raw materials and can be re-used. Separate different packaging materials and take them to a
designated waste disposal facility. More information can be obtained from the appropriate authorities, service center, or
Canadian Tire®.
Old power tools do not belong in your household garbage! Dispose of old power tools appropriately! We are all responsible
for the environment. The local authorities can inform you of collection locations and working hours.
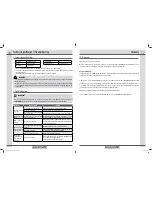
3.2 Scope of Delivery
PaRT DESCRIPTIOn
QTy
Random orbit polisher / waxer
1
Polishing bonnet
2
Wax applicator (with a plastic liner)
1
Foam wax applicator
1
Carrying case
1
039-9055-6-Polisher kit-EN-FR-02.indb 10-11
11/9/12 4:10 PM


