


13
12
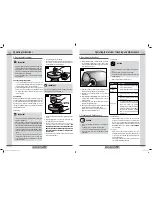
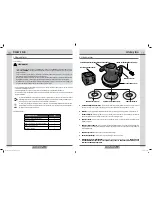
Operating Instructions
Assembly Instructions
5. assembly Instructions
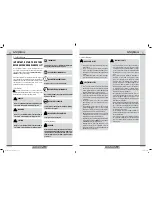
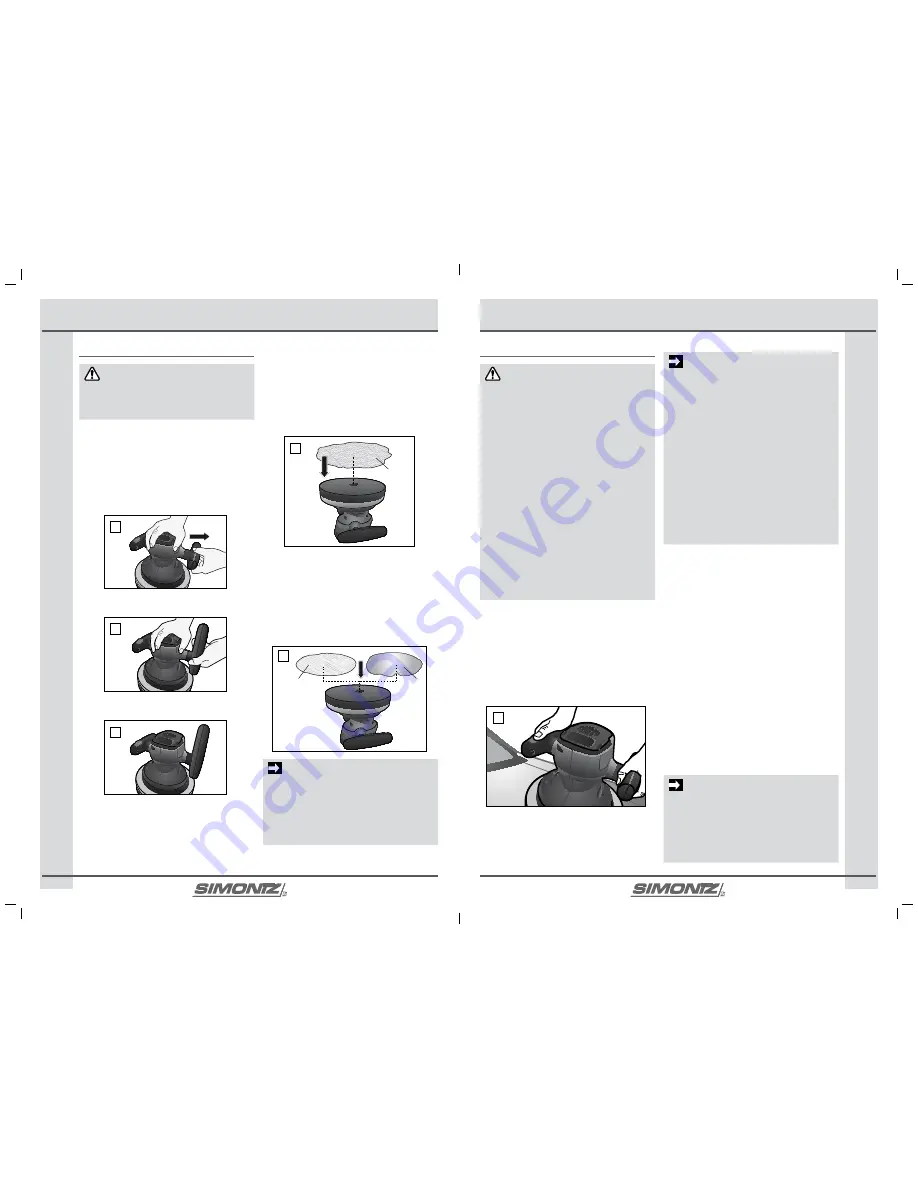
WaRnInG
Never plug the power plug (A) into an electrical outlet before
the appliance is fully assembled.
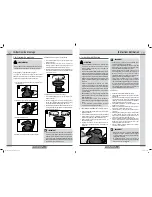
5.1 adjusting handle Positions
The handles (B, H) can be set to three different positions: Forward,
backward and vertical. To adjust them to the desired position,
follow the steps below.
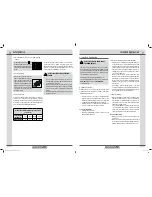
1. With one hand holding the tool head, pull the handle out
with the other hand (Fig. 1).
1
2. Turn the handle to the desired position (Fig. 2).
2
3. Release the handle (Fig. 3).
3
4. Repeat the same procedure with the other handle.
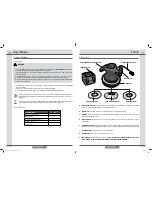
5.2 attaching Polishing accessories
1. Place the power tool on its back with the foam pad (C)
facing upward.
2. Cover the foam pad (C) with the polishing bonnet (F)
(Fig. 4). Adjust the bonnet (F) until it snugly fits the foam
pad (C).
3. Turn over the tool and let it run for more than 3 minutes to
ensure the bonnet (F) snugly fits the foam pad (C).
f
4
5.3 attaching Waxing accessories
1. Place the power tool on its back with the foam pad (C)
facing upward.
2. Cover the foam pad (C) with the wax applicator (D or E)
(Fig. 5). Adjust the applicator (D or E) until it snugly fits the
foam pad (C).
3. Turn over the tool and let it run for more than 3 minutes to
ensure the wax applicator (D or E) snugly fits the foam pad (C)
.
D
E
5
ImPORTanT
•
Always choose the right wax applicator before waxing. The
regular wax applicator (D) is a little more abrasive and tends
to help remove oxidation better, while the foam applicator
(E) is less abrasive and tends to provide a smoother and
more consistent application. This foam applicator (E) can
get into more tight areas.
6. Operating Instructions
CaUTIOn
•
Before operation, make sure the work surface is clean and
dry. Remove road tar, grease stains, etc., from the surfaces
to be worked on using a general cleaner.
•
Let the tool run freely for no less than 1 minute before using
it for the desired application. DO NOT switch the tool on/off
while it is under load to avoid kickback or damaging it.
•
During operation, always firmly hold the two handles (B, H)
for better control and safety.
•
When working on car bodywork, always ensure there is no
possibility of loose items left on the car, trunk or roof. The
vibration may cause the items to fall onto the rotating disc
and be thrown, leading to injury to those in the work area.
•
DO NOT attempt to force the tool as this will cause an
uneven finish and may lead to overload and premature
motor failure.
•
Do not use a circular motion as this makes swirls. Test before
use on scrap stock.
•
Any areas inaccessible to the waxer/polisher should be
waxed/polished by hand.
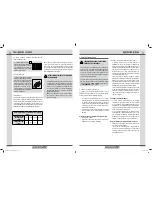
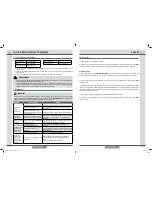
6.1 Switching the Power Tool On / Off
1. Insert the power plug (A) into a suitable electrical outlet
(120 V, AC).
2. Hold the tool firmly by its two handles (B, H) and switch the
tool on by pressing the on/off switch (H) (Fig. 6).
3. Switch the tool off by pressing the on/off switch (H) again.
4. Let the tool come to a full stop and place it on its back
before cleaning, maintenance or storage.
6
ImPORTanT
•
Make sure the polisher is in the off position before plugging
it into an appropriate electrical outlet.
•
Place the power cord (A) over your shoulder to avoid contact
with the tool head or the work surface while the tool is
running.
•
Before switching the tool on, always ensure the bonnet/
applicator is securely attached to the tool's foam pad (C).
Otherwise, the bonnet/applicator may fly loose and cause
personal injury or property damage.
•
If you use the bonnets with drawstring, put the bonnet
completely over the foam pad and pull drawstring tight,
tie bow knot and tuck the knot and all loose drawstring
completely inside the bonnet before turning the tool on.
Failure to do so could result in the drawstring being caught
between the motor housing and orbiting pad, increasing
the risk of serious personal injury.
6.2 Polishing
1. Assemble the power tool for polishing.
2. Apply the least aggressive polish to the polishing bonnet (F).
3. Place the bonnet (F) down on a test area
(usually a 2' x 2' spot) of the work surface. While in the off
position, move the tool around to distribute the polish over
the surface.
4. Hold the tool firmly by its two handles (B, H) and switch the
tool on.
5. Begin applying the polish over the work area with long
sweeping strokes in a criss-cross pattern.
6. Work the polish in, using slow overlapping movements.
7. When the polish breaks down, remove residue, check work,
repeat or go more aggressive (if needed) by using more
aggressive polish.
8. After scratches/swirls are removed or minimized, step
down to a less aggressive polish to remove any hazing left
from the more aggressive polishes. Repeat if necessary.
9. Once the desired finish is achieved, move on to the other
sections of the work surface.
ImPORTanT
•
Remember with polishing to BE PATIENT and learn how the
polish works and breaks down and always start with the
least aggressive pad/polish to get the job done.
•
By starting with a test section, it will allow you to see
what polish is needed without going too aggressive or not
aggressive enough to get the job done.
039-9055-6-Polisher kit-EN-FR-02.indb 12-13
11/9/12 4:10 PM


