IMPORTANT
Malfunctions due to weather conditions
This device is not protected against splash water and
other weather influences.
Mount the device in an environment that is protec-
ted from the weather.
Wiring to
device
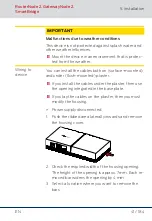
You can install the cables both on (surface-mounted)
and under (flush-mounted) plaster.
If you install the cables under the plaster, then use
the opening integrated in the base plate.
If you lay the cables on the plaster, then you must
modify the housing.
ü
Power supply disconnected.
1.
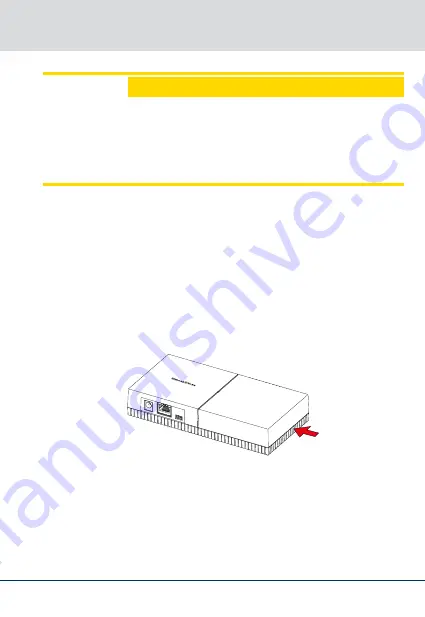
Push the ribbed area laterally inwards and remove
the housing cover.
2. Check the required width of the housing opening.
The height of the opening is approx. 7 mm. Each re-
moved bar widens the opening by 4 mm.
3. Select a location where you want to remove the
bars.
RouterNode 2, GatewayNode 2,
SmartBridge
5. Installation
41 / 184
EN
Summary of Contents for RouterNode 2
Page 181: ...RouterNode 2 GatewayNode 2 SmartBridge 12 Hjälp och ytterligare information 181 184 SV ...
Page 182: ...RouterNode 2 GatewayNode 2 SmartBridge 12 Hjälp och ytterligare information 182 184 SV ...
Page 183: ...RouterNode 2 GatewayNode 2 SmartBridge 12 Hjälp och ytterligare information 183 184 SV ...

