Assembly instructions for kit #8
All rights reserved. 2001 Simple Motors, LLC
♦
♦
3
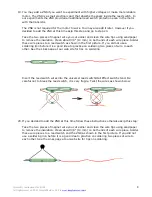
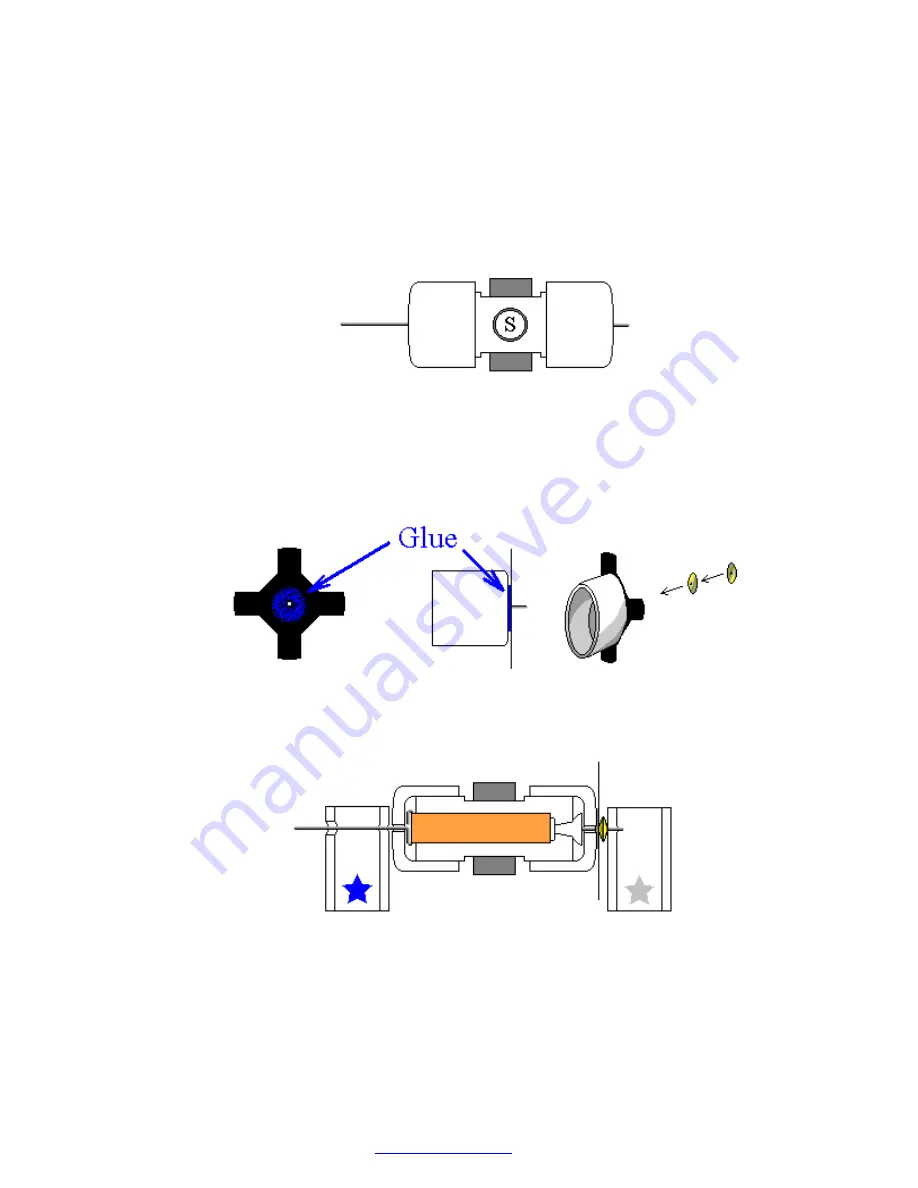
6. Glue the magnets to the flat surfaces of the rotor core with the letter ‘S’ facing outside (or a
dimple facing inside). Your kit includes 4 magnets. If you want to try 2 magnets first, glue
them to the opposite sides. Straighten the T-pin if necessary. You can check it by spinning
the rotor between your thumb and index finger. Again, be very careful.
All kits have magnets with one of the poles marked with either a letter ‘S’ on the South pole
or a dimple on the North pole. If you want South side to look better, you may cut out the
white glossy round labels that are provided and paste them. You may do it before attaching
the magnets to the rotor. It is recommended to use regular white glue or a glue stick on the
labels for better results.
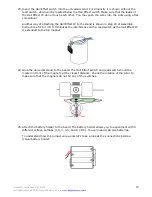
7. Cut out the disk (supplied with the kit). Poke a hole in the center, which is marked by a
cross. Apply some glue to the middle of the disk and glue it to the cap with a shorter axle
(with the pushpin). Slide two sequins as shown below. The sequins act as a spacer between
the disk and the stand and work better if their convex surfaces face outwards. You may use
only one sequin with convex surface facing the stand.
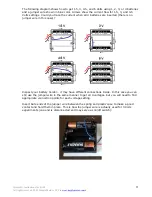
8. Insert the rotor into the stands marked with blue and silver stars as shown below. Hold the
stands and test to see if rotor spins freely. Make final adjustments to the T-pin if necessary.
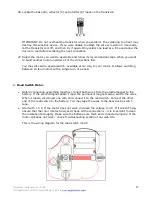
9. IMPORTANT: If you plan to attach propeller to your motor try to glue the stand with the
blue star as close to the edge as possible. You may need to shift the whole rotor assembly.
Glue the stand with the silver star to the board. Try to cover the corresponding star
completely. Align the marks on the stand with the line on the board as shown below. Note
that the star's position and the marks are approximate, sometimes you need to move the
stands slightly to achieve the lowest friction. Keep in mind that super glue bonds instantly,
so try to be as accurate as possible in these procedures.


