background image

REQUIRES 2 PEOPLE

FOR EASE OF ASSEMBLY

REQUIERT 2 PERSONNES

POUR FACILITER

L'ASSEMBLAGE

USER ASSEMBLY GUIDE

GUIDE D’ASSEMBLAGE

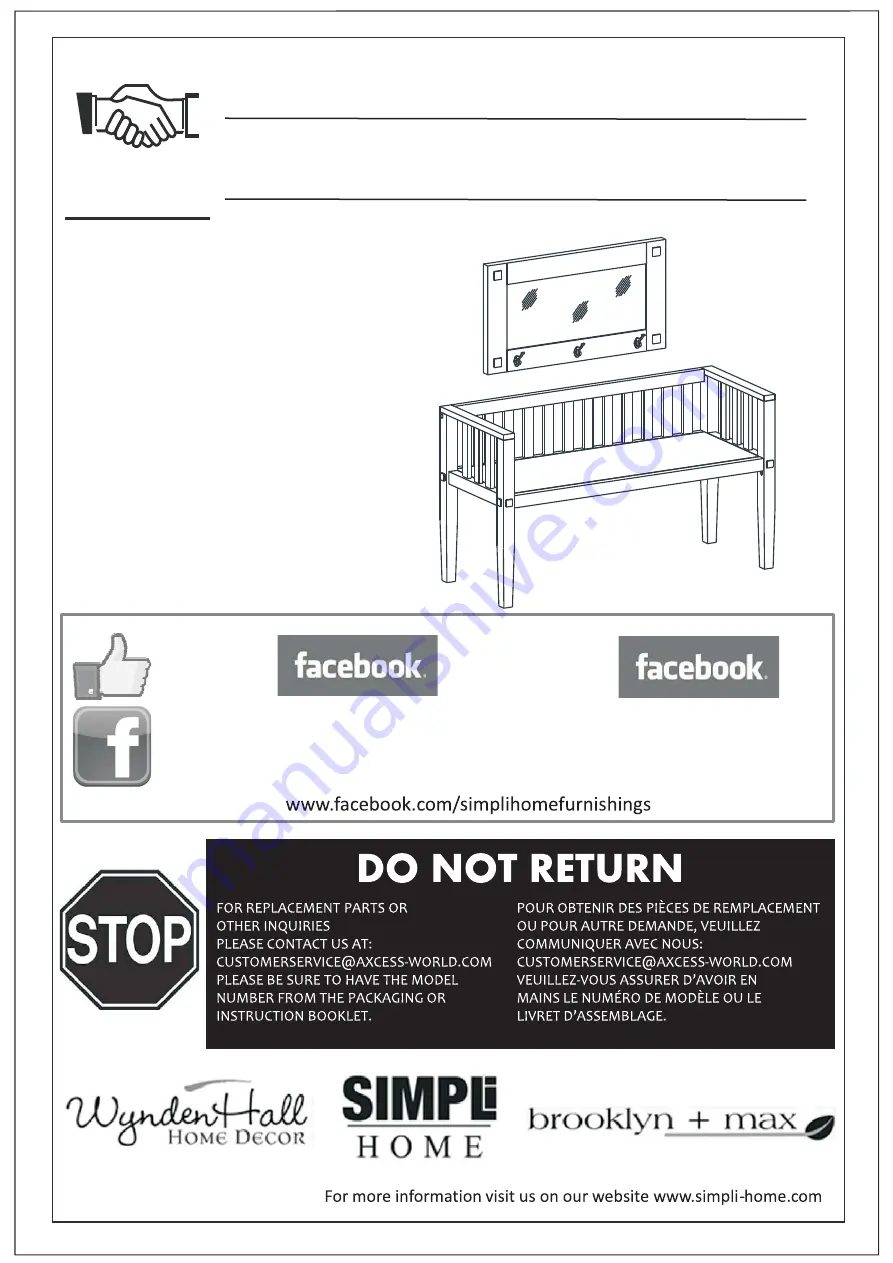
GREYSON / HUNTINGTON / LANSING

ENTRYWAY BENCH & MIRROR

BANC D’ENTRÉE ET MIROIR

ITEM

/

NUMBER NUMÉRO D’ARTICLE

3AXCGREBEN

Like us on
& share your pictures and
comments to be eligible
for exclusive promotions.

Suivez-nous sur
partagez vos photos et vos
commentaires afin d’être admissibles
à des promotions exclusives.

1

/10

TM

TM

TM

Summary of Contents for 3AXCGREBEN

Page 1: ...BLAGE GREYSON HUNTINGTON LANSING ENTRYWAY BENCH MIRROR BANC D ENTR E ET MIROIR ITEM NUMBER NUM RO D ARTICLE 3AXCGREBEN Like us on share your pictures and comments to be eligible for exclusive promotio...

Page 2: ...AY BENCH MIRROR BANC D ENTR E ET MIROIR Panneau c t int rieur Panel Outer side Front Top Panneau c t externe Bottom T Arri re Avant Sup rieur Inf rieur Wood dowel Goujon en bois Backrest Support Arri...

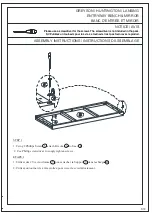
Page 3: ...ewdriver is not included in the pack SVP utilisez un tournevis pour les vis Le tournevis n est pas fourni avec le produit STEP 1 E TAPE 1 1 Using 2 Phillips Screw 5 attach Brecket 6 to Seat B 2 Use Ph...

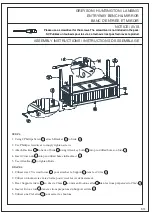
Page 4: ...E 2 1 Insert 2 Dowels 4 into of each Sides A 2 Align pre drilled holes on Seat B with Dowels 4 in Sides A 3 Using 6 Allen Key Bolts 1 attach Seat B to Side A 4 Use Allen Key 3 to tighten screws Do not...

Page 5: ...Insert 2 Dowels 4 into Backrest C 2 Align pre drilled holes on Seat B with Dowels 4 in C 3 Using 3 Allen Key Bolts 1 attach Seat B and C 4 Use Allen Key 3 to tighten screws Do not over tighten 1 Inse...

Page 6: ...Phillip screwdriver to snugly tighten screws 3 Attach Backrest C to back of Side A using Allen key bolts 2 into pre drilled holes on Side A 4 Insert Cross nuts 2 into pre drilled holes in Backrest C...

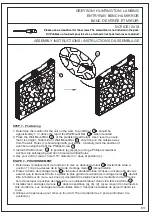
Page 7: ...rnevis pour les vis Le tournevis n est pas fourni avec le produit STEP 6 E TAPE 6 1 Attach Hooks 12 to Mirror D using Phillips Screw round head 11 into guide holes on Mirror D 1 Fixer les Crochets 12...

Page 8: ...s a b d e using a Phillips screwdriver Anchors are self tapping and do not need pre drilled holes 4 Use your drill to create 1 hole 0 15 diameter x 2 deep at position c TAPE 7 POSITIONNEMENT 1 D termi...

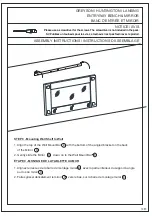
Page 9: ...Screw 9 through the tall side of the Wall Mount Bar E at 2 Screw 4 Phillip Screws 8 through the tall side of the Wall Mount Bar E at positions a b d e where wall anchors 10 were placed 3 Tighten all s...

Page 10: ...s Le tournevis n est pas fourni avec le produit STEP 9 Mounting Wall Shelf to Wall 1 Align the top of the Wall Mount Bar E with the bottom of the angled bracket on the back of the Mirror D 2 Gently sl...

Reviews: