REV110619
SimpliPhi Power, Inc. | 3100 Camino Del Sol | Oxnard, CA 93030, USA | (805) 640-6700 | info@simpliphipower.com |
SimpliPhiPower.com
| 19 |
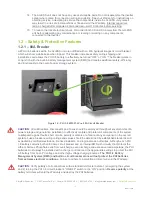
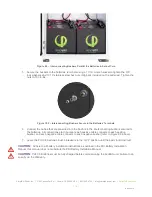
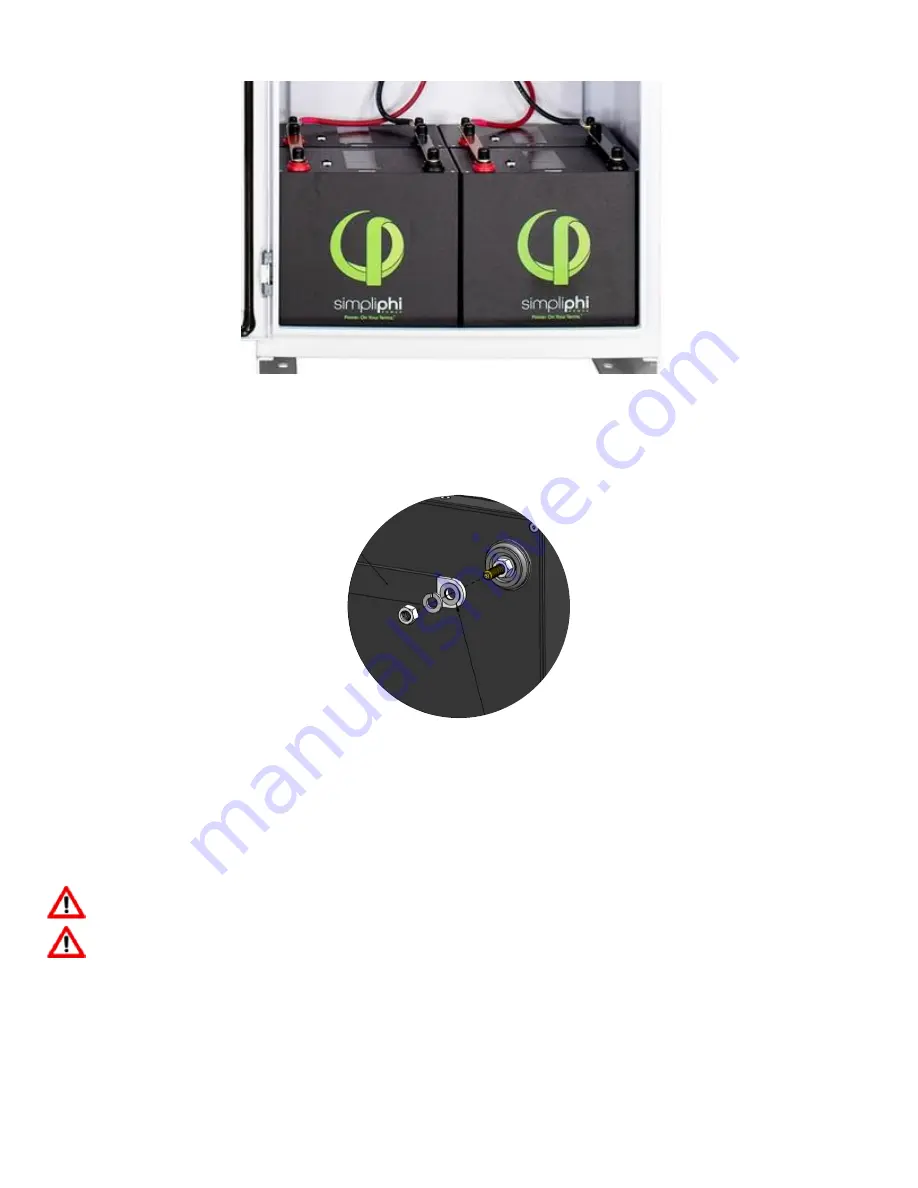
Figure 9.0
– Interconnecting Busbars Parallel the Batteries in Sets of Two
5.
Secure the busbars to the batteries’ terminals using a 11/16” wrench socket to tighten the 3/8”
lock washers and 11/16” stainless steel hex nuts (originally included on the batteries). Tighten the
nuts to 160 in-lbs.
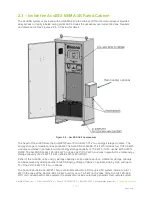
Figure 10.0
– Interconnecting Busbars Secure to the Batteries’ Terminals
6. Connect the cables that are pre-wired into the Sol-Ark to the interconnecting busbars secured to
the batteries. All connections are in parallel: each positive cable connects to each positive
busbar, and each negative cable connects to each negative busbar (refer to Figure 8.0 above).
7. Lea
ve the PHI 3.8 batteries’ built-in breakers in the “OFF” position until the basic functional test.
CAUTION:
Adhere to all battery installation instructions as outlined in the PHI Battery Installation
Manual; this manual does not substitute the PHI Battery Installation Manual.
CAUTION:
PHI 3.8 Batteries must be fully charged before commissioning the AccESS unit. Failure to do
so will void the Warranty.

