Getting Started DKIT-05
Landscape-Outdoor Lighting Kit
Simply Automated, Incorporated
6108 Avenida Encinas, Suite B, Carlsbad, CA 92011 USA
Technical Support:
www.simply-automated.com
or
800-630-9234
452-0001-0005WEB Rev. B Revised: September 22, 2011
6
Section 4: Setting and Testing Events
There are 99 available Events that can be set for any and all days of the week. Each event has an ON time and
an OFF time. Each event can control one module or dimmer at a time or a group (SCENE) of modules and
dimmers at the same time. Each event has a mode (i.e. Event Mode) that determines which type of Schedule
Mode runs the event. The three Event Modes are: (R) event enabled in the schedule modes Run and Vacation,
(r) event disabled in all modes, and (V) event enabled in vacation and alternate vacation schedule modes only.
For more information refer to the User Guide enclosed in the Scheduler-Timer product box or find it on line at:
http://www.simply-automated.com/documents/452-0031-0101_RevB-WEB_UCS-01_User_Guide_090824.pdf
.
Important Note: Each relay module (or dimmer) in the Pre-Configured SimplySmart™ Series has a unique
ID number. You can find the ID number on the back of each plug-in module (or on the front of each
dimmer). The relay modules in the Relay Starter Kit (DKIT-05) have ID #018 and #019. This is important
information to note as it relates to operation with the Scheduler-Timer. In addition, there are pre-
configured lighting SCENE numbers used with the relay modules and other modules and dimmers in the
Pre-Configured SimplySmart™ Series. Scene Link ID #019 controls both relay modules and dimmers.
Section 4.a. Setting Event 01) for Relay Module #018
In this example the first relay module #18 (as labeled on the back of the unit) will be set to turn ON at dusk and
OFF at 11PM, when the scheduler is in the regular runtime (RUN) schedule mode. If you would like to set
ON/OFF times other than Dusk/11PM feel free to do so.
Set Event 01)
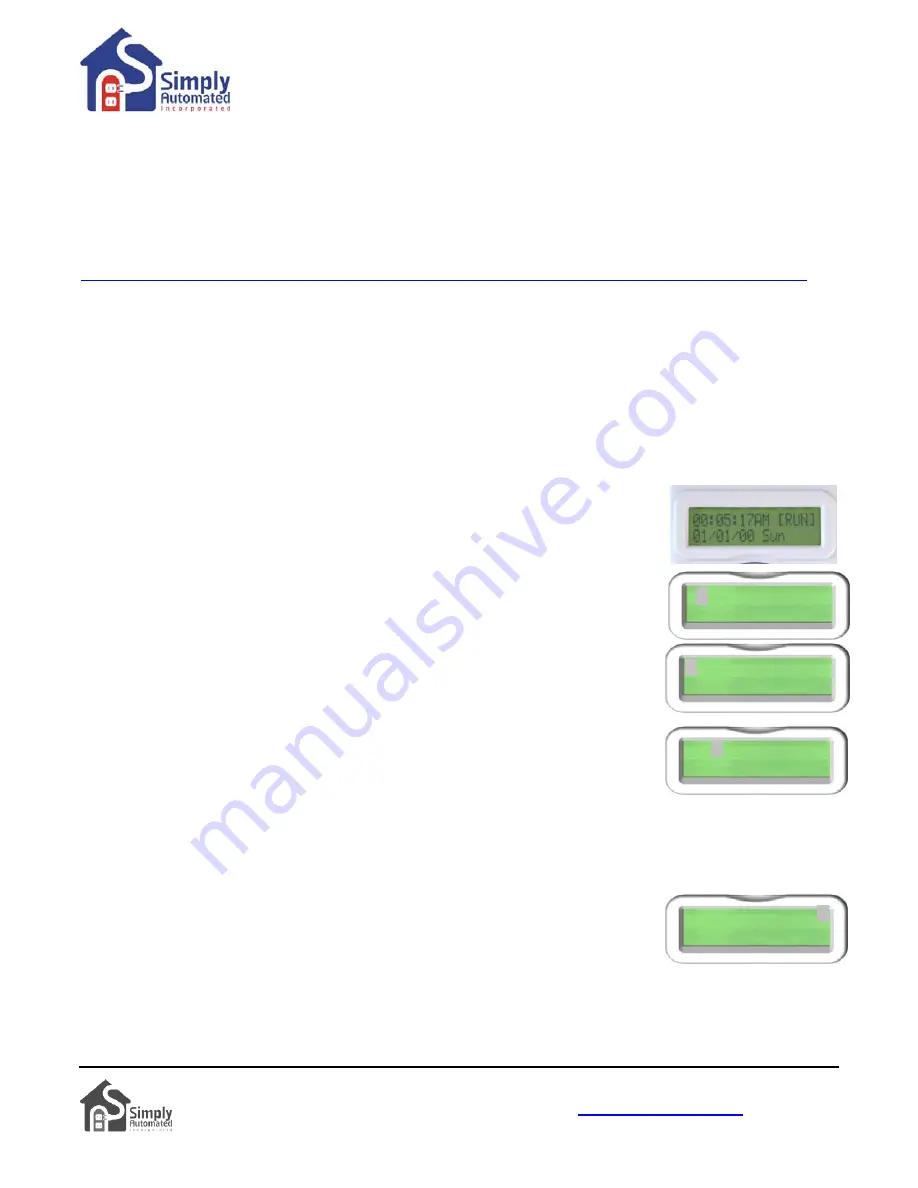
. With the scheduler plugged into power, the Idle screen should be
displayed:
•
Press the MENU button. The cursor will highlight the first menu item “1) Set
Events”, press the Enter
button.
1)Set Events
2)Set Time
•
The scheduler will show the first event “01)”. When the cursor is in this event
number field, pressing the Up or Down buttons will scroll up to the previous event
or down to the next event.
01)---SMTWTFS R
12:00A 12:00A LA
•
With the cursor highlighting the event number “01)”, press the Right button to
move the cursor over to the Device ID number field. Press the Up button to scroll
up to the relay modules’ device number “018”. If you pass 018, press the Down
button to go back, so “018” is in the device ID field.
•
Press the Right button to move the cursor over to the days of the week field.
Pressing the Up or Down button on any of the days of the week will change the
capital letter to a lower case letter. Capital letter indicates an ON day; lower case indicates an OFF day for
this first “01)” event. Leave all the initials of the days of the week (Sunday through Saturday) capitalized if
you want the event to run every day; or change any day to a lower case if you do not want this event to run on
that day.
01)018 SMTWTFS R
12:00A 12:00A LA
•
Press the Right button to move the cursor over to the Event Mode field. Pressing
the Up or Down button will scroll through the three event modes: “R” (Run) event
is active in the normal RUN schedule mode, “r” (off) event is disabled for all
schedule modes, and “V” (vacation) event is active in the “VAC” (vacation) and
“ALT” (alternate vacation) schedule modes.
01)018 SMTWTFS R
12:00A 12:00A LA
•
Using the Up or Down buttons set the event mode to “R” run, so the event will be active in the normal runtime
schedule mode.


