Installation Guide
Read the entire manual thoroughly before beginning your installation.
Take note of the safety tips and follow all steps to ensure your system is
installed correctly before use. Installation needs to comply with state
and local laws and regulations; you must check and comply with all local
plumbing codes. Warning: Massachusetts, USA, require installation by a
licensed plumber and does not permit the use of saddle valves.
(plumbing code 248-CMR of the Commonwealth of Massachusetts)
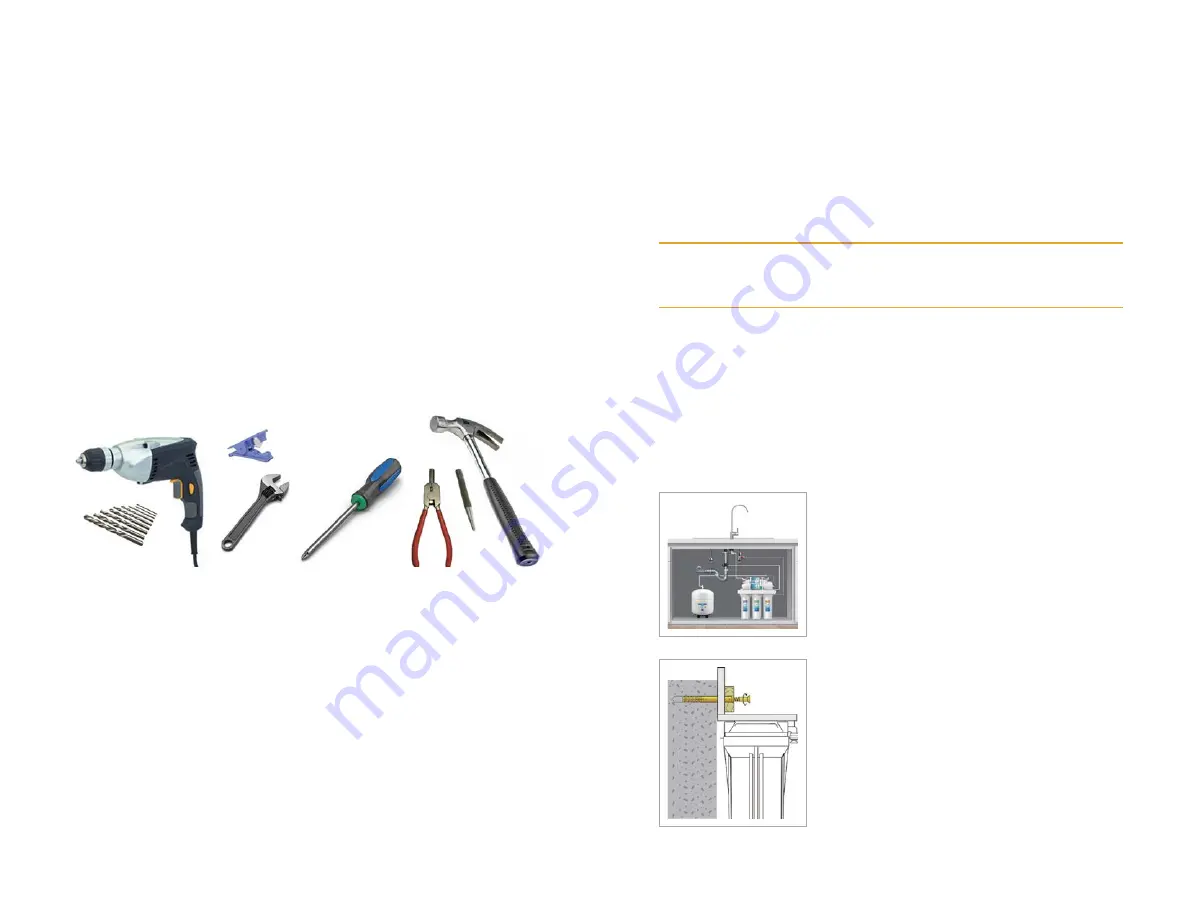
Hand tools required
Essential hand tools are required to install the SimPure
®
T1 RO water
purification system. An electric drill, drill bits up to ½” (12.5mm),
Adjustable wrench, tube cutters (or knife), cross-head screwdriver
(Phillips), hammer, and center punch.
Plan your Installation
Your SimPure
®
T1 Water Purifier can be installed under a sink or in a
remote location. Typical remote sites are a laundry room or utility room.
Review the location options below and determine where you are going
to install your system.
•
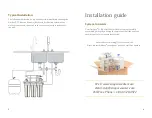
Option 1: Under-sink.
The unit can be installed in a kitchen or
bathroom sink cabinet. A suitable drain point is required for drain
water from the Reverse Osmosis system.
•
Option 2: Remote Interior
. The unit may also be installed in a
remote interior location away from the RO Faucet. You will need a
nearby feed water source and drain point connection.
Check Space Requirements
Determine and check the size and position of items for proper
installation into the chosen space and remember to leave enough space
around the system for changing filters and maintenance.
Need assistance? Contact SimPure!
Site preparation
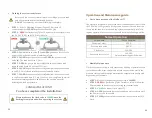
Before starting the installation, Isolate the hot and cold-water supply.
Temporarily place tank and filter assembly into the planned location.
Check the positioning of items and space required for the correct
installation. Ensure that tube will reach each section and can be installed
without any kinking.
SimPure
®
T1 RO water purification system
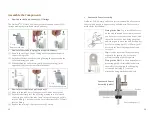
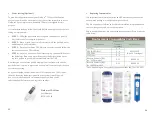
can be placed on a flat surface or fixed on the
wall under the sink.
When mounting on the wall, please use the
included x2 self-tapping screws and wall plug
(U) or an alternative fixing method suitable
to your installation requirements.
9
10


