CP33 Fundamentals & initial start-up
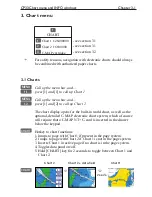
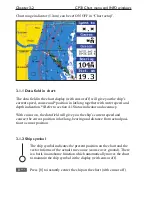
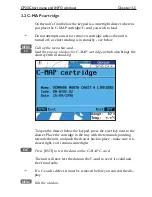
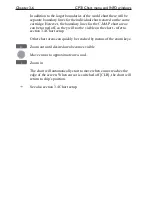
Chapter 2-7
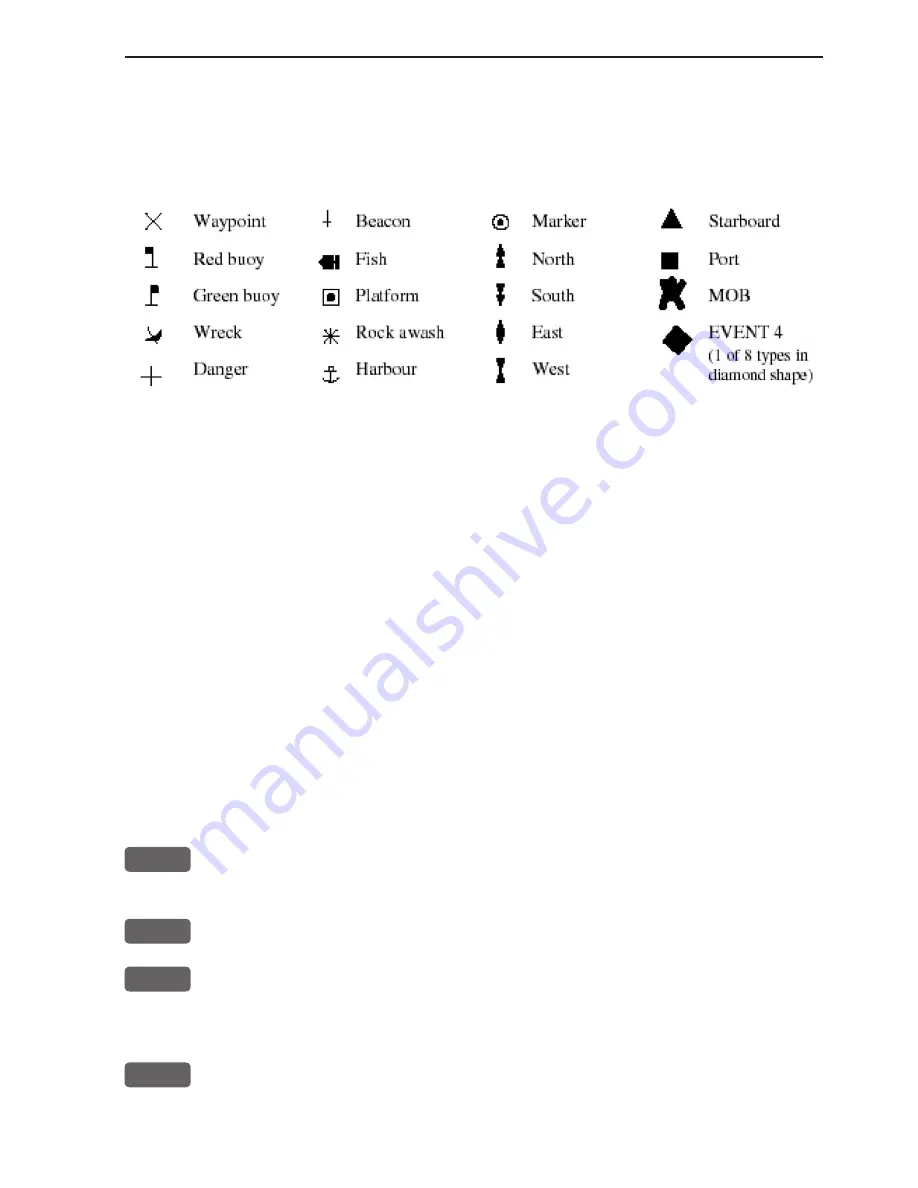
2.5 Choice of symbols
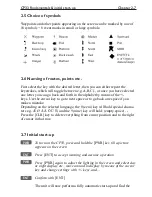
Waypoints and other points appearing on the screen can be marked by one of
18 s 8 event marks in small or large symbols:
2.6 Naming of routes, points etc.
First select the key with the desired letter, then you can either repeat the
keystrokes, which will toggle between e.g. A,B,C,1, or once you have selected
one letter you can go back and forth in the alphabet by means of the +/-
keys. Use the cursor key to go to next space or to go back one space if you
make a mistake.
Depending on the selected language, the 0 (zero) key will hold special charac-
ters e.g. Æ Ø Å Ä Ö Ü Ñ, and the 9 (nine) key will hold: (empty space) . -
Press the [CLR] key to delete everything from cursor position and to the right
of cursor in that row.
2.7 Initial start-up
PWR
To turn on the CP33, press and hold the
[PWR]
key till a picture
appears on the screen
ENT
Press
[ENT]
to accept warning and assume operation
PWR
Press
[PWR]
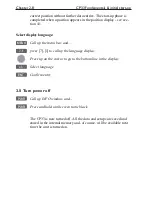
again to adjust the lighting in the screen and select day
or night display etc., move around in display by means of the cursor
key and change settings with +/- keys, and...
ENT
Confirm with
[ENT]
The unit will now perform a fully automatic start-up and find the
Summary of Contents for CP33
Page 14: ...Chapter 1 8 CP33 Introduction and safety summary ...
Page 44: ...Chapter 3 22 CP33 Chart menu and INFO windows ...
Page 60: ...Chapter 4 16 CP33 Position menu ...
Page 76: ...Chapter 5 16 CP33 Waypoint route menu ...
Page 114: ...Chapter 9 12 CP33 Setup menu Page 1 of 2 Page 2 of 2 ...
Page 118: ...Chapter 10 2 CP33 Installation and service Important settings continued ...
Page 130: ...Chapter 10 14 CP33 Installation and service ...
Page 134: ...Appendix A 4 CP33 Glossary of terms ...
Page 144: ...Appendix C 8 CP33 C MAP attributes ...
Page 149: ...CP33 Chartplotter Index ...


