Simunition
®
Conversion Kit
for Submachine Guns HK MP5K PDW/N, HK MP5 N
Product No. 5307570
D
B
E
F
G
C
A
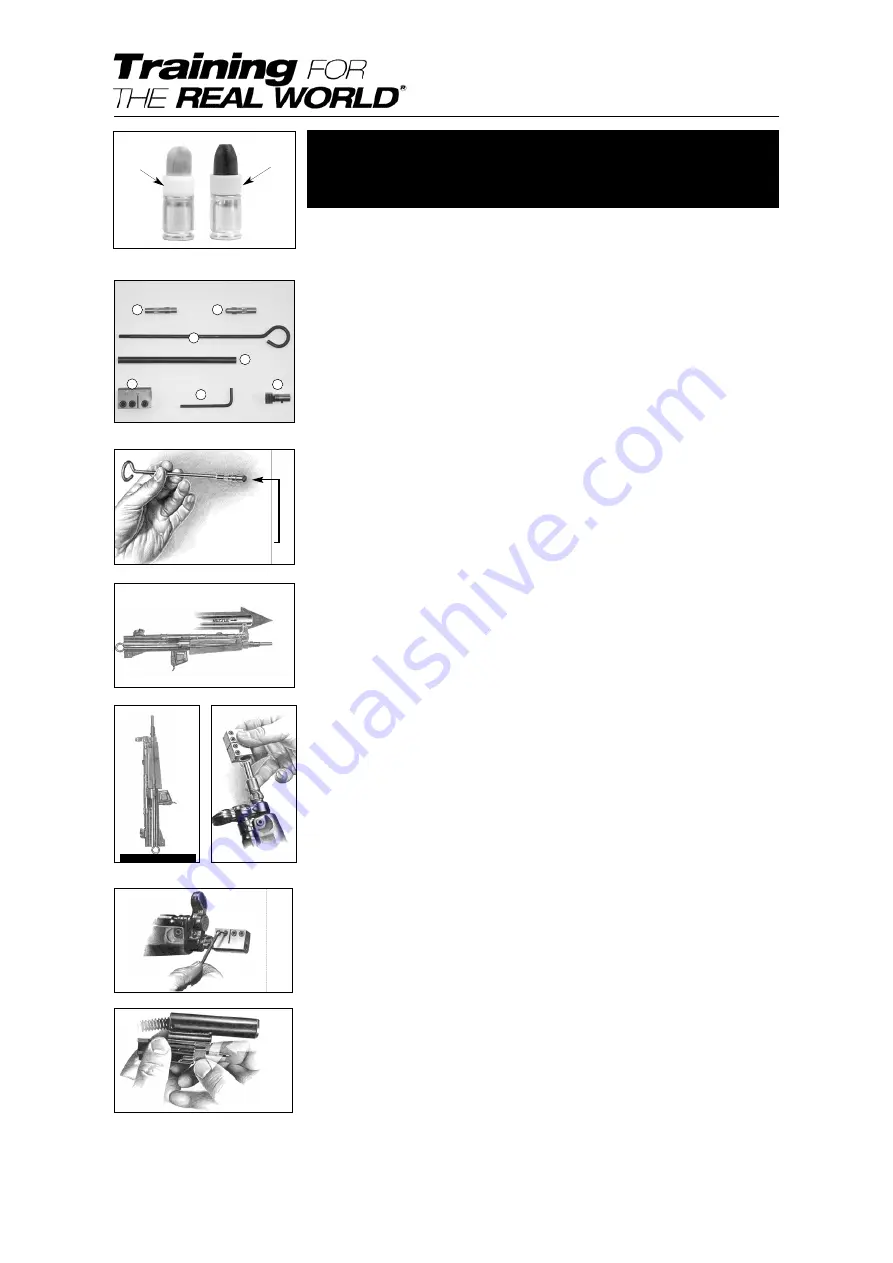
The conversion kit for HK MP5K PDW/N and HK MP5 N consists of seven parts: (Fig. II)
Part
A
:
Simunition
®
locking piece
Part
B
:
Allen key
Part
C
:
Holding device
Part
D
:
Sub-calibre barrel
Part
E
:
Tool handle
Part
F
:
Insertion tool
Part
G
: Removal tool
Fig. II
Conversion kit parts
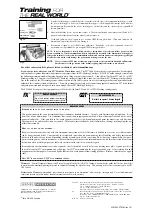
Intended only for supervised training conducted in accordance with Simunition® safety training pro-
tocols by Law Enforcement, Military and Simunition® approved Commercial Range Programs.
The safe use of the 9 mm FX
®
and CQT
®
cartridges requires the installation of the appropriate conver-
sion kit. Proper installation of the kit is required to help preclude the inadvertent chambering of most 9
x 19 mm live, lethal ammunition and ensure the proper operation and cycling of the weapon. For safe-
ty reasons, conversion barrels are manufactured from the same quality steel as service barrels.
Fig. III
Fig. IV
Rounded-end
brass insertion tool
Installation
1. With the muzzle of the weapon pointed in a safe direction, remove magazine, lock back the bolt
assembly as per weapon OEM factory guidelines and visually inspect the chamber to verify that
it is unloaded.
2. Field strip the weapon and thoroughly clean the service barrel as per weapon OEM factory
guidelines.
3. Using the handle and insertion tool provided (Parts E & F), insert the sub-calibre barrel into the
service barrel from the breech end (Fig. III & IV). (Note the arrow stating “muzzle” on
Simunition
®
sub-calibre barrel)
4. Holding the barrel group vertically, rest the tool handle on a hard surface (Fig. V).
IMPORTANT!! This contact will adjust the head space of the kit to your weapon for
functioning
FX
®
or
CQT
®
ammunition. Failure to properly make this adjustment will
result in improper cycling of the weapon and DAMAGE to the Simunition
®
sub-caliber
barrel lip.
Place the holding device over the Simunition
®
sub-calibre barrel (Fig. VI). Maintain the barrel
group vertically with the tool handle in
CONTACT
with a hard surface. Starting with the screw
closest to the front sight of the MP5, use the provided allen key to
FIRMLY
tighten the hold-
ing device screws, alternately (Fig. VII).
IMPORTANT!! Failure to firmly tighten the holding device screws will result in
Simunition
®
sub-caliber barrel movement during functioning followed by improper
cycling of the weapon and DAMAGE to the Simunition
®
sub-caliber barrel lip.
IMPORTANT!! Keep the Holding device screws lubricated with oil or anti-seize to pre-
vent them from blocking without holding the Simunition
®
sub-caliber barrel lip proprely.
This could prevent the sub-caliber barrel from being damaged.
5. Separate the locking piece and the bolt face from the carrier. Replace the service locking piece
with the one provided in the Simunition
®
kit (Part A). Store the service locking piece in the sup-
plied storage box. Reassemble the Simunition
®
locking piece and the carrier as per weapon
OEM factory guidelines (Fig. VIII, IX, X).
Note:
Press the bolt face and carrier together and observe the roller locks to ensure they are not
engaging.
6. Manually cycle the weapon and ensure all mechanisms are operational as per weapon OEM fac-
tory guidelines.
NOTE: For optimal function with the kit, SIMUNITION
®
recommends that the barrel
and chamber be cleaned using a 9mm /.38/.357 caliber bore brass or stainless steel
brush after the firing of every 80 cartridges.
Returning the MP5 to service use:
1. With the muzzle of the weapon pointed in a safe direction, remove magazine, lock back the bolt
assembly as per weapon OEM factory guidelines and visually inspect the chamber to verify that
it is unloaded.
2. Field strip the weapon as per weapon OEM factory guidelines. Set the parts aside.
Fig. V
Fig. VI
5307585.FTSIM (rev.10)
Handling and Safety Instructions
Fig. I
9mm FX
®
(left) and CQT
®
(right)
Yellow
sabot
White
sabot
Fig. VII
Fig. VIII


