Registered trademarks of General Dynamics Ordnance and Tactical Systems-Canada Inc. are denoted by
®
.
www.simunition.com
Page 7 of 36
© 2019 GD-OTS Canada
8971965.FTSIM_rev12
Goggles replacement/installation
1. To facilitate the insertion of FX
®
9003 Goggle
Assembly into the mask’s plastic shell, place the
mask’s plastic shell in hot (150°F/76°C) water
for a period of 15 minutes. This will soften the
mask’s plastic shell.
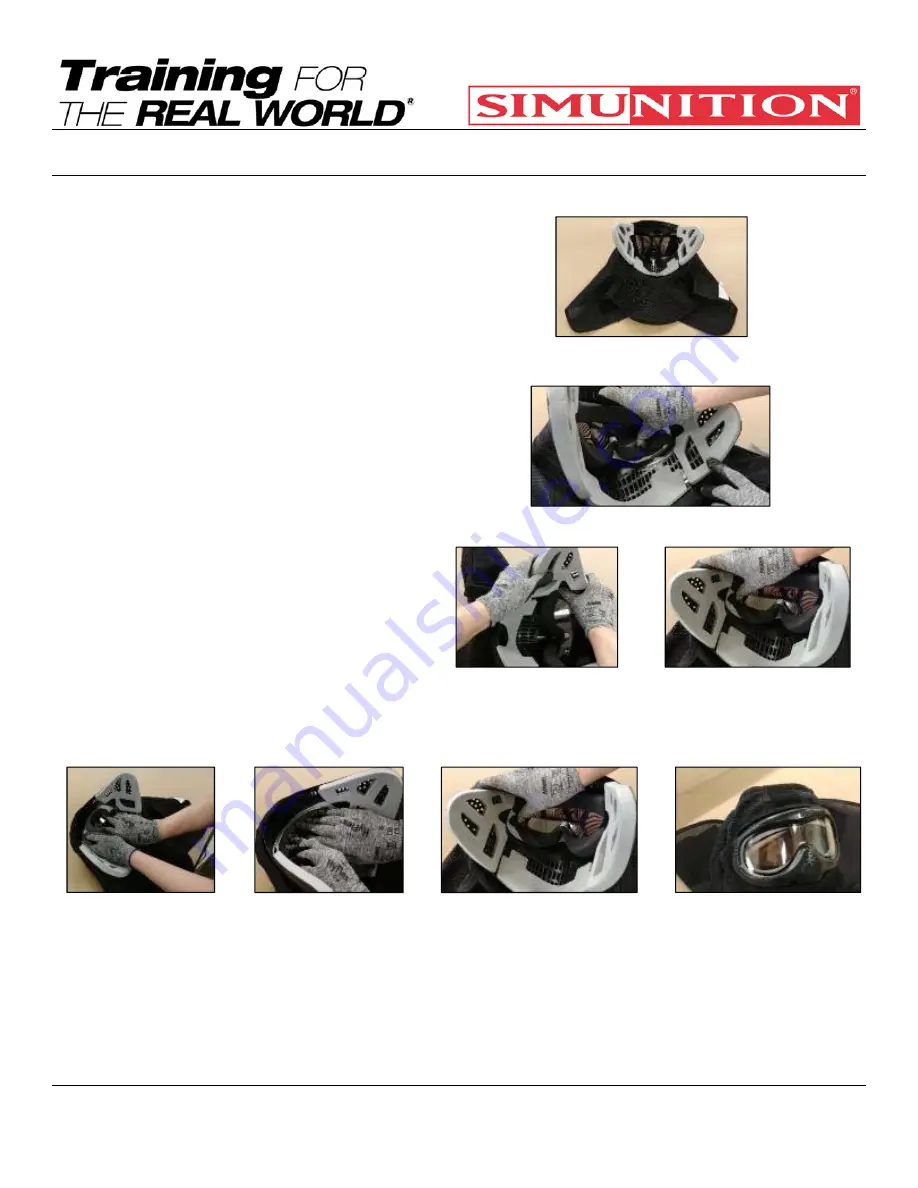
Then, pull back the textile
over the plastic shell (see Fig. 15).
Note:
To facilitate the FX
®
9003 Goggle
replacement/installation, place mask on the
table.
Fig. 15 – Textile material turn over
2. From inside of the mask, insert the lower (right)
corner of the Goggle Assembly into the mask’s
plastic goggle shell lower corner (see Fig. 16).
3. Using your thumb, insert the second lower (left)
corner of FX
®
9003 Goggle Assembly into the
mask’s plastic goggle shell lower corner (see
Fig. 17a).
4. Again, using the thumb, insert the top (left and
right) corners of FX
®
9003 Goggle Assembly
into the mask’s plastic goggle shell top cavity.
(see Fig. 17b).
Note: Some physical effort may be necessary to
completely lodge the FX
®
9003 Goggle
Assembly in the mask.
Fig. 16 - Mask’s plastic goggle shell lower corner
Fig. 17a – Insertion in the
second lower (left) corner
Fig. 17b - Insertion in the
second top corners
5. Finally, make sure that FX
®
9003 Goggle Assembly is fitted securely into the mask’s plastic shell (see Fig. 18a,
18b, 18c and 18d).
Fig. 18a – FX
®
9003
Goggle Assembly side
foam verification
Fig. 18b - FX
®
9003
Goggle Assembly top
foam verification
Fig. 18c - FX
®
9003 Goggle
Assembly bottom foam
verification
Fig. 18d – FX
®
9003
Protective Mask final
Assembly


