SINGER COLORSTITCH SEWING MACHINE
WARNING! This toy should be used under adult supervision. This toy has
been designed to be as safe as possible. However, it contains sharp points
and moving parts. Please follow these instructions carefully to avoid any
potential injuries from misuse of the product.
K
screw
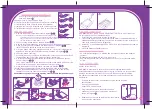
1. Use the handwheel to raise the take-up lever to its
highest
position.
2. Lower the presser foot lever.
3. Hold the needle in place with one hand and loosen the
screw with a flat screwdriver with the other hand.
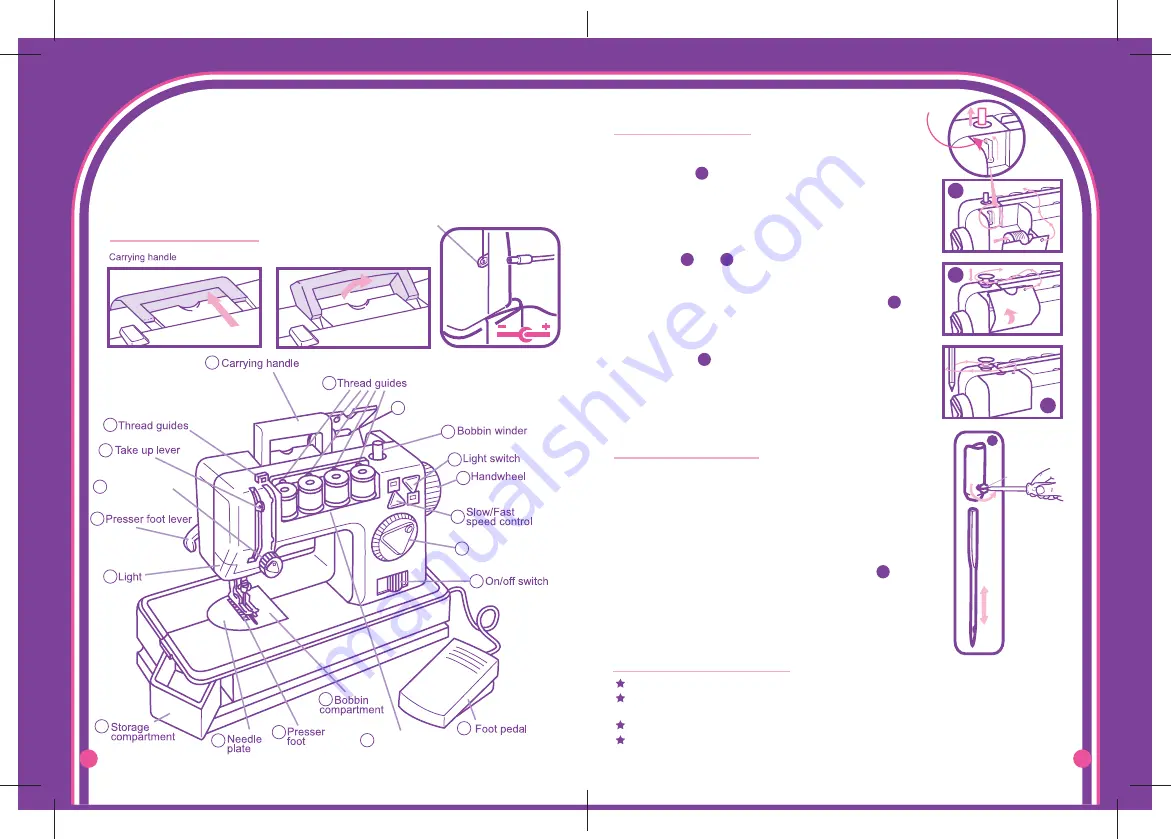
4. Remove the old needle as shown in Diagram
5. Insert the new needle (size12/80 or 14/90) as far as it will
go into the machine with the flat side of the needle next to
the screw. Hold the needle tightly so that it does not fall
onto the sewing machine.
6. Tighten the screw with a screwdriver.
CHANGING THE NEEDLE (Extra Needle Supplied)
WARNING! Make sure the machine is turned off and remove
the batteries and transformer.
WINDING THE BOBBIN
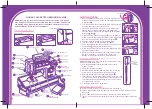
SEWING MACHINE PARTS
K
CARING FOR YOUR MACHINE
Use a dry cloth to clean your machine. Avoid using liquid.
Change the batteries when you observe machine is working at a slower speed
than usual.
Do not attempt to sew heavy or thick material or force the handwheel.
There is no serviceable part inside the machine. Please do not take the machine
apart.
J1
J2
J3
Transformer Socket
Spool compartment A
Short/long stitch
control
Spools
compartment B
1
2
3
Tension Dial
20
4
5
6
7
8
9
10
11
12
13
14
15
16
17
18
19
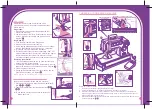
Open the spool compartment A and push up the bobbin
winder by lifting the knob inside the compartment as shown
in Diagram
J1
.
Turn the handwheel counter-clockwise to make sure the
bobbin winder lever clicks into position.
Make sure the bobbin winder lever clicks into position.
Place a spool of thread in the spool compartment A.
Pass the thread through the first thread guide as shown in
Diagram
G1
and
G2
.
Close the cover. Place an empty bobbin on the bobbin
winder and wind the thread clockwise around the bobbin
for a few turns to secure it as shown in Diagram
J2
.
Slide the fast/slow speed control down to slow.
Turn the machine on and press the foot pedal.
Guide the thread with a pencil to wind the bobbin evenly
as shown in
J3
. (Do not overfill the bobbin.)
When the bobbin winding is completed, release the foot
pedal and cut the thread.
Remove the bobbin and lower the bobbin winder using
the knob in the spool compartment A. (Never join
lengths of thread together when winding a bobbin.)
1.
2.
3.
4.
5.
6.
7.
8.
9.
click this knob
Pencil
P.1
P.6


