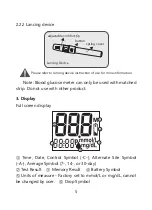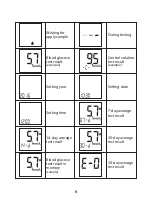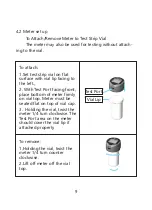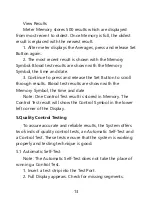
The meter comes with pre-set time and date. Before using
the meter for the first time or after a battery change, check
time and date and update as needed.
1. Start with the meter off. Press and hold the Set Button
until the full Display appears and begins to blink. Release Set
Button.
2. The time appears and the hour begins flashing. Change
the number by pressing the Set Button until the desired
number appears.
3. After the correct number appears, the number flashes 8
times before going to the minutes.
4. Repeat steps 2-4 to set up minutes, month, day and
year.
If meter turns off at any time during Set Up, go back to
Step #1 and begin again.
Pressing and releasing the Set Button only makes the
numbers increase by one. Once the number reaches its limit,
it resets to the lowest number. Pressing and holding the Set
Button scrolls the numbers. Release Set Button when desired
number is reached
The meter turns on when:
• a test strip is inserted into the Test Port, or
• when Set Button is pressed and released (see Meter
Memory and Time/Date Set Up).
Meter turns off when:
• the test strip is released from the meter,
Set Time/Date
10


