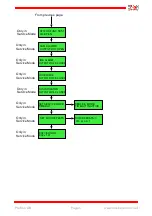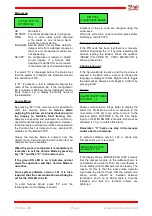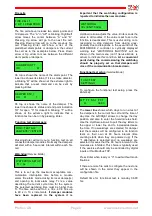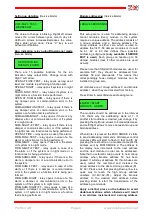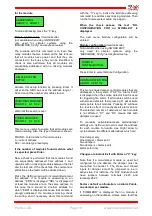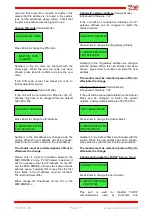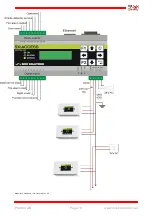
Step 6: Activate watchdog
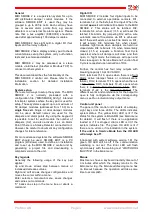
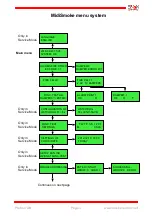
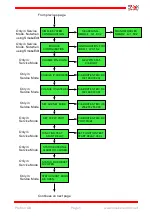
Enter the Watchdog menu and set the watchdog
timeout. Refer to the earlier section
Watchdog.
See
Watchdog
menu description
.
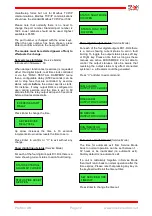
Step 7: Set time for automatic exit from Service
Mode
If desirable, the time for automatic exit from
Service Mode can be set. Factory default is that
automatic exit is inactivated. Time can be set
between 1 – 72 hours.
See Set Service mode timeout menu description.
Step 8: Switch the system to normal operation
mode
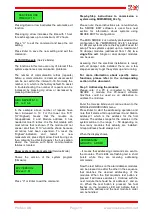
Exit the
Service Mode
by pressing “
F2
” och ”
C”
in
the main menu to let the system run in normal
operational mode.
Fire alarms will now be distributed thru DO2 to any
external systems.
The green OK LED should be on to indicate that
the system is operating normal and error free and
that Service Mode is not active any more.
If the communication watchdog has not been
activated then the display will flash
”
WATCHDOG INACTIVE!
” in the main menu.
Introduced in software version 1.61 the green
OK LED will be off if the communication
watchdog has not been activated during
normal operation (unit not in Service Mode).
Also, the ERROR LED will flash at the same
rate as the warning text in the main menu.
Note that the flashing has higher priority than other
errors that otherwise would give a constant
activation of the ERROR LED.
Remedy this by activating the communication
watchdog.
This concludes the setup and configuration task.
Installation
MIDI SMOKE 2 is intended for installation on
standard 35 mm DIN-rails conforming to EN50022
(DIN46277-3). The unit should be located inside an
enclosure prohibiting access by unauthorized
personnel.
The module can be AC- or DC-powered. The AC
input voltage range is 12-24 V AC and the DC input
voltage range is 18-35 V DC. Power consumption
at normal operation is approximately 3,5 W.
Connection of AC power
The secondary transformer winding should be
connected between terminals 13 (G) and 14 (G0).
Connection of DC power
Connect the negative supply wire to terminal 14
and the positive supply wire to terminal 13.
Three-wire bus
MIDI SMOKE 2 supports the three-wire concept
that is used by the Smoke Control products. The
three wires are SIOX, power (G) and ground (G0).
Terminal 10 is used for the outgoing SIOX bus.
Power to the first section of damper modules
(before another transformer handles next section)
can be taken from terminal 11 (G) and terminal 12
(G0).
Please note that screw terminal 14 (incoming
power ground, G0) is internally connected to screw
terminal 12, as well as screw terminals 9 and 23 at
the I/O-connectors. Screw terminal 13 (incoming
power, G) is internally connected to screw terminal
11.
For other types of modules, e.g. S45 and S27 that
must be separately powered by 24 V DC, their
SIOX bus connection should be connected
between terminal 10 (SIOX) and terminal 12 (G0).
The ground wire (G0) should
always
be routed
thru the whole system,
only interrupted
if R30
Bus Expander Modules are used that provides
galvanic isolation between bus sections.
The third wire (G) is used to power the modules.
Depending on the size of the installation this wire is
usually divided into segments. Each segment has
its own power transformer and is powering a group
of damper modules.
Three-wire bus connection:
Screw terminal 10 is the SIOX bus.
Power to the damper modules comes out via screw
terminal 11 (G).
Screw terminal 12 is the power ground (G0).
For more information about cable selection, please
refer to:
http://www.telefrang.se/download/pdf/CableSelecti
on.pdf
Grounding
To avoid that the system will electrically “float”, the
power ground wire (G0) at terminal 12 should be
connected to a grounded point nearby the MIDI
SMOKE 2 unit.
Because the ground potential between different
Profcon AB
Page 16
www.smokecontrol.net

