8
ASSEMBLY INSTRUCTIONS
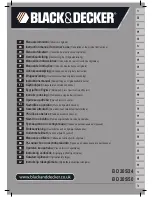
Fully retract the upper clamp adjusters to hold the plate securely (see page 9).
Loosely fit the 4 screws into the 4 threaded holes on the plate (page 9).
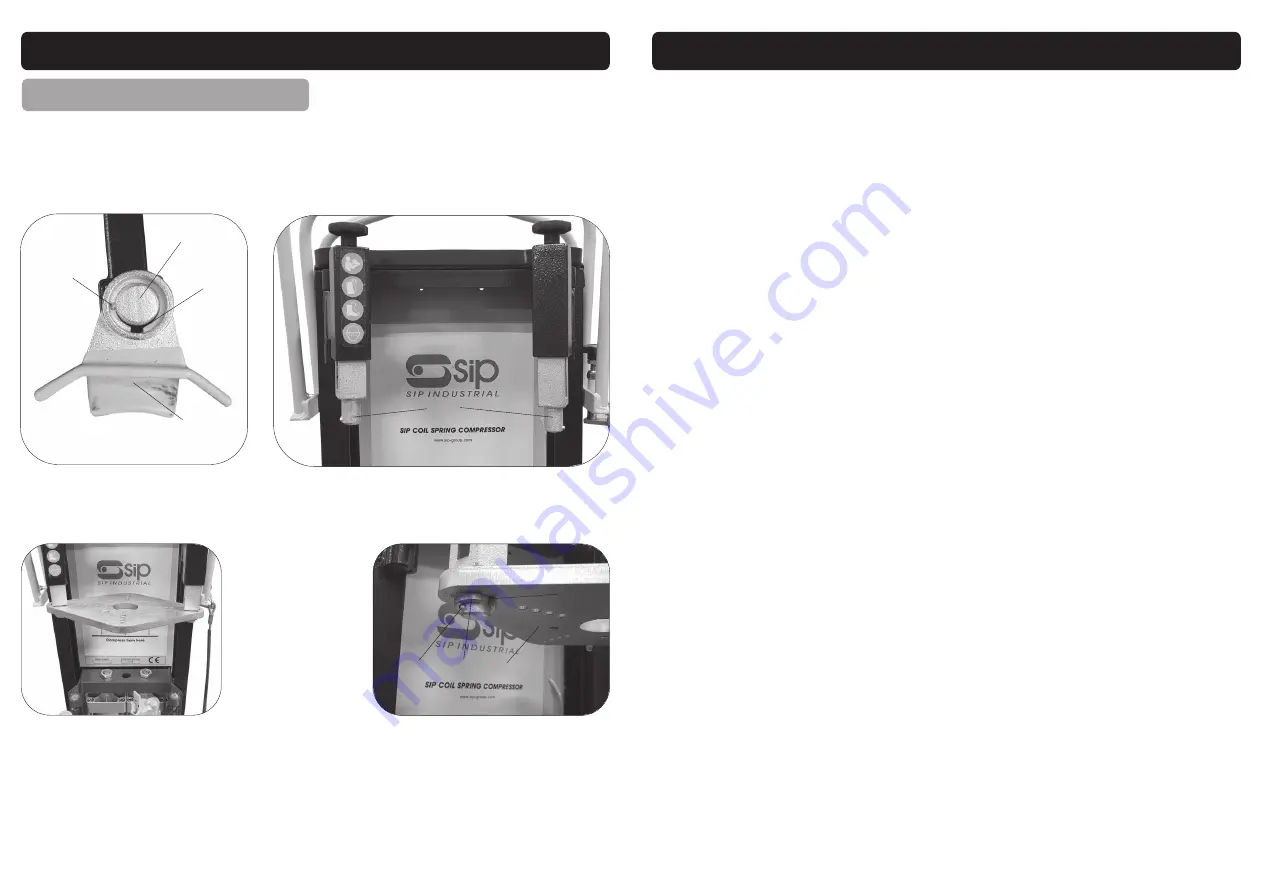
Fit the universal plate over both upper clamp adjuster shafts (below, left).
Secure with the rings provided; Line up the gap on the ring with the tab on the
shaft, slide the ring up and over the tab and rotate it.
Plate
Tab
Ring
Gap
Unlock and lift the safety cage (see main instruction manual for the spring compres-
sor).
Remove the 2 upper clamps; Twist the clamps until the channel lines up with tab on
the clamp adjuster shaft and slide the clamps downwards and off (see below).
Shown From Below
Tab
Channel
Clamp
FITTING THE UNIVERSAL PLATE
Shaft
Shaft
5
SAFETY INSTRUCTIONS….cont
DANGER!
Check that the spring compressor is in sound condition and good working
order before each use; Take immediate action to repair or replace damaged parts.
WARNING!
Only operate on a level and stable surface and never use on soft ground
where the spring compressor is likely to “sink” whilst in operation.
NEVER STAND ON THE SPRING COMPRESSOR:
The spring compressor is not designed
for this purpose.
DO NOT
dismantle or tamper with the spring compressor, as this may be dangerous
and will invalidate the warranty.
If a problem with the spring compressor is experienced or suspected stop using
the spring compressor
immediately
and contact your distributor for repair.
Do not attempt to compress a load that exceeds the rated capacity of the spring
compressor.
Regularly inspect and lubricate the spring compressor, ensuring that it is in good
working order and condition.
Always ensure that the work area is clean and tidy, free from unrelated materials
and has adequate lighting.
Keep hands, limbs etc. clear of moving parts during operation; Never place any-
thing inside the safety cage during operation
Clean and stow the spring compressor correctly, with the ram in the down position,
DO NOT
leave it extended; ensure storage area is dry.
Failure to follow the warnings in this manual, may result in personal injury and/or
property damage.
Always ensure that the clamps are correctly supporting the spring; Offset loads
can damage the machine and the spring, and may cause it to ‘eject’ from the
spring compressor.
Before each operation, check for signs of cracked welds, loose or missing bolts or
any other structural damage; Do not operate if any of these conditions exist. Have
repairs made only by authorised service centre.
Components of this spring compressor are specially designed to withstand the
rated capacity. Do not substitute bolts, pins, or any other components.
DO NOT
remove the safety cable or safety cage during operation.
In extreme circumstances, parts being compressed may shatter or eject from the
compressor; It is the operators responsibility to always use the safety cable, safety
cage and adequate personal protective equipment such as eye protection, safe-
ty boots / shoes, gloves and heavy protective clothing, when operating this spring
compressor.
If the spring compressor appears to be damaged in any way, is found to be bad-
ly worn, or operates abnormally
IT SHOULD BE REMOVED FROM SERVICE
until nec-
essary repairs are made by an authorised service centre.
Prior to applying the load, be sure that the damper and spring are aligned cor-
rectly.
Summary of Contents for 03663
Page 2: ...2 11 NOTES...


