18
Roady BT User Guide
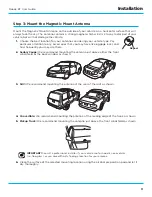
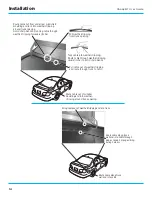
lowest corner .
3.
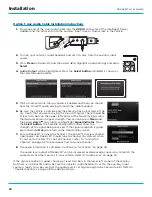
At the lowest corner of the windshield, route the cable out of the windshield molding and into the
rubber weather stripping around the door opening . Lift the weather stripping from the opening
and tuck the cable inside it, then replace the weather stripping . Run the cable inside of the
weather stripping to the bottom of the door opening .
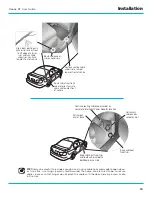
4.
Pull the cable out of the weather stripping at the bottom of the door opening and route it under
the carpet toward the dashboard . Coil any excess cable in a hidden location, such as under the
carpet, keeping it away from any vehicle pedals or controls . Secure the excess cable with wire
ties .
5.
Bring the end of the cable out at the Intelligent Vehicle Dock location .
Leave yourself enough cable so you can easily connect it to the antenna
connector of the dock .
6.
Continue with “Step 5: Connect the Magnetic Mount Antenna and Display
Step 5: Connect the Magnetic Mount Antenna and Display Cable
1.
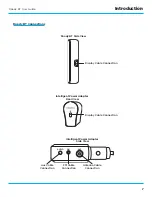
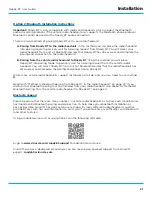
Plug the Magnetic Mount Antenna connector into the
ANT
connector on the Intelligent Power Adapter .
2.
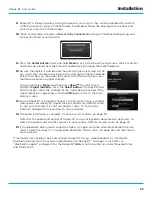
Connect one end of the Display Cable to the Intelligent Power
Adapter and the other end to the Roady BT display .
3.
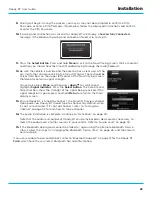
Insert the Intelligent Power Adapter into your vehicle’s cigarette
lighter or power adapter socket .
4.
Roady BT should power on automatically . If not, press the
Power
button
on Roady BT to turn it on .
Installation
AUDIO
FM
ANT

