båÖäáëÜ
59 38 399 D3352
D3352.076.01.13.02
07.2008
4 – 103
Tab 4 4.4 Adjusting the cephalometer (XG
Plus
/ XG 5, if ceph is installed)
4.
4
Starting the exposure
5.
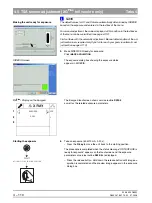
Take an exposure:
– Press the
R key
to move the unit back to the starting position.
XG
Plus
:
The procedure is completed when the status message “ORTHOPHOS is
ready for exposure“ appears on the touchscreen.
XG5:
The procedure is completed when the progess indicator disappears.
– Press the release button. Hold down the release button until image ac-
quisition is completed and the preview image appears in the exposure
dialog box.
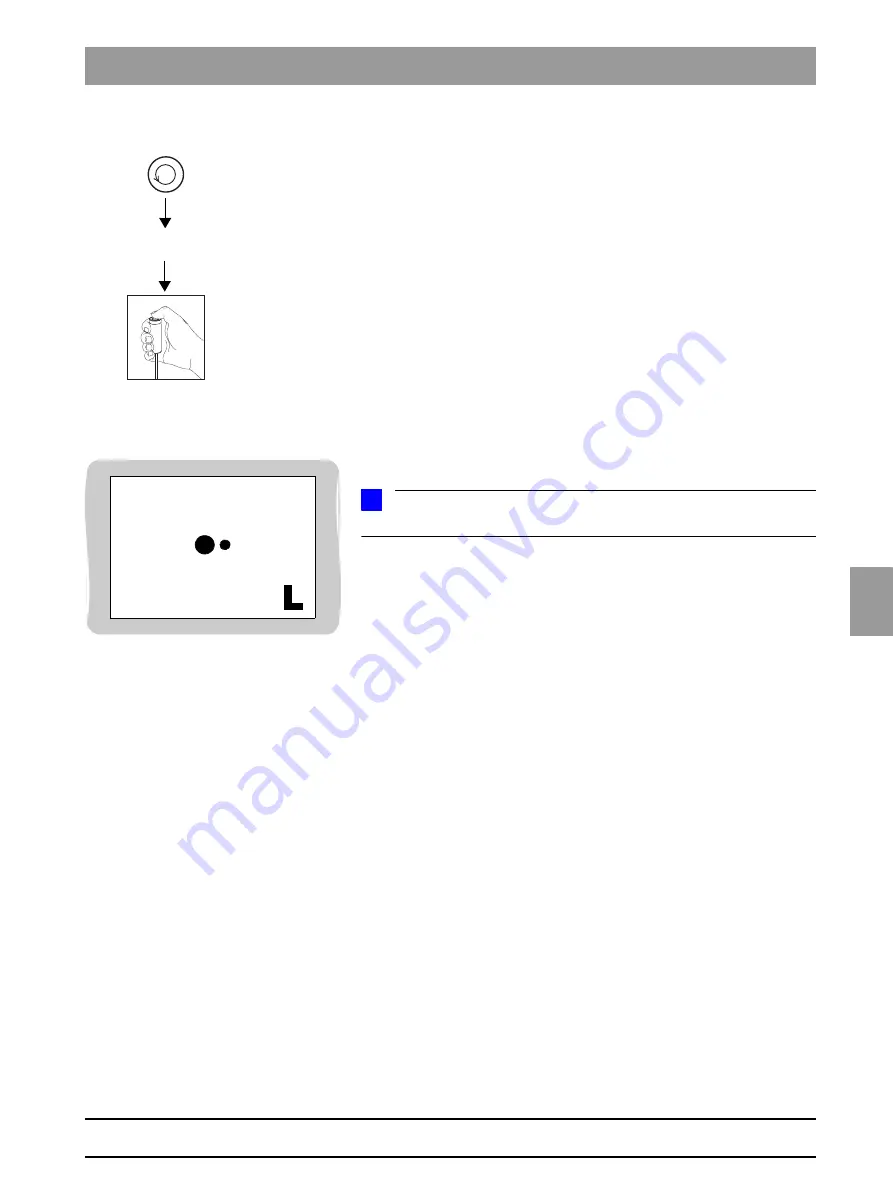
Image
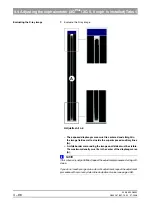
The lead balls in the adjusting caps appear as dots on the image.
The two dots must be coincident.
NOTE
i
If the two dots are not coincident, the ear plugs must be adjusted.
R
WAIT
!
UNTIL
UNIT
IS
IN
STARTING
POSITION
Summary of Contents for ORTHOPHOS XG 3 DS
Page 4: ......
Page 9: ...ORTHOPHOS XG 1General information...
Page 12: ...59 38 399 D3352 1 4 D3352 076 01 13 02 07 2008 Tab1...
Page 59: ...ORTHOPHOS XG 2 Messages...
Page 124: ...59 38 399 D3352 2 66 D3352 076 01 13 02 07 2008 2 6 List of available service routines Tab 2...
Page 125: ...ORTHOPHOS XG 3 Troubleshooting...
Page 153: ...ORTHOPHOS XG 4 Adjustment...
Page 269: ...ORTHOPHOS XG 5 Service routines...
Page 433: ...ORTHOPHOS XG 6 Repair...
Page 436: ...59 38 399 D3352 6 4 D3352 076 01 13 02 07 2008 Tab6...
Page 530: ...59 38 399 D3352 6 98 D3352 076 01 13 02 07 2008 6 21 Replacing cables Tabs 6...
Page 531: ...ORTHOPHOS XG 7 Maintenance...
Page 577: ...b 59 38 399 D3352 D3352 076 01 13 02 07 2008...


